
|
The Beadsmith Needle Files - Set Of 12 - Wire Wrapping! SKU: XTL-2212 $8.29 |

|
The Beadsmith Jewelry Wire Side Cutters, Nippers, Pliers SKU: XTL-5515 $9.99 |

|
E6000 Industrial Strength Glue Adhesive (1 Oz) SKU: XTL-1051 $6.99 |
Related Videos


Bead Weaving Variation on Loops using Briolettes
Learn how to add loops to your bead weaving using a variety of beads including briolettes. This is a simple step to learn and can add lots of varie...
View full details
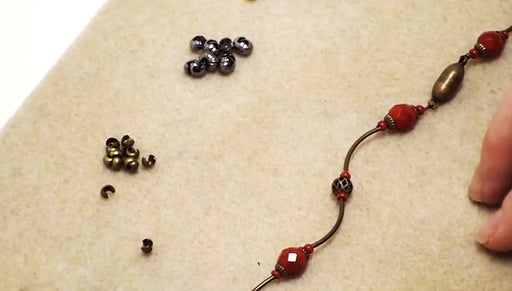
How to Use Crimp Covers
Cover your unsightly crimp beads with Crimp Covers. Gently squeeze shut around the crimped bead using crimping pliers. Can also be used to cover kn...
View full details
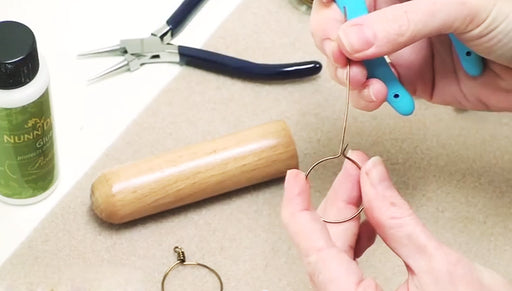
How to Make a Wire Wrapped Frame
Using either 16 or 18 gauge wire, learn how to make a wire frame by wire wrapping the wire around a form. After you have completed your frame, you ...
View full details