
|
Christmas Sweater Peyote Bracelet SKU: B6028 Project Tutorial |
Related Videos

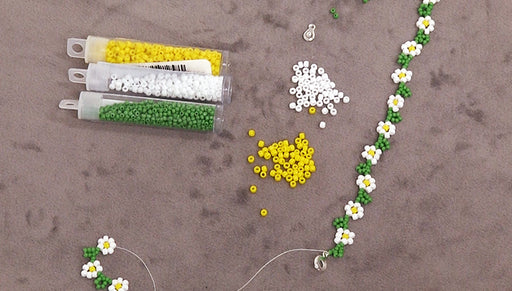
How to Make a Daisy Chain Bracelet
In this video learn how to bead weave a classic daisy chain bracelet. This project is quick and easy.
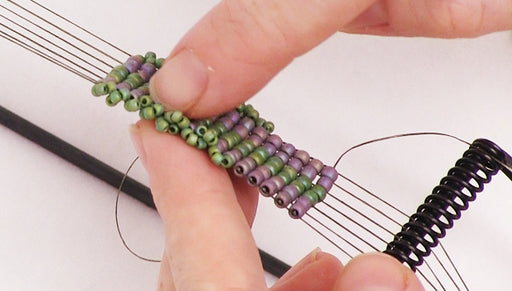
How to Add a Beaded Edge to Loom Work
A fun variation to traditional loom work, this video demonstrates how to add a ruffled beaded edge.

How to Bead Weave a Bracelet using 2-Hole Dobble Beads and Lily Petal Beads
Learn how to bead weave a pretty bracelet using Czech Glass 2-hole Dobble beads and Lily Petal beads. Complete project is shown.
Customer Reviews
Based on 1 review
Write a review