


Related Videos


How to Make the Ophelia Bracelet with CzechMates 2-Hole Square and Crescent Beads
Special Value
Learn how to bead weave CzechMates 2-Hole Square and Crescent beads together to make a pretty delicate bracelet. The process of making the bracelet...
View full details
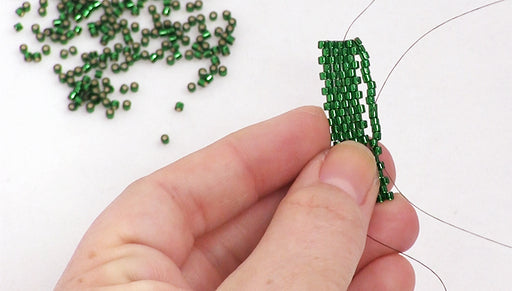
How to do fast Peyote Bead Weaving
Special Value
In this video you will learn an alternative way to do peyote bead weaving that can be faster than a more traditional form because you are completin...
View full details
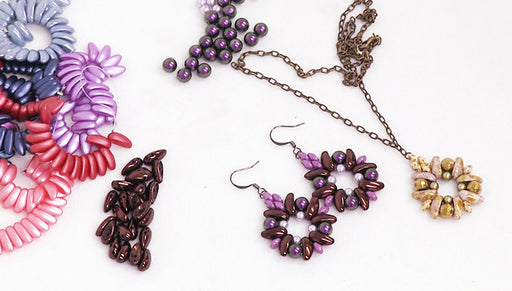
How to Bead Weave the Dahlia Earrings with 2-Hole Chilli Beads
Special Value
Learn how to bead weave a pretty focal piece using Czech Glass 2-Hole Chilli beads, SuperDuo beads, and Austrian crystal pearls. This is a great be...
View full details