|
Czech Glass, 2-Hole Ginko Beads 7.5mm, Crystal Violet Rainbow (10 Grams) SKU: BCG-100 $2.95 |

|
Toho Round Seed Beads 15/0 #27BDF 'Silver Lined Frosted Teal' 8g SKU: JSO-0211 $3.85 |

|
Earring Findings, Kidney Wire Hook 25mm, Silver Plated (10 Pairs) SKU: FEA-6700 $2.49 |

|
Silver Plated Open Jump Rings 4mm 22 Gauge (50 pcs) SKU: FJR-5454 $2.49 |

|
FireLine Braided Beading Thread, 4lb Test and 0.005 Thick, Crystal Clear (15 Yards) SKU: XCR-1280 $6.95 |

|
Miyuki Round Seed Beads, 11/0, #4217F Duracoat Galvanized Matte Seafoam, Blue (8.5 Gram Tube) SKU: DMRR-4217F $5.79 |

|
Wubbers Classic Series Round Nose Quality Jeweller's Pliers SKU: XTL-0034 $36.99 |

|
Baby Wubbers Quality Fine Chain Nose Jeweller's Pliers SKU: XTL-0020 $32.99 |

|
Fiskars 5 Precision Tip Scissors - Super Sharp SKU: XTL-5700 $7.45 |

|
The Beadsmith English Beading Needles Size 12 (4 pcs) SKU: XTL-3006 $3.99 |
hi this is Alexandra at beadaholique to make the biloba earrings featuring a Czech glass to hold ginkgo beads here's an earring I completed by beef weaving these together these are beautiful violet rainbow coloured ginkgo beads lined with some frosted teal Toho seed beads in a size 15 o with some - part Puka beads interspersed and a six millimeter swarovski crystal pearl in the center and that beautiful pearlescent white so to make this earring we're going to be using the ginkgo beads and this assortment including an earring hook a jump ring and a few tools some scissors chain nose and round nose pliers to begin I've got three feet of crystal fireline that i've cut and thread it on my size 12 needle and I'm also gonna string on a stopper bead so I'll bring that down leave myself about a six inch tail and tie it on then I'm going to pick up my first ginkgo bead I'm going to string it through the backside the larger backside of the bead and then pick up seven Toho seed beads then I'm going to take my needle and come back down over the over the tip of the bead and through the other side and pick up my next ginkgo bead again through the larger bottom portion and take on seven more seed beads again I'm going to come over the tip slide my needle through the second hole of the bead and repeat that three more times for a total of five beads got my seven seed beads over the tip through the other side and I can pick and choose which of the shades I want next I really like the spectrum of this assortment so pretty seven I chose these but 15 Oh seed beads for the delicacy of the design but you do have the option of using slightly larger seed beads and I'll I'll pull in a version that I did using eleven oohs once we've completed this one just so you can see the difference alright I've got my five ginkgo beads strung up with the toe hose and now I'm going to bring my circle into formation and loop those around with the larger sides facing each other to make that pretty star or petal configuration and I'm also going to take off my stopper bead at this point just by sliding that off and tie the two sides of my thread together bring my needle through and tie that knot come around once and twice like so I'm gonna leave my tail and we even tie that in at the end but I'll still use my my needle to continue the design so for this now I'm coming up through one hole of either side of the youth either ginko bee doesn't matter it can come up through a gingko bead and also double up through one section of those seven seed beads over the tip of that bead now coming through here is where I'm going to add my first my nose part puka bead and for that I want to add 150 no seed bead first and then my my nose bead and then another 15 OCD and then I'm going to thread up through the next section of seven beads coming over the top of the next ginko bead get my tail out of the way and you see how that makes a nice little mmm rounded out portion there it helps to fill in the gap of space that might otherwise show a little bit of thread gives it a little more shape and detail along the outside these two at the edge or a little trickier to get through because they're so small so coming through I'm going to do the same thing I'm picking up a 50 no bead a my nose part puka bead and another 15 oh and coming up through the next section of seven seed beads I'm going to continue this around the edge of the design and then meet back up with you when it's time to bring in that six millimeter pearl at the center so let me come through here I'll do one more section just to show you seed bead my notes part puka bead and another seed bead up and around so here I'm completing my last little section of the seed bead with my nose and seed bead I'm gonna bring that up and through the top of my gingko bead make sure I get them all strong again I've got this little tail in my way let me pull that down there we go coming through the final two beads and now I'm ready to string on my pearl so what I'm going to do for that now that I've come over the top of my final gingko I'm coming through this hole of it to get into the center of my design string on my pearl in your pearl there we go okay and then I'm going to pick a hole that I want to come through on the opposite side of the piece and it could either be this one over here or this one over here it's not going to be perfectly centered because of the nature of the design being five beads but it will still hold the beads securely in place so I've come through and also see that the Pearl will be popping over the top of the design a little bit so on the back side it's a little flatter and inlaid and on the front side comes out and gives it a bit of dimension so once I've come through like so I'm going to go ahead and thread up through the top again through these seven beads and then I'll be ready to tie off and weave in my thread so I'll find a secure place to do that right in here between these two seed beads pull my needle up and through the loop once and twice you can also see I've got quite a bit of extra thread so if you want to use less than three feet maybe two feet that would probably be fine too so I'm just gonna weave this in and clip it come through a couple more beads here use my scissors to snip that then I'm gonna take my needle off and I'll weave in the other side of the thread by thread in my needle on and I'll do the same thing I'll find where I left off right up through one of the ginkgos through some of the Toho's there we go almost to the edge here where it will be a secure spot to finish off and I'll do the same thing I did before the trick is to get the not to lay between the two beads that you're intending string through and snip now I'm ready to attach my earring hook and so to do that I'll take my pliers with my four millimeter 22 gauge jump ring this is a fairly thin gauge which is important when you're working through a seed bead like I'm about to do so for this I'm going to pick the top of my earring doesn't really matter where and I'm gonna find the B that centered right at the tip it would be the fourth beat in with three on either side I'm gonna work my jump ring right through that bead and close it up then I'm ready to hang that off of my earring hook now you'll see on my previous earring that I've gone ahead and tightened that little loop up so that it doesn't slip off of the earring hook and I'll do that again here just by gripping and tightening that like so kind of bent my finger no there you can use two pliers if you'd rather so I'm gonna slide my earring on with the side facing forward that has the pearl bumping out the front a little bit and then just give another little squeeze and that will complete my earring so that's the completed set of the lobe earrings and I also wanted to show you a design alternative which is to use slightly larger seed beads around the edge these are size 11 oh my Yukie round seed beads and this was me playing around with the design just to see what would work this what would look best and it's your choice if you decide to use this unit in a line for a bracelet or singular or several as a necklace you may like the larger the larger bead look the only difference here is that each - bead does not have a little single seed bead on either side so all of these beads and tools are available at beadaholique.com please also subscribe to our YouTube channel for all the latest updates thanks for watching
Related Videos


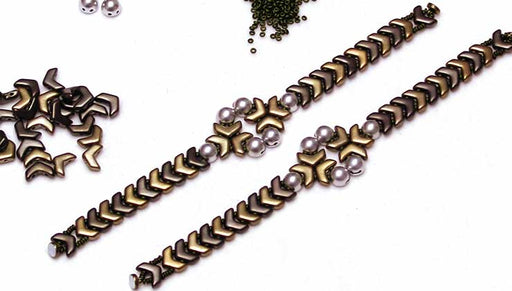
How to Make the Gray Balance Bracelet with Chevron 2-Hole Beads
In this video you will learn how to weave this simple bracelet design using Czech glass 2-hole Chevron beads and 2-hole Cabochon beads. Toho Demi-...
View full details

How to Make the Giza Bracelet Featuring Super Kheops par Puca Beads
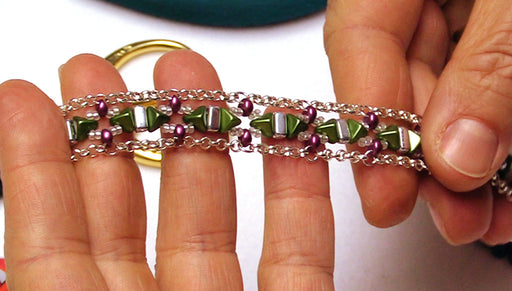
In this video, you will learn how to bead weave this design using a combination of 2-hole Super Kheops par Puca beads, Brick beads, and Es-O beads ...
View full details

How to Make the Carrier Bead Peyote Bracelet Kits by Beadaholique
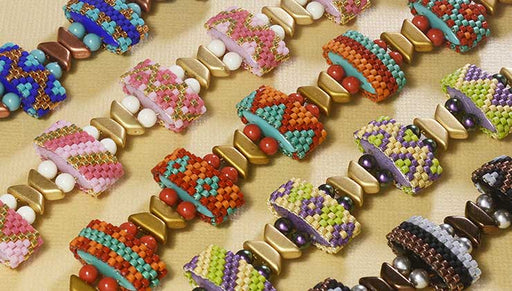
In this video you will learn how to make the Carrier Bead Peyote Bracelet Kits by Beadaholique. You will learn how to stitch even count peyote, ho...
View full details