


Related Videos

How to Make the Butterscotch Candy Halloween Earrings
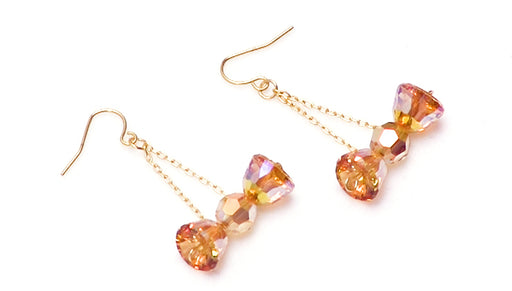
In this video you will learn how to combine Austrian crystal beads and wire to create a pair of earrings that resemble dangling butterscotch candie...
View full details

How to Make the Halloween Earrings - An Exclusive Beadaholique Kit
In this video you can follow along to make the Halloween Earring Kits from Beadaholique. You will see how to cut your chain, make simple wire loop...
View full details

Show & Tell: New Focals and Beads
In this video see the all the lovely natural shell and hand carved bone beads and pendants available at Beadaholique. Limited supplies.