|
Nunn Design Bead Caps, 9mm Etched Daisy Design, Antiqued Silver (4 Pieces) SKU: BMB-08018 $4.69 |

|
Nunn Design Bead Caps, 9mm Etched Daisy Design, Antiqued Copper (4 Pieces) SKU: BMB-08016 $4.69 |

|
Crystal Clay 2-Part Epoxy Clay Kit 'Black' 25 Grams SKU: TRC-230 $12.99 |

|
Earring Findings, Bali Style Earring Hooks with Ball 21mm, Silver Plated (25 Pairs) SKU: FEA-4025 $12.99 |

|
Baby Wubbers Quality Fine Chain Nose Jeweller's Pliers SKU: XTL-0020 $32.99 |
Hi this is Becky Nunn from Nunn Design I'm here at beadaholique.com's studio to make a fun pair of earrings very similar to what you're seeing here but in silver for this project you'll need a couple of bead caps ear wire, a head pin a chaton setting and a chaton and some crystal clay. In the first step we're gonna go ahead follow the manufacturer's instructions and mix together our crystal clay until it's fully mixed. You shouldn't have any kind of marbling once the two clays are completely blended you'll want to peel an inch off, a small amount of the clay and roll it into a nice little ball we're going to go ahead and put that ball down into the base of the bead cap taking a second bead cap and pressing it down into there then we're gonna take our head pin and poke it through the bead cap Often I am working with a pair wet wipes handy so that I can wipe away any of the excess clay that will get onto the metals or onto the head pin. Then with my remaining bit of clay go ahead and pinch off another tiny small ball Press that down into the center of the bead cap. I'm using the back of my toothpick with a little bit of bees wax, it comes inside the crystal clay kit to press that clay down into the bead cap creating like a little nest and that is where the chaton is going to go. Picking up the chaton with your bees wax toothpick place it into the center now you have a cute little dangle It will take about two hours before you'll want to bend or cut your head pin So just go ahead and set that aside and let it dry and now you can go ahead and assemble the chaton prong setting you can take some of your crystal clay that you had leftover and place it down inside of there to prevent it from sliding or you can hold it and using a pair of flat nose needle nose pliers, start on one corner oops that's why it's nice to have that crystal clay in there, it might move around and press slightly on one corner bending that edge down and turn it and press down the opposite corner and turn it now it's very set in there. You're going to bend down this side and bend down the final side if you wanted to create a project where you only wanted to have one loop you can use a pair of flush cutters to cut off that second loop all the way to the edge. It's been over two hours since we created this little guy and we're ready to go ahead and trim off the access of the head pin about half of an inch will be left and trim it away you can save that extra little piece if you'd like to make another project using your remnants of the crystal clay then using a pair needle nose round pliers go ahead and start to bend your wire into a nice little loop, bring it down to the base when you have a nice round loop, open it up slightly and thread your prong setting and close it up then we're gonna go ahead and open up slightly our ear wire, thread it down and around closing it and now you have a super fun pair of earrings. In this part of the video I'll refer to it as the Becky Nunn dog and pony show where we're showing all kinds of other examples of how you can use the prong settings in some cases mixing them up with crystal clay here's where we're just using straight prong settings and some of the Nunn Design beads along with interesting jump rings. Here's it's matching bracelet and these are just all linked together with some small jump rings and finished off with a lobster clasp simple simple. Here are some examples like the previous one we did but instead of using the crystal in the base, I just used a little daisy flower at the bottom to create a fun little dangle you can stack different kinds of chaton colors or sizes to create looks like this and in this sample I used bead caps and chaton settings to create fun little accents throughout the whole entire bracelet. This is Becky Nunn for beadaholique.com and I hope you've been inspired to create some really fun projects. Go to www.beadaholique.com to purchase beading supplies and to get design ideas!
Related Videos


How to Make a Looped Climbing Rope Bracelet
In this video, you will see how to use the Climbing Rope to make a looped bracelet as seen in the Tiffani Bracelet. This video includes the instruc...
View full details

How to Make a Triple Strand Climbing Rope Bracelet
In this video, you will see how to use the Climbing Rope to make a triple strand bracelet as seen in the Perri Bracelet. This video includes the in...
View full details

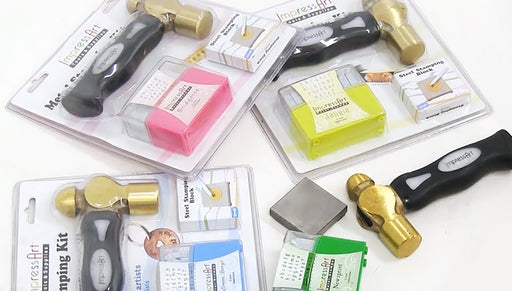
How to Use ImpressArt Metal Stamping Kits
ImpressArt Metal Stamping Kits provide you with all the tools you need to start personalizing your jewelry with stamped letters and sayings. Includ...
View full details