
|
Portuguese Cork Cord by Regaliz, Round and Braided 6mm, Dark Brown, by the Inch SKU: CHX-1183 $0.85 |

|
Magnetic Clasps, Tube Cord Ends Fits 6.2mm Cord, Gold Plated (1 Set) SKU: FCR-4247 $3.69 |

|
Nunn Design Connector Link, Curved Leaf 50mm, Antiqued Gold Plated (1 Piece) SKU: FCL-091 $5.59 |

|
Nunn Design Jump Ring, Bark Textured Open 16 Gauge, 6.5mm Antiqued Gold (10 Pieces) SKU: FJR-4217 $2.79 |

|
The Beadsmith Cord Ends, Barrel with Ring 12mm, Fits 6.5mm Cord, Gold Plated (4 Pieces) SKU: FCR-1608 $3.69 |

|
E6000 Industrial Strength Glue Adhesive (0.18 fl oz) SKU: XTL-1054 $2.99 |

|
The Beadsmith Little Cut Flush Cutter For Rubber And Leather Cord SKU: XTL-5503 $9.75 |

|
Nunn Design Connector Link, Curved Leaf 50mm, Antiqued Copper (1 Piece) SKU: FCL-090 $5.29 |
Related Videos


How to Make the Mother's Love Strung Bracelet using Magical Crimps
Special Value
In this video learn how to make the Mother's Love bracelet. This bracelet utilizes basic jewelry stringing techniques and the design is finished of...
View full details
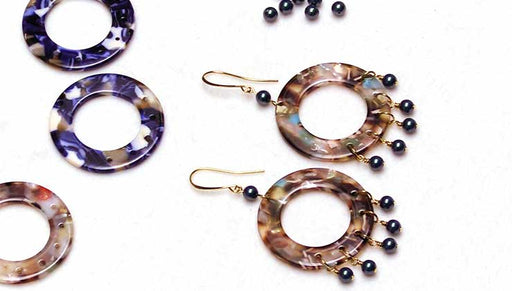
How to Make the Mermaid Cove Chandelier Earrings
Special Value
In this video you will see how to make the Mermaid Cove Chandelier Earrings featuring Austrian crystal Pearls and a chandelier focal pendant from Z...
View full details

How to Make a Long Y Necklace with Acetate Zola Elements
Special Value
In this video you will see how to make a long Y-shape necklace using link and pendant components from Zola Elements and Nunn Design. This classic ...
View full details