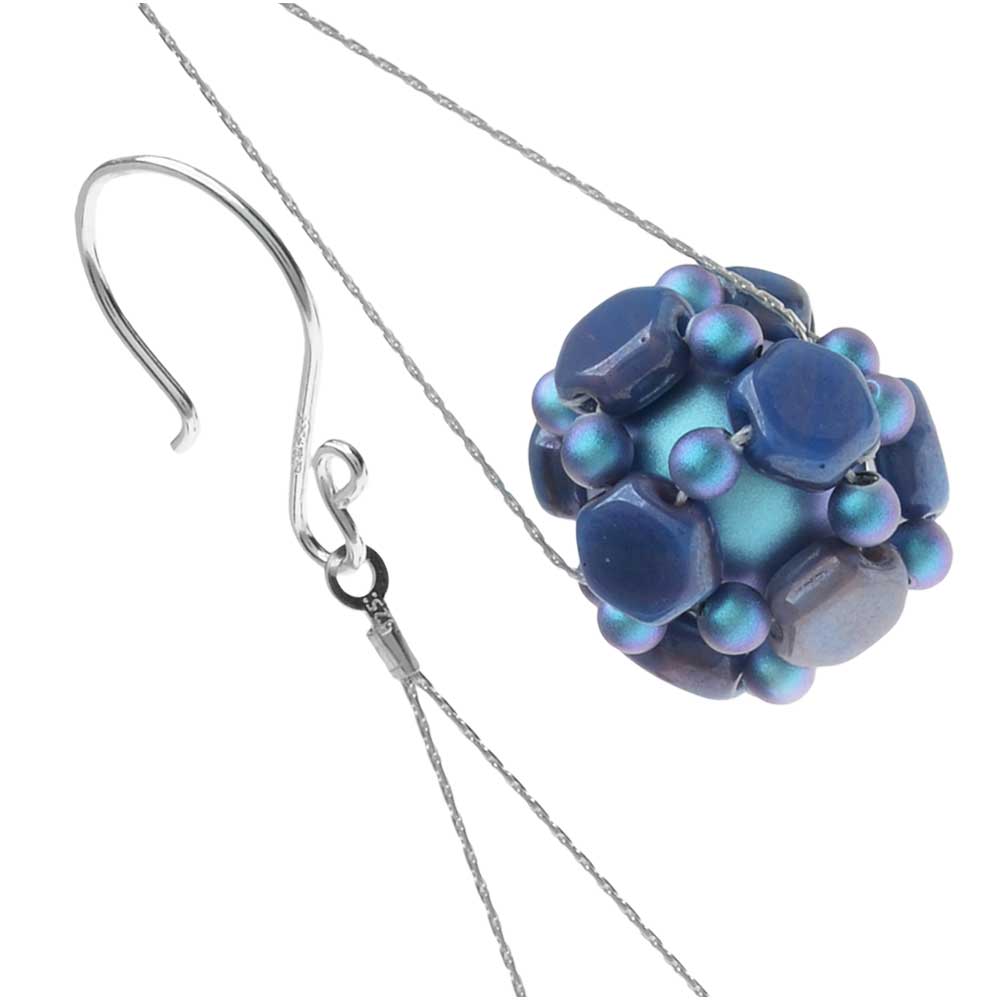
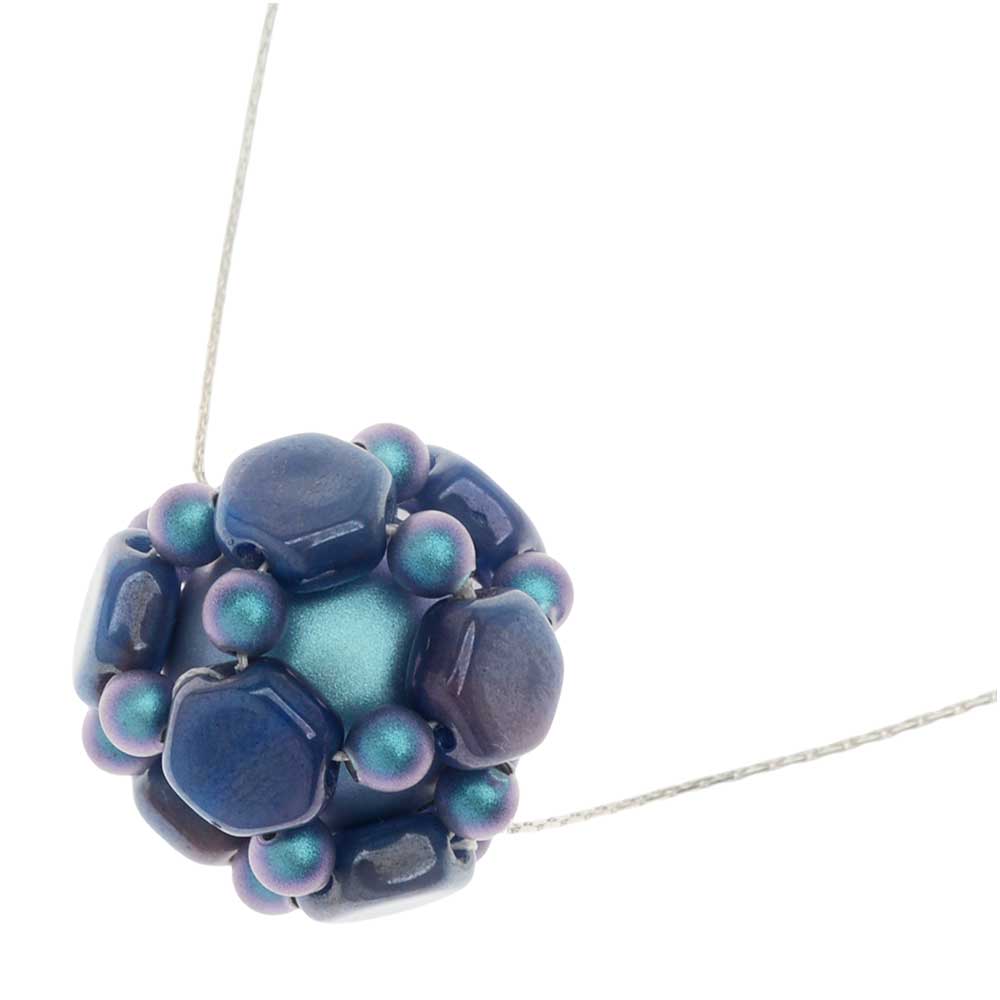
How to Make a Beaded Bead with 2-Hole Honeycomb Beads

SKU VID-1303
Designer: Julie Bean
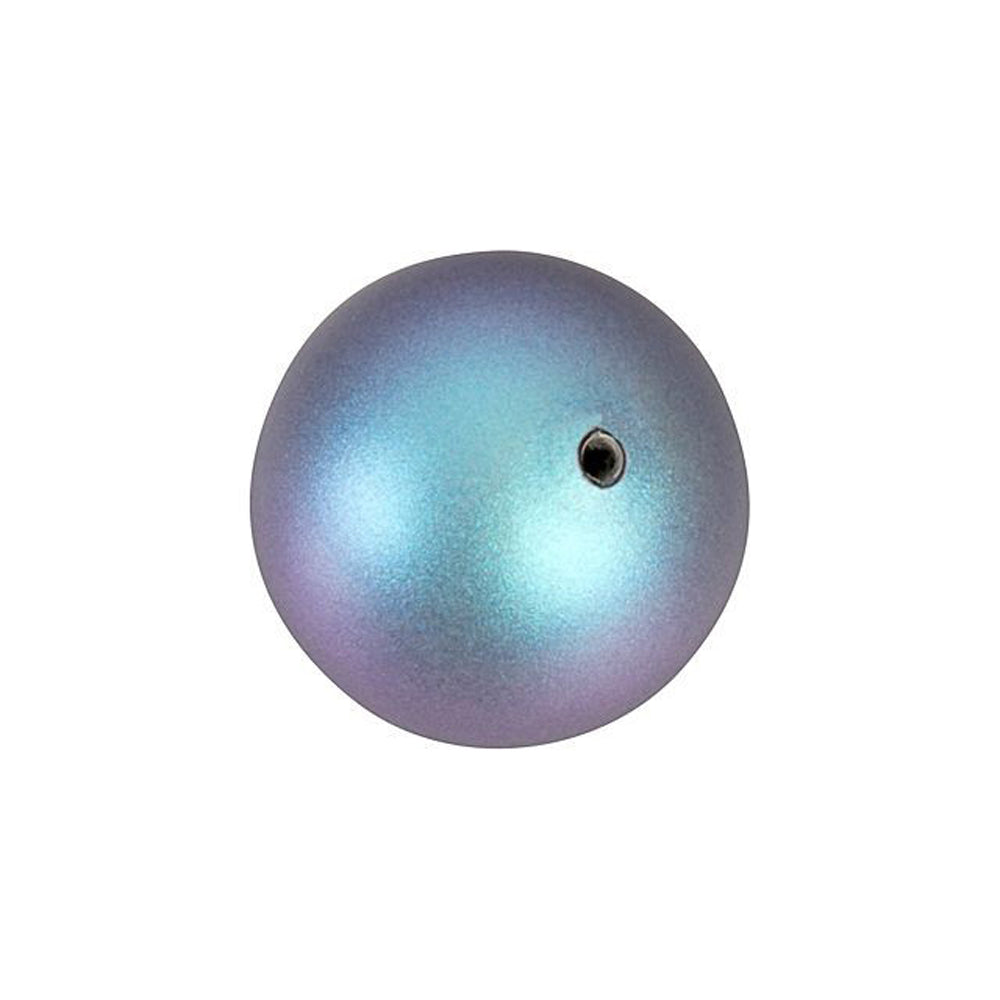
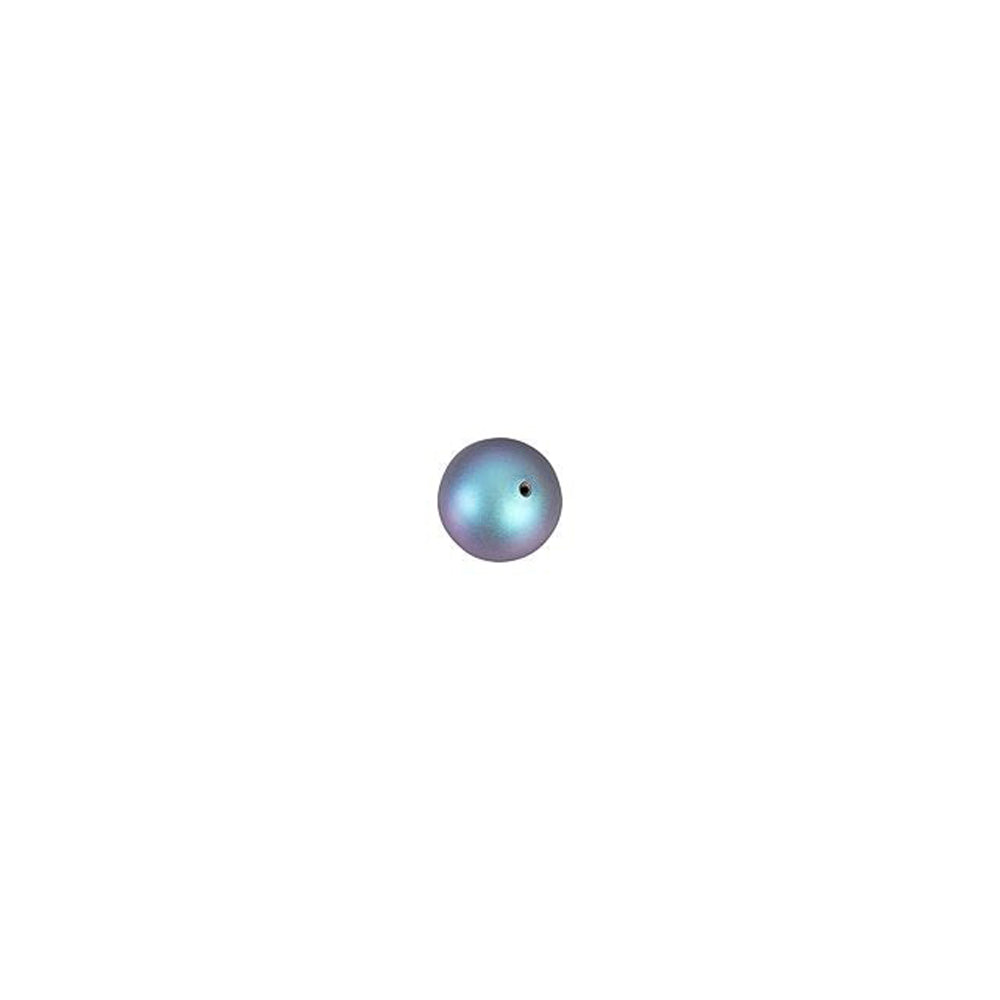
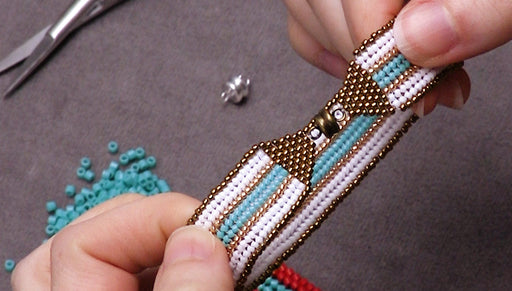
In this video you will learn how to bead weave a beaded bead using Czech glass 2-hole Honeycomb beads combined with Austrian crystal faux pearls. The result is lovely focal point for your jewelry designs.

The brand name for the crystals shown in this video is no longer available. High quality Austrian crystals are now available under the PRESTIGE™ Crystal Components line.

Audio Transcript
Note: This audio transcript is auto-generated and may not be completely accurate.
Hi, this is Julie athena holly and today we are going to make a beaded bead with a captured bead inside so this is one of those fun projects that just kind of happened I was just playing with the shape of the honeycomb beads and I ended up with a beaded bead and I ended up putting another bead inside of it and it was really fun so I'm going to show you how to do that the supplies you're going to need is a beading thread I'm going to be using my Yuuki duraline beading thread and you can see it's white and matching it to my beads so it doesn't show up as much and this is a really great strong beading thread it's close to a fire line if you're familiar with other thread much more so than like an IMO so that hopefully puts it in reference for you as to what type of thread it is is very very strong but it's still really thin you get 20 meters on a spool and it measures 0.15 millimeters in diameter so really nice thin fret thread I'm going to be using these honeycomb beads and then I'm going to be using two sizes of straw ski faux pearls about a little three millimeter in here a different light blue and I also have a 12 millimeter let's begin our project a nice clear a little space here in the center so see what I'm doing and I'm doing it on black so that the white thread will hopefully be easier to see same with these light colored beads so I'm going to pick up a honeycomb bead now honeycomb beads are fun because it actually got two holes or a two hole bead so it's got one honeycomb followed by one of my little three millimeter faux pearls another honeycomb another faux pearl another honeycomb in one final faux pearls if you're familiar with doing beaded beads often use two needles I'm actually just going to do a single needle so this is a single needle method and we've got these down to about six inches to the tail end and I did start with about 26 inches of thread already strung onto my needle okay this is what I've got you're going to loop it around and do a simple overhand knot so they form a triangle and then I am going to go ahead and do a surgeon's knot or I'm not sure you can go through it twice and pull it down so it's nice and tight and I'm going to leave my tail and my tail is long enough that in the very end I'm going to go back and restring on my needle I'm going to go through the same thread path I'd already gone through just so that my thread comes out the other side and pulls that knot into the bead a little bit to hide it now what I'm going to do is I'm going to jump up to the second hole so there's one little thread path along the edge of the honeycomb bead now I want to make another cluster and it's going to be the same cluster as I have here but I've already got one honeycomb here one of my little three millimeter beads and a second honeycomb so to complete my cluster I need another three millimeter another honeycomb and another three millimeter manifold is a little bit closer just so that when I'm doing it it's a little easier to see alright so pull my little tail out of the way and I'm going to go through the second hole of the next honeycomb over and I'm just going to pull it so we just made another little cluster I'm gonna do the same thing I'm just going to repeat it so I need one more three millimeter one more honeycomb one more three millimeter and just go over to the next honeycomb bead again that second hole and pull and we're going to that one more time another three millimeters another honeycomb and another three millimeter now we are just going to go through that second hole and then we're going to actually go through the next three millimeter over and pull this great little triangle so we're going to go back through the honeycomb we're still just retracing our thread path and this is what we've got now if you pull it tight you're going to notice something that happens it kind of curves up a little bit and that's what gave me the idea of how to make this so now I want to jump up again so that I am going to come out the top hole of this honeycomb like so and I'm pulling tight so it is curving is now I want to look at the original you'll notice here we have actually a cluster of four so after we made this nice triangle you need a cluster of four honeycombs so I need one more three millimeter one more honeycomb and one more three millimeter we're going to jump across now to this honeycomb so that is what we have thus far so now over here we're going to do another cluster and this is going to be another cluster of four so we're going to need another three millimeter another honeycomb and another three millimeter now we're going to jump over again and you can see it's definitely becoming a dimensional object at this point and we need to do that one more time so we have another cluster of four so another three millimeter another honeycomb and another three millimeter and jump over so let's take a look at what we have so you have got this right here and we are ready to actually insert our bead and then zip it on up so you can do this one of two ways you can put your bead in it at this point and you can work around the bead or you can wait put your bead in at the very end I'm going to wait and put my bead in at the very end so to zip this up what we need to do so we need to get to the top level so we can use the outside holes of these two whole beads so I'm going to retrace back where I've been so I'm exiting a honeycomb and now I want to jump up to the top and I'm going to add one three millimeter go to the next honeycomb and I keep my stitching loose at this point I'm going to need to insert that bead pick up another three millimeter go over to the next honeycomb and one more three millimeter and go over to the next honeycomb okay so with your stitching still loose open it on up and put in your bead and close it on up you just track your bead this is what we've got so now what I like to do is I like to go back through this last cluster of three at least one more full time just retracing my steps pulling it tight as I go all the way around you can actually go around a couple times if you like so it's nice is the Swarovski faux pearls have larger holes and a traditional like freshwater pearl so it does allow you to do multiple passes same thing with the honeycomb beads so once you've gone through at least once more we're just going to tie a knot okay now I'm going to go through again I'm going to tie another knot just so it's really good I'm secure and I'm going to go through again I'm going to trim my tail now I'm going to go back and free thread my needle and over here I'm going to retrace my steps again on this side this is where I started this is my original cluster of three and I'm gonna tie one knot I'm going to turn my thread and I have a second little captured beaded bead so these are a lot of fun to use them as earrings focal points on necklaces you can do a whole bunch of them and make an entire jewelry piece really complain with them I do want to show you one kind of fun thing with these two is you can find the hole on your captured bead and using your needle move it to wherever you want it so it can come out any section so that's kind of fun you see this one has one two and it would go all the way through so they'll be able to string that on to your necklace or your earring or whatever you want to do with it if you like beaded beads please do check out that beadaholique website we have several other types of beaded bead projects and videos showing you how to do them and a bunch of projects with these honeycomb beads as well and don't forget please subscribe to our youtube channel if you enjoyed this video you

Customer Reviews

Based on 1 review Write a review

You recently viewed

Clear recently viewed