|
Miyuki Delica Seed Beads, 10/0 Size, Opaque Salmon AB Pink DBM0207 (8 Grams) SKU: DBM-0207 $4.99 |

|
Miyuki Delica Seed Beads, 10/0 Size, Matte Metallic Green Iris DBM0324 (8 Grams) SKU: DBM-0324 $8.99 |

|
Beadalon Gold Tone Quick Links 25mm Round (18 Pcs) SKU: BMB-1758 $6.99 |

|
FireLine Braided Beading Thread, 4lb Test and 0.005 Thick, Smoke Gray (15 Yards) SKU: XCR-1285 $6.65 |
Hi, this is Julie with beadaholique.com 'only done so i do have an example of circular brick stitch on the outside and that is this here and these earrings were done by our designer Kat they're the vintage Americana earrings super pretty and you can see that she's done row after row of circular brick stitch going outward from that center ring and so I want to show you a different technique where you're actually going to go inside the ring so for this I'm using quick links so these are great they're solid rounds they've completely soldered there's no slit or opening which is great these are about an inch and then to be doing this technique I'm going to be using my yuki delicas in size 10 oh and then I'm using wildfire point zero zero eight in black and I'm only using this because I want you to be able to see what's going to be happening here in the video with the thread path I would not normally use black on this I would do something like cap did where she used crystal so it really just disappears into the quick link you don't see it you just see the pretty beads and the beadwork so let me show you how to do this and in this video I'm not actually making a project I just want to show you the technique so go ahead the red your wildfire or fire line whatever you're using onto a needle and go ahead and place that needle through the quick link and then we're going to tie this thread directly onto the quick link if you're used to doing a lot of bead weaving oftentimes you start with a stopper bead but with this particular technique we don't need to so I did an overhand knot and I'm going to do another one so this is now nice and tightly anchored so go ahead pick up two of your size 10 o beads or whatever you're working with pull them down so they're on the inside of your form and take your thread and needle which is on the outside so it's actually facing me and I'm going to thread my needle through the link and now I'm going to come under the Quick Links or round the outside and I want to go back up through the second bead I strung so I just made a big loop and I'm going to pull it tight and that's why I want to use this black thread so you can see what's happening so those are the first two beads now I'm going to pick up another one and again I'm on the outside facing me of this link take the bead slide it down thread your needle through the link bring it around the outside let that bead sit along the edge on the inside and go up through it so you can see how that worked so we just did a nice loop so really the key to this technique is just making sure you know where your thread is and where it's coming out of at all times I'll show you that again so there's a bead on it I'm on the side facing me I need to go through the link around the outside and back up through the bead and pull you just want to make sure you pull it so it sits next to the up previously bead woven beat I show you that again okay going through coming around the outside and back up through that bead okay and then one more and then I'm going to do a little bit more beating myself till I get to the end to show you how to make a complete round and then I'm going to jump up to a second interior row so let me show you one more so I'm on the outside facing me string on that bead through the link and down and around and just look at the bead how it is right now so you see it's like on top of it but we want to make that bead kind of curved down as if it's sitting next to the one that it wants to be next to eventually so I just want make sure you can see that bead orientation and now we need to go up through it again there you go you can see all the threads on the outside like I said I'm going to keep going until I get to the end so I can show you how to join it and then step up to a second row as well and this is circular brick stitch on the inside of a form you can see I've added some more beads so I'm almost done off this first row I just need to actually add one more bead I want to do that on camera so you can see how to finish off a row so same technique for the last bead get my little starting end out of the way you can see this is a really pretty look it's a little bit different than the traditional circular brick stitch around a form okay so there's that last bead and now I want to join it to the first bead and to do that I'm just going to go down through the first bead to make that nice thread bridge right there and now I'm going to turn this around and go up through my first bead and we have completed a round so that is what circular brick stitch inside a form looks like and that's just one rope I do want to show you how to add a second row and I'm going to use these pretty little pink beads so I'm going to start the second row by putting two beads onto my needle pulling them down I'm going to go under the thread bridge below them and up through the second bead add another bead go under that thread bridge so it's the next thread bridge over and up through the bead let me do one more so the second row is sitting on top of the first row and using the three bridges from the first row as their anchor there we go and we would just keep going around and around let me just do one more case you missed that there we go you can do as many roses you want until you run out of space so it's a really pretty look you could fill in the entire circle here to make a very unique looking design and then when you're all done you go ahead and you thread a needle onto your tail and weave the tail into your beadwork we have another video on beadaholique.com showing you how to do that called how to tie off and add new thread and bead weaving you
Related Videos


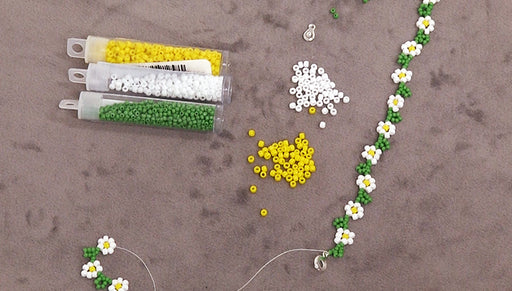
How to Make a Daisy Chain Bracelet
In this video learn how to bead weave a classic daisy chain bracelet. This project is quick and easy.


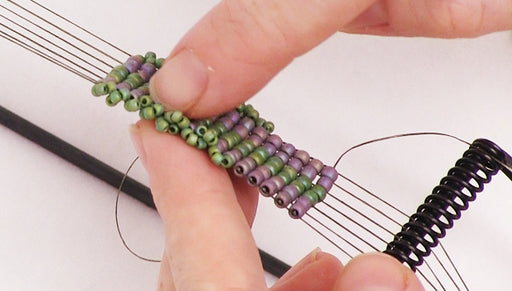
How to Add a Beaded Edge to Loom Work
A fun variation to traditional loom work, this video demonstrates how to add a ruffled beaded edge.


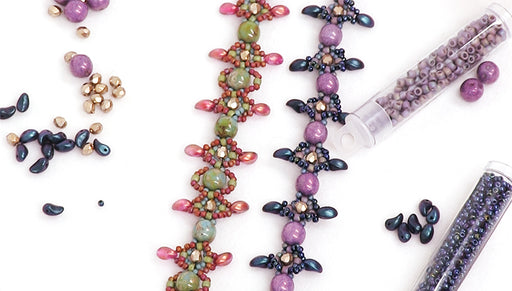
How to Bead Weave a Bracelet using 2-Hole Dobble Beads and Lily Petal Beads
Learn how to bead weave a pretty bracelet using Czech Glass 2-hole Dobble beads and Lily Petal beads. Complete project is shown.
