
|
FireLine Braided Beading Thread, 4lb Test and 0.005 Thick, Smoke Gray (50 Yards) SKU: XCR-1265 $13.99 |

|
English Beading Needles Assorted Variety Pack SKU: XTL-3004 $4.20 |

|
The Beadsmith Cordless Thread Zap II Thread Burner Tool SKU: XTL-0106 $16.49 |
Related Videos

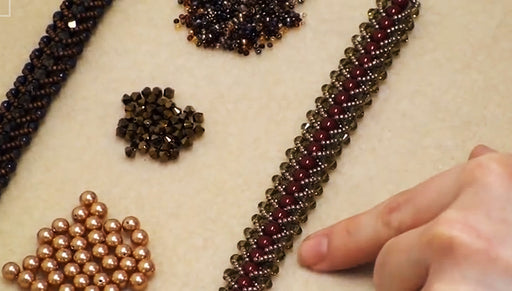
How to Do a Flat Spiral Stitch for Beading & Make a Bracelet
In this bead weaving video, you'll learn how to do a flat spiral stitch. This technique is great for making bracelets!
How to Add a Decorative Beaded Edge to Bead Weaving
Learn how to add a simple and pretty decorative beaded edge to your bead weaving projects. In this video, the beaded edge has been added to the las...
View full details
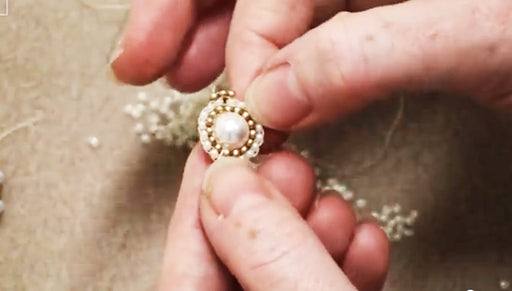
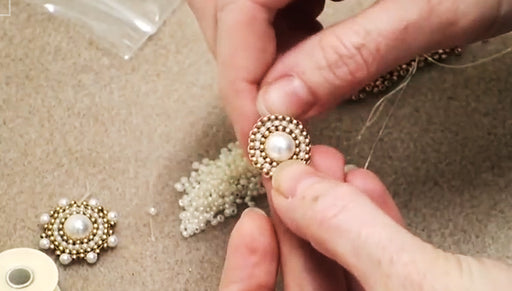
How to do Circular Brick Stitch Bead Weaving around a Bead
Learn how do the bead weaving technique circular brick stitch around a round bead. This creates a very uniform and pretty piece which can be used a...
View full details