|
Preciosa Czech Crystal Rhinestone Cup Chain, 14PP, Crystal/Brass, by the Foot SKU: CHA-10105 $2.15 |

|
Preciosa Czech Crystal Rhinestone Cup Chain, 24PP, Crystal/Brass, by the Foot SKU: CHA-10109 $2.45 |

|
Preciosa Czech Crystal Rhinestone Cup Chain, 18PP, Crystal/Brass, by the Foot SKU: CHA-10107 $2.15 |

|
Nunn Design Charm, Itsy Rectangle Bezel 6x32mm, Antiqued Copper (2 Pieces) SKU: PND-08274 $5.69 |
hi this is becky nunn with nunn design and I'm at the studio here at beadaholique how to make it see charms like these using rhinestone cup chain and ball chain what you'll need for this video is a couple of little pieces of different types of rhinestone and cup chain and ball chain a couple little it sees some crystal clay I've already pre-mixed a small ball of the brown and you'll need a pair of flush cutters so the first step is designing how you want your itse charm to look one of the things that I get a great deal of joy out of when I'm designing products is finding ways in which you can use the same piece in so many different ways here's an example these pieces are designed to fit rhinestone chain like this and then the smallest size ball chain along that side see you would embed the rhinestone chain and then add that ball chain it's also designed to work with the next size down and then two strips of the ball chain or it's designed to do two strips of the small and one large so there's all kinds of a variety of ways on which you could make little Etsy charms but have each piece coming out differently and why that's nice is if you're making a pile of earrings and you want to give them away as presents your best friend doesn't have the same ones that your sister-in-law has and that's always a nice little point so what we're going to do is we're going to go ahead and make a little charm with this little piece right here and I'm going to focus on using this ball chain this ball chain and one small little strip of this ball chain so I have all my pieces ready I have my clay ready before I starts in bed I'm gonna go ahead and kind of design out my piece so on this I know that this is going to take about four of these little cups of this rhinestone chain so I went ahead and trimmed it off let's see how that looks oh hey look can go that way too how fun is that say if we want it to go like that then let's say we want to have some of this and that's going to take about three balls of this ball chain lay that in there so you can see how that's starting to come together and you can just keep on moving the pieces around maybe we don't like that there at all maybe we like something like that where we have three another three on the bottom of this you see how we're putting this together and then maybe we put another two strands of this up on top that when I cut a little bit too short and if that's the case don't worry you can just go ahead and cut off another two balls and add it to that strip it will add that in when we lay the crystal clay in okay so now we kind of have a basic design and you can take a lot more time that than I did to find just the perfect amount of combinations that you won't have so now I have my design I have my bezel I'm gonna go ahead clear all of that out of the way and we're going to pinch off a tiny tiny bit of the crystal Kellie so I have already pre-mixed my clay and I have 90 to 120 minutes to work with the crystal clay so go ahead and pinch off that little bit and place it down into your itse now these its these are super Etsy so it doesn't take much clay at all and I have too much so just go ahead and pinch off a little bit of that and start over I have a tiny little ball I press it into the base and then I'm going to do my best to get it over into those corners - one of the reasons why I always like to pinch off the ball and then roll it in my palms like you saw me do is because it makes it so that there's not any creases in the clay so there's not any lines in it so you'll typically always see me roll my clay into a nice little ball and then Pat it down into the clay it's just much easier alright so see I have my clay all in there and I've kind of switched it over into the sides as well into those little corners and with my wet wipe I'm gonna go in and just clean up those side as I said 90 to 120 minutes until this hardens but when it hardens fully howdy it hardens so you want to go ahead and clean off those edges so that cement isn't there when it's time for it to be all cured now we're ready to lay our pieces in so we had one layer of this ball chain and since we like it more flushed and laid out you kind of pull those pieces apart and then press it down in there if you wanted it tighter you can do that too then we have our next layer which is the rhinestones and if you had some tweezers or something like that that might make it easier that might be good or if you had a toothpick that might be handy because then you can move these pieces around in here this little guy is stuck so I just lifted them up and I'm laying them back in now we're going to do our next layer third ball chain this little crystal over here just not working out with us it wants to keep flipping over so I'm gonna go back in and just try that straighten that out and then this last one now this is the one where we had some chain and then we cut it too short well we didn't do it I did and now I'm gonna go ahead and put this over there and now I have it a little bit no that looks actually a little bit too long so I think I'm gonna cut one more off actually there was just a little bit of a thread in between there that was kind of hanging over still two Oh that's okay that looks kind of cool I was kind of dipping down in there or you can just take that out and trim that extra piece over so there's all kinds of fun combinations you can make with this rhinestone ball chain combination within these it's e-tags so your options are endless so whatever you try to do I'm sure it'll come out great this is becky nunn with nunn design here at beadaholique itsy charms with ball change rhinestone cup chain and them itsy pendants thank you you
Related Videos


How to Fill Open Frame Pendants with Colorized Resin and Metal Stampings by Becky Nunn
Create a striking focal by filling an open back bezel pendant with 2 layers of resin and embedding a metal stamping in the middle. Also shown in th...
View full details

Design Ideas for Filling Nunn Design Bottles
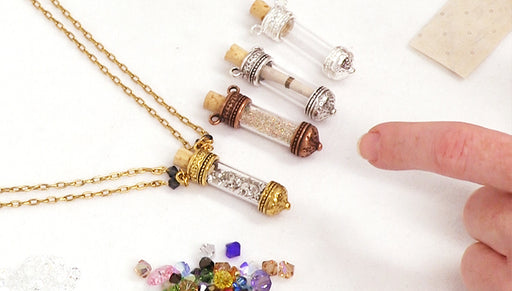
The Nunn Design bottles featured in this video make great focals and can hold a wide array of 'treasures' including everything from glitter to a ro...
View full details

How to Add Patina and Magic-Glos to a Vintaj Pendant
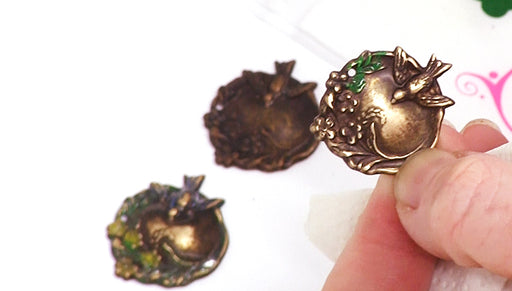
Learn how to create a high gloss finish on pendants and charms by first applying Vintaj Patina and then adding a top coat of Magic-Glos UV Resin.
