|
Elegant Elements, Adjustable Ring Base, Channel For Delica Seed Beads 22x14.5mm, 1 Ring, Silver Plt. SKU: FRG-0839 $5.75 |

|
E6000 Industrial Strength Glue Adhesive (0.18 fl oz) SKU: XTL-1054 $2.99 |

|
Miyuki Delica Seed Beads, 15/0 Size, Opaque Black DBS010 (4 Grams) SKU: DBS-0010 $4.99 |

|
Miyuki Delica Seed Beads, 15/0 Size, Gilt Lined White DBS221 (4 Grams) SKU: DBS-0221 $5.45 |

|
FireLine Braided Beading Thread, 4lb Test Weight and .005" Thick, Black Satin (15 Yard Spool) SKU: XCR-1350 $7.49 |

|
Elegant Elements, Cuff Bracelet Base, Channel For Delica Seed Beads 30x66mm, 1 Bracelet, Silver Plt. SKU: JB-0003 $13.99 |

|
Nunn Design Antiqued Silver Plated Round Channel Bangle Bracelet - 2 3/4 Inch (1 Piece) SKU: JB-2662 $11.59 |

|
Solid Brass Flat Cuff Bracelet Base 38mm (1.5 Inch) Wide (1 Piece) SKU: JB-2573 $7.95 |

|
Solid Brass Flat Cuff Bracelet Base 28.5mm (1 1/8 Inch) Wide (1 Piece) SKU: JB-2572 $5.99 |

|
Nunn Design Antiqued 24kt Gold Plated Round Wide Channel Bangle Bracelet - 2 3/4 Inch SKU: JB-2671 $19.69 |
Hi, this is Julie with beadaholique.com so i went ahead and i made in the crystal form and that's what i'm going to show you in the video but i made the identical earring using swarovski faux pearls as well just so you can see how you get a slightly different look but still really pretty and really wearable so if you want to do the pearl version of this design you're gonna use a 10 millimeter pearl and a 6 and this happens to be the brown velvet color but i'm going to show you with the crystals in this lovely scarlet color i've got a 10 millimeter round and an 8 millimeter bicone and then I'm gonna use a series of beebe caps all by vintage so you see they're really pretty and filigree so we got three different ones we're gonna be using and then some vintage findings as well for tools you're going to need a pair of cutters a round nose plier or a wire looping plier I personally really like the wire looping I'll show you how to use it in just a minute and a pair of chain nose pliers and then if you like a vintaj relief block and you see mine's actually been worn quite a bit this is something that you you can use over and over again and it still performs so if you're choosing to use the relief block what you're gonna do is you're gonna take your pieces and you're just gonna rub over the top of them and what that does is it takes off the top layer of that nice kind of brown darker antique brass look and it exposes some of the shiny brass below so it just pulls out a little shine and like I said this is a totally optional step you don't have to do it by any means but if you have a relief block around there's a nice way of just making it a little shinier so I like this design because it's really one that you can wear with anything and oftentimes we make lovely jewelry and it is meant to match an outfit or special occasion but sometimes it's just nice to have some pieces around that go with a pair of jeans or whatever you're wearing that night so let's begin we're gonna start by making the little bottom dangle so we're just going to take a head pin and on it place one of your 8 millimeter bicones and then on top of it place one of your smaller bead caps and what I like to do is these bead caps move a little bit with a little pressure especially like this one here you can see we can bend it slightly so I just like to push it down over my bead cap now I'm gonna take my wire looping pliers and grab it right where that wire exits the bead cap hold the bottom piece in place with your fingers and just squeeze and it makes that Bend for you okay push the wire down rotate your pliers up to the top and just bring your wire around so they overlap and right where they overlap is where you're going to cut the wire and just set that aside for right now so we have the little dangle now we're gonna make the main body of the earring so we're going to start with our ten millimeter bead and over it we're gonna place this first bead cap and I'm actually gonna pull out the prongs just a little bit so that it will sit over my bead better whoops get in there there's a very convenient little hole right there okay so now my bead is really up and nice and into it and then I'm gonna top that bead cap with a second bead cap like so and now I'm gonna take my third bead cap and put it upright so it's actually going to cup my bicone in the next step alright so this is what we've got and now I do want to squish those all together make them nice and tight and now I'm gonna make a wire looping plier now I'm gonna take my wire looping plier and grab it where it's right above the bike up squeeze again and now we just have this little tail we're gonna pull it around - and again where it Criss crosses is where we're just gonna cut and on this one we're just gonna straighten that loop up and now we're gonna go back to our original little guy that we made open that loop the same way you would open a jump ring blink it on to the bottom loop from your eye pin and then close it back up and for this one with this earring it actually has a little loop already there so we're just gonna open up our earring and slide on our pretty dangle and just pull it down into that loop like so and close up your earring and you are all set so now we've got a matched pair using the Scarlet Swarovski crystal and all these pretty little vintage elements and again this is what it would look like if you use the pearls instead I hope you enjoyed this quick how to make an earring video if you did please subscribe to our youtube channel or check out all our products and other videos at beadaholique.com you
Related Videos


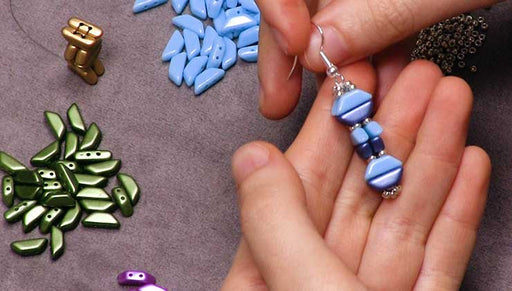
How to Bead Weave Geometric Earrings with 2-Hole Tinos Par Puca Beads
In this video you'll learn how to create stacked, bead woven hexagons using 2-hole Tinos par Puca beads, and create a geometric, color-blocked earr...
View full details

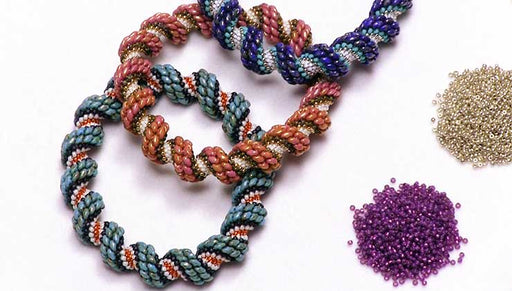
How to Make the Cellini Spiral Bracelet Kits by Beadaholique
In this video, you will see how to see from start to finish how to make the Cellini Spiral Bracelet using 2-hole MiniDuo beads - an exclusive kit b...
View full details

Beadaholique Live Class: Bead Weaving Inspiration with Leslie Rogalski
Beadaholique designers Kat Silvia and Julie Bean are joined by Leslie Rogalski, creative director of the Beadsmith, in this inspirational show-and-...
View full details