
|
Miyuki Delica Seed Beads, 10/0 Size, Opaque Chalk White DBM0200 (8 Grams) SKU: DBM-0200 $4.30 |

|
Miyuki Delica Seed Beads, 10/0 Size, Silver Lined Blue Zircon DBM0608 (8 Grams) SKU: DBM-0608 $4.99 |

|
Miyuki Delica Seed Beads, 11/0 Size, Opaque Chalk White DB200 (6.6 Grams) SKU: DB-200 $5.39 |

|
Miyuki Delica Seed Beads, 11/0 Size, Luminous Cotton Candy DB2036 (2.5" Tube) SKU: DB-2036 $3.70 |

|
Miyuki Delica Seed Beads, 11/0 Size, Luminous Lime Aid DB2031 (2.5" Tube) SKU: DB-2031 $3.69 |

|
Corduroy Rubber Cord 10x6.5mm, Black, by Regaliz, Cut to Order, by the Inch SKU: CHX-1111 $0.40 |

|
SKU: FCL-1605 $8.49 |

|
English Beading Needles Assorted Variety Pack SKU: XTL-3004 $4.20 |

|
Wildfire Thermal Bonded Beading Thread .006 Inch - Frost / White- 50 Yd SKU: XCR-8933 $12.99 |

|
Beadalon Large Beading Mats - Prevent Bead Rolling 13 X 18 Inch (Set of 2) SKU: XTL-9935 $6.75 |
Related Videos

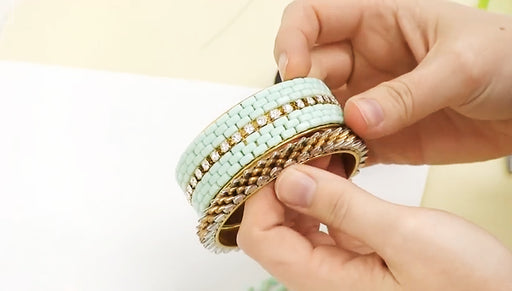
How to Bead Weave a Strip of 2-Hole Brick Beads
In this video, you will learn how to bead weave CzechMates 2-Hole Brick Beads into a strip using a combination of ladder and peyote stitches.
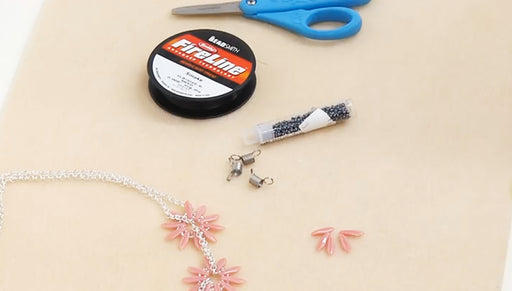
How to Bead Weave a Flower using CzechMates 2-Hole Dagger Beads
In this video tutorial see how to bead weave a pretty flower using size 11/0 Toho seed beads and CzechMates 2-hole dagger beads. These quick and ea...
View full details

How to Use the Jewel Loom Beading Loom
In this video, you will learn how to set up and use the Jewel Loom Beading Loom by Beadalon. This loom is stored flat and comes in a handy carrying...
View full details