
|
Beadalon Jewel Loom Kit - Weave Necklaces Bracelets And More! SKU: XTL-6119 $19.99 |

|
Miyuki Delica Seed Beads, 10/0 Size, Opaque White Pearl DBM0201 (8 Grams) SKU: DBM-0201 $4.30 |

|
Miyuki Delica Seed Beads, 10/0 Size, Copper Lined Crystal DBM0037 (8 Grams) SKU: DBM-0037 $6.99 |

|
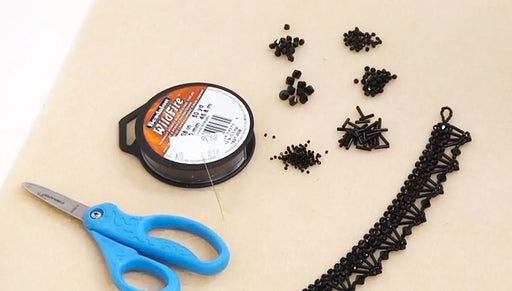
NYMO Nylon Beading Thread Size D for Delica Beads "Black" 64YD (58 Meters) SKU: XCR-8902 $2.79 |

|
Fiskars 5 Precision Tip Scissors - Super Sharp SKU: XTL-5700 $7.45 |

|
Beadalon Large Beading Mats - Prevent Bead Rolling 13 X 18 Inch (Set of 2) SKU: XTL-9935 $6.75 |
Related Videos

How to Bead Weave the Isabella Collar Necklace
In this video tutorial, see how to bead weave the main body of the Isabella Bracelet. This video will show you how to right angle weave, add the bu...
View full details
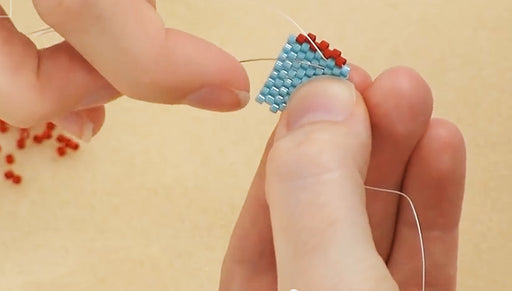
How To Do 2 Drop Flat Even Count Peyote Stitch Bead Weaving
In this video, you will learn how to do flat even count peyote stitch bead weaving with 2 beads per stitch instead of 1, which is called two drop p...
View full details
How to do Decreases in Flat Peyote Stitch
In this video, you will learn the basic technique for making outside decreases in odd or even count flat peyote bead weaving.