Note: Components and tools listed within this INSTRUCTIONS box and the printer-friendly PDF, if available,
may have been discontinued since this project was published. Refer to the PURCHASE COMPONENTS and TOOLS AND
OTHER SUPPLIES sections for current availability.
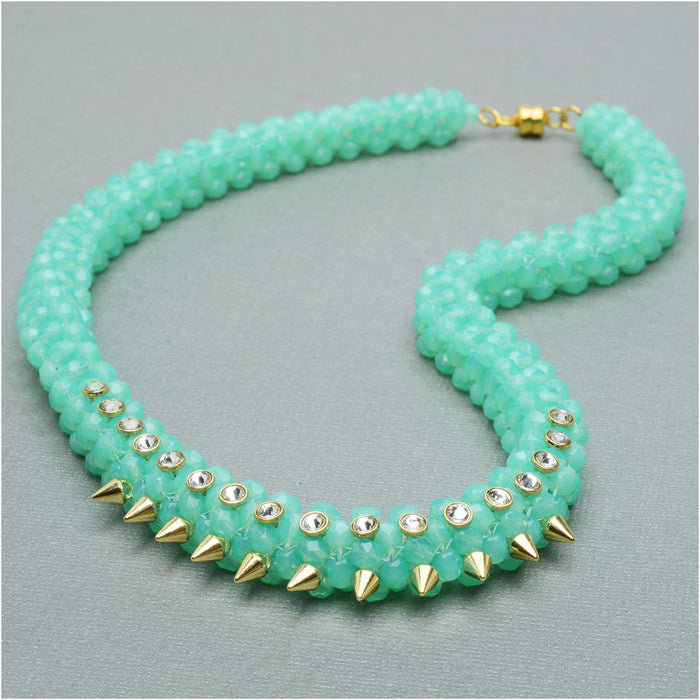
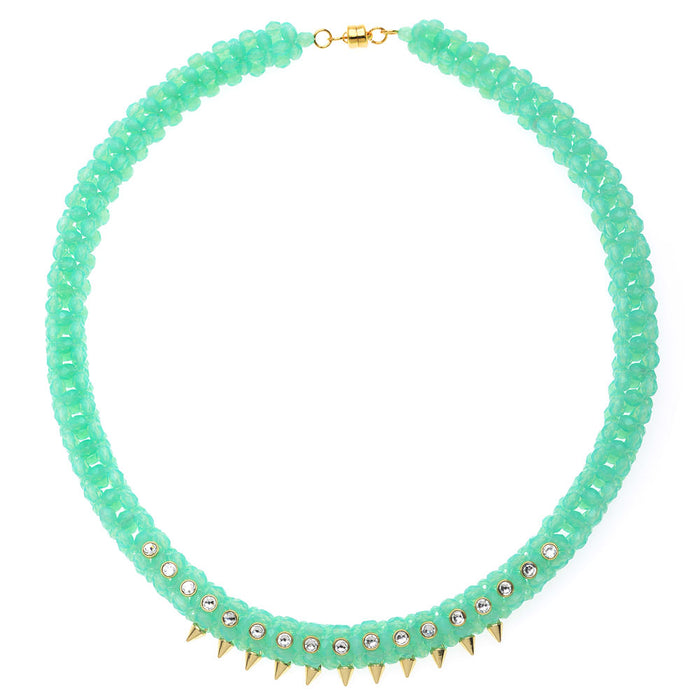
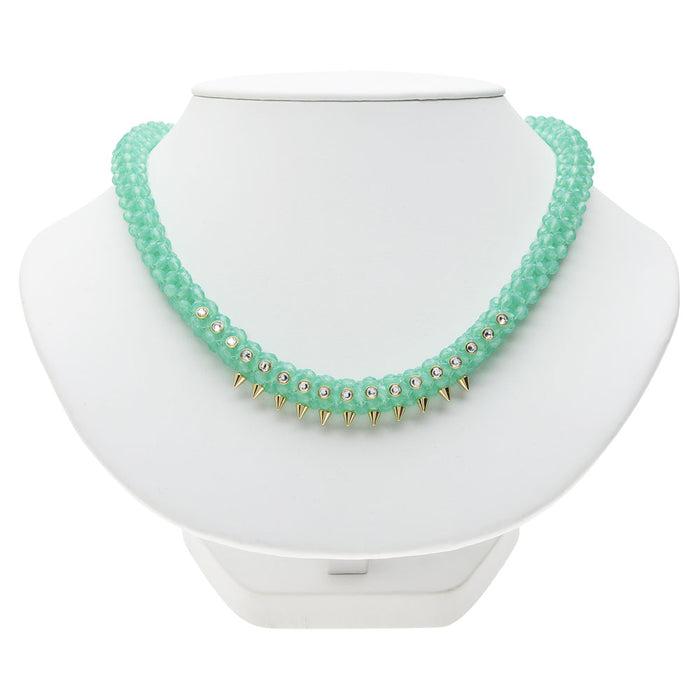
These instructions will give you a necklace that is approximately 18 inches. To adjust the length, do less or more bead weaving accordingly. The final clasp will add 1 1/4" to the necklace.
- To begin, thread your needle with a length of thread that you are comfortable working with. You will need to tie off and add more thread as you work. Leave a tail so that you can add the clasp at the end without having to add more thread. About one foot should be enough.
- Please watch our video: How to Do a Basic Cubic Right Angle Weave. Follow the instruction in this video to begin the bead weaving.
- You will continue weaving until you have 6 1/2 inches.
- For the next step please watch our video: How to Add Crystaletts to Cubic Right Angle Weave.
- You will notice that the bead weaving portion starts to take on a cuboid shape. For this next step you will be using the two sides that are the "side" and "bottom".
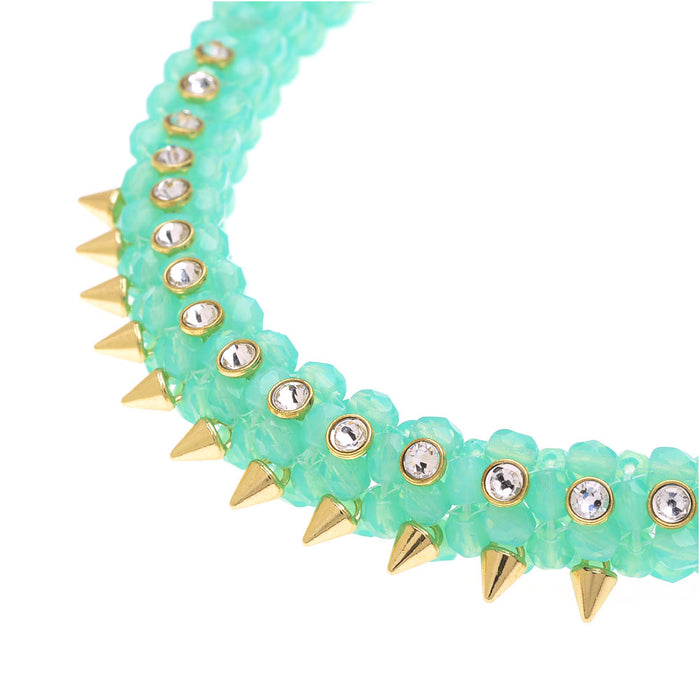
- Continue weaving and add three crystaletts crystals on to the side of the next three units.
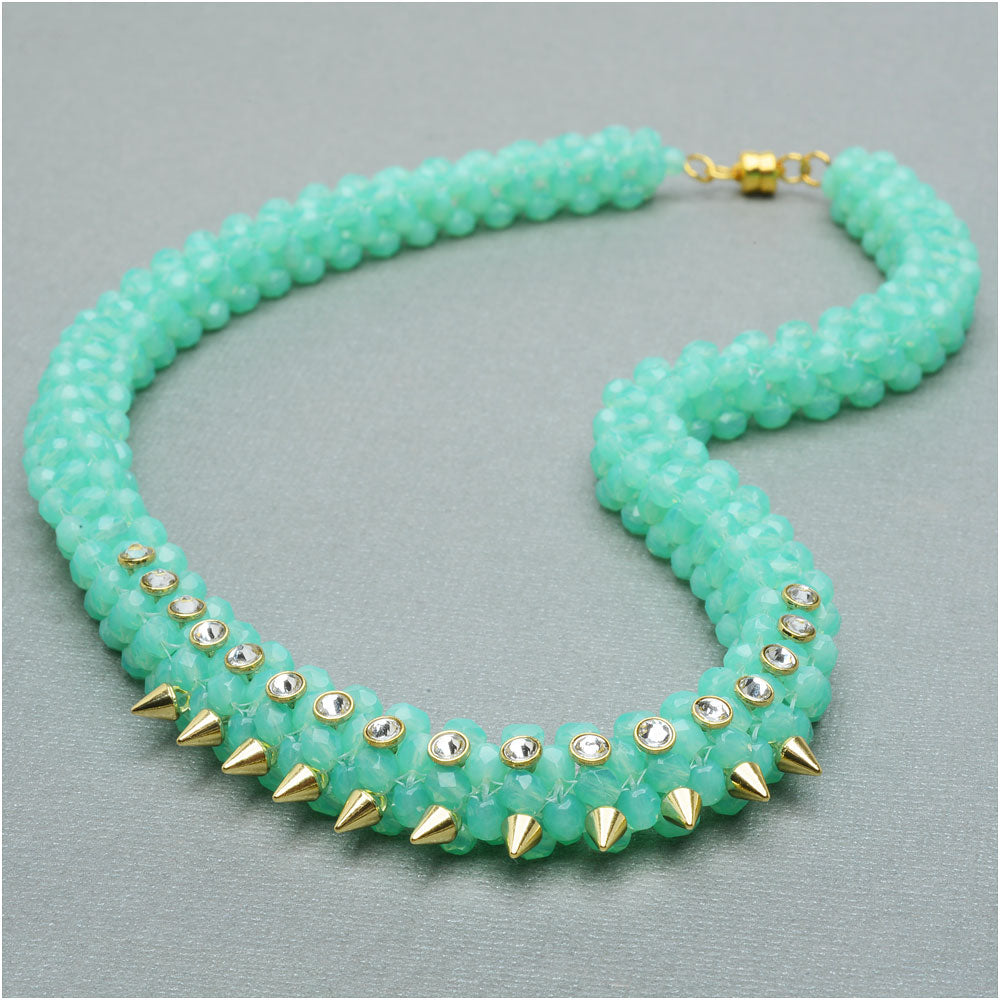
- For the next 11 units you will add a crystaletts crystal on the side and a crystaletts spike on the bottom. (Please see photo for reference).
- After you have added the final spike, you will add three more crystals to the side into the next three units.
- Weave 6 1/2 inches of cubic right angle weave.
- When you come to the end, string on one 4mm bead and one closed jump ring. Thread back down through the bead you just added and now take your needle and go across the right angle weave unit and through the bead directly across from where your thread is coming out. Now take your needle and thread it up through the 4mm bead and the closed jump ring. Weave it back down and across to the bead on the other side. You are essentially making a criss cross with the thread to secure that closed jump ring. Tie off and weave in your thread.
- Open one jump ring and attach one end of the magnetic clasp to the closed jump ring and close the jump ring.
- Repeat the above two steps for the other side of the necklace.
- All done!
WHAT YOU'LL NEED: (scroll down for purchase options)
- CRY-1019 - Crystaletts Austrian Crystal Buttons, Rhinestone 3mm, 20 Pieces, Gold /Crystal
Project uses 17 pieces. You will need 1 package.
- CRY-1028 - Crystaletts Micro Spike Buttons, 4x6mm, 20 Pieces, Gold Plated
Project uses 11 pieces. You will need 1 package.
- BCP-3472 - Czech Fire Polished Glass Beads 4mm Round 'Peridot Opal' (50)
Project uses 526 Beads. You will need 11 packages.
- FJR-5250 - 22K Gold Plated Open Jump Rings 5mm 20 Gauge (100)
Project uses 2 pieces. You will need 1 package.
- FJR-4016 - 22K Gold Plated Closed Jump Rings 5mm 21 Gauge (50)
Project uses 2 pieces. You will need 1 package.
- FCL-6682 - 22K Gold Plated Magnetic Clasps 6mm x 8mm (3)
Project uses 1 piece. You will need 1 package.
- XCR-1275 - FireLine Braided Beading Thread, 4lb Test and 0.005 Thick, 50 Yards, Crystal Clear
Project uses 1 Spool. You will need 1 package.
RECOMMENDED TOOLS:- XTL-3006 - Beadsmith English Beading Needles Size 12 (4 Needles)
- XTL-5511 - Beadsmith Jeweller's Micro Pliers Chain Nose Flat Nose
- XTL-5514 - Beadsmith Jewelry Fine Round Nose Micro Pliers
- XTL-0106 - BeadSmith Cordless Thread Zap II Thread Burner Tool


 Earn Reward Points with your purchase of project components or tools.
