Store Closing, Limited Stock
SKU VID-1755
Designer:
Alexandra Smith
In this video, you will see from start to finish how to create this project using Nunn Design components with 24 gauge hematite craft wire. You will see how to use wrapped wire loops to hang the flat tags and metal bead from an earring wire in the order shown. You will also see additional design inspiration and a variety of pendants and charms featured in the Nunn Design Winter 2020 Collection.
FEATURED IN THIS VIDEO
Audio Transcript
Note: This audio transcript is auto-generated and may not be completely accurate.
hi this is Alexandra at beadaholique to so you how to make the antiqued and now that these earrings featuring Nunn design so here's the earring that we'll be making and let me pull in our supplies now this features some pieces from the Nunn design winter 2020 collection so we'll be working with these beautiful navette leaf shaped pieces and a bead and then up around here we've got some more metal ways of those same shapes in the double cone beads and the beautiful faceted rectangle beads then Yvette's and some hexagons in about a half inch size we've got one-inch drops in all three colorways and also these really neat curved rectangles that are just about two inches long a couple of little hearts here and also some new earring hooks that are the V styles and they come down about 33 millimeters so you can see here I have an alternative design inspiration for you this is the rustic love earring and we'll be looking at a technique that helps us to block up some larger holes of beads using wire wraps so to get started what I'll be using is a 24 gauge wire in the hematite color and for tools I have some flush cutters round nose pliers and a chain nose pliers so I'm gonna bring in my ruler and cut the wire at about 6 inches we're giving ourselves plenty of length to create some extra coils you bring in my pliers here and I'm going to create a wrapped wire loop on one side by gripping down about an inch angling at 90 degrees and use my round nose plier here to come up and over that prong and make myself a loop that's equal to my previous earring before I latch that I'm gonna bring in my little knob at pieces here there is a slight front and back to these they're a little bit sharper on the back and curved on the front so I'm going to make sure I know which is which bring on one at a time and get those angled the way I want with these in the front and the gold in the back and that's in verse 2 the other earring there you'll notice so once I had those latched on I'm gonna grip with my round nose pliers and coil with my flat create about three three coils now this is actually going to get lost inside of the bead that we're going to string on as you'll see and the hole of the bead is large enough that it just slides right over that that wrap and I liked the fluid look of that coming out sort of as a simple wire loop look but it has the structure of the wrap wire loop now up on the top I am going to want to feature a wrapped wire coil and so I'll show you how to do that with this larger sized bead so what we're gonna do is grip the wire again with the round nose pliers angle off so that I've left myself some space for coils come up and over the top check my size to match it to the other earring and come around I'm gonna coil and fill that space just as I would with a wrapped wire loop and when I hit that bead I'm going to work my way back over the top of my wrap and that's gonna double up that coil and create a little stopper kind of like a bead would I really like that artisan look it goes well with Becky's designs and creates a nice flow you could also do sort of a nested look if you wanted to be a little more relaxed about it make sure that's straight and then all we need to do is put on our earring hook now I also notice that I've created my loop in such a way that my nothat's aren't going to be facing forward so I want to grip this up and actually just gently rotate and you can do that if you find that you're not headed in the right direction with your pieces so now that I've got that front-facing I'm gonna take my new style earring hook and just slide that loop off to the side get my loop from the wrapped wire loop on there and close it up so there we have two beautiful mixed metal earrings featuring the Nunn design winter 2020 collection I also wanted to pull in this earring real quick and show you that the bottom does have that double coil on it and if you were to do that what you want to do is make the single coil leave the tail on your wire and slide the bead on create your top wrap and that way you've blocked yourself in a nice tight way to come back over the first coil if you want some extra support in that in that process so that's my tip there I hope you enjoyed this video all of these supplies are available at beadaholique.com please subscribe to our youtube channel click the notification button we make new videos every week and we hope you join us thanks so much for watching
hi this is Alexandra at beadaholique to so you how to make the antiqued and now that these earrings featuring Nunn design so here's the earring that we'll be making and let me pull in our supplies now this features some pieces from the Nunn design winter 2020 collection so we'll be working with these beautiful navette leaf shaped pieces and a bead and then up around here we've got some more metal ways of those same shapes in the double cone beads and the beautiful faceted rectangle beads then Yvette's and some hexagons in about a half inch size we've got one-inch drops in all three colorways and also these really neat curved rectangles that are just about two inches long a couple of little hearts here and also some new earring hooks that are the V styles and they come down about 33 millimeters so you can see here I have an alternative design inspiration for you this is the rustic love earring and we'll be looking at a technique that helps us to block up some larger holes of beads using wire wraps so to get started what I'll be using is a 24 gauge wire in the hematite color and for tools I have some flush cutters round nose pliers and a chain nose pliers so I'm gonna bring in my ruler and cut the wire at about 6 inches we're giving ourselves plenty of length to create some extra coils you bring in my pliers here and I'm going to create a wrapped wire loop on one side by gripping down about an inch angling at 90 degrees and use my round nose plier here to come up and over that prong and make myself a loop that's equal to my previous earring before I latch that I'm gonna bring in my little knob at pieces here there is a slight front and back to these they're a little bit sharper on the back and curved on the front so I'm going to make sure I know which is which bring on one at a time and get those angled the way I want with these in the front and the gold in the back and that's in verse 2 the other earring there you'll notice so once I had those latched on I'm gonna grip with my round nose pliers and coil with my flat create about three three coils now this is actually going to get lost inside of the bead that we're going to string on as you'll see and the hole of the bead is large enough that it just slides right over that that wrap and I liked the fluid look of that coming out sort of as a simple wire loop look but it has the structure of the wrap wire loop now up on the top I am going to want to feature a wrapped wire coil and so I'll show you how to do that with this larger sized bead so what we're gonna do is grip the wire again with the round nose pliers angle off so that I've left myself some space for coils come up and over the top check my size to match it to the other earring and come around I'm gonna coil and fill that space just as I would with a wrapped wire loop and when I hit that bead I'm going to work my way back over the top of my wrap and that's gonna double up that coil and create a little stopper kind of like a bead would I really like that artisan look it goes well with Becky's designs and creates a nice flow you could also do sort of a nested look if you wanted to be a little more relaxed about it make sure that's straight and then all we need to do is put on our earring hook now I also notice that I've created my loop in such a way that my nothat's aren't going to be facing forward so I want to grip this up and actually just gently rotate and you can do that if you find that you're not headed in the right direction with your pieces so now that I've got that front-facing I'm gonna take my new style earring hook and just slide that loop off to the side get my loop from the wrapped wire loop on there and close it up so there we have two beautiful mixed metal earrings featuring the Nunn design winter 2020 collection I also wanted to pull in this earring real quick and show you that the bottom does have that double coil on it and if you were to do that what you want to do is make the single coil leave the tail on your wire and slide the bead on create your top wrap and that way you've blocked yourself in a nice tight way to come back over the first coil if you want some extra support in that in that process so that's my tip there I hope you enjoyed this video all of these supplies are available at beadaholique.com please subscribe to our youtube channel click the notification button we make new videos every week and we hope you join us thanks so much for watching
Related Videos


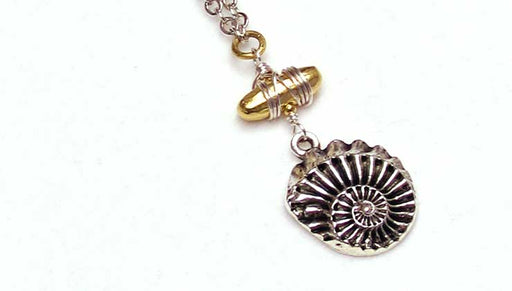
How to Make the Galatea Necklace featuring Nunn Design
Store Closing, Limited Stock
In this video, you will see from start to finish how to create this project using components by Nunn Design. First, you will see how to wire wrap t...
View full details

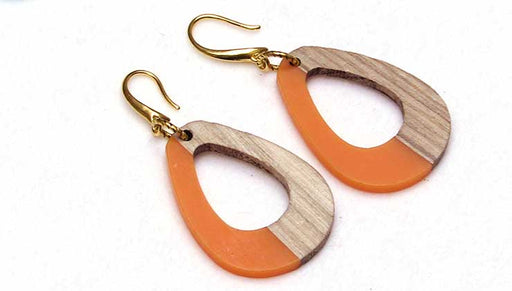
Quick & Easy DIY Jewelry: Clementine Drop Earrings
Store Closing, Limited Stock
In this video, you will see from start to finish how to assemble these earrings using Zola Elements wood and resin open teardrop focals with Nunn D...
View full details

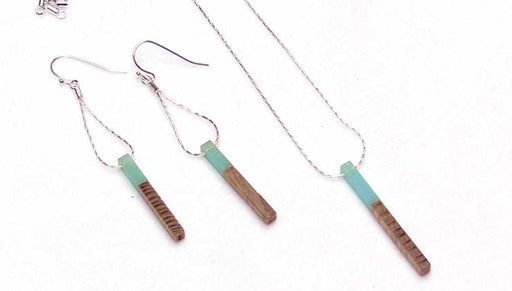
How to Use Beading Chain with Zola Elements Wood and Resin Pendants
Store Closing, Limited Stock
In this video, you will see from start to finish how to make this project using wood and resin stick drops by Zola Elements. First, you will see h...
View full details


