How to Make a Layered Necklace using Draped Chain and Beading Wire

SKU VID-1759
Designer: Alexandra Smith
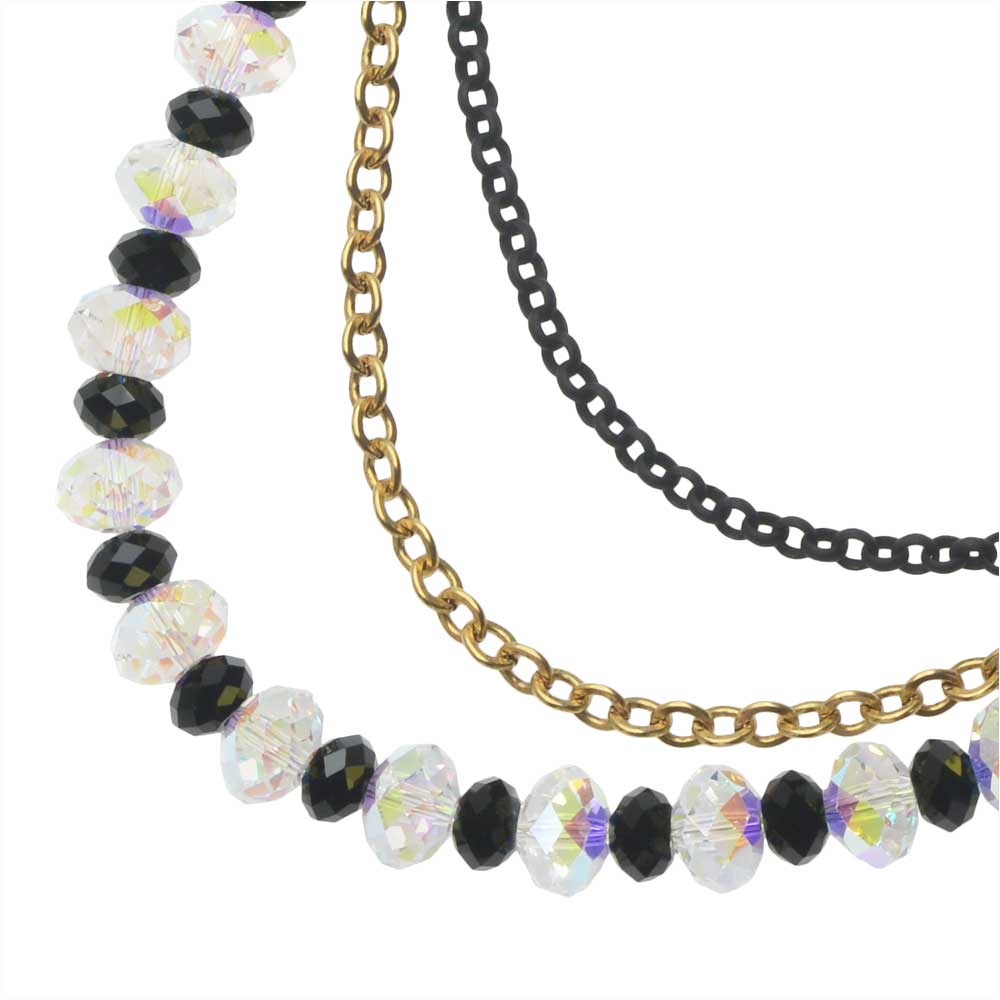
In this video, you will see from start to finish how to assemble the Noir et Blanc Necklace using cable chain, beading wire, and Austrian crystal rondelle beads. First, you will see how to string the beads in the order shown. Then you will see how to use thread protectors, crimp beads, and crimp covers to attach the beading wire onto cable chain with a clasp.

The brand name for the crystals shown in this video is no longer available. High quality Austrian crystals are now available under the PRESTIGE™ Crystal Components line.

Audio Transcript
Note: This audio transcript is auto-generated and may not be completely accurate.
hi this is Alexandra with beadaholique - oh you how to make a layered necklace using drape chain and beading wire will be incorporating some flat cable chain with Rolo chain and some beautiful Swarovski crystal rondelle beads so here are my components I've got some beautiful Swarovski crystal rondelle beads in the 8 millimeter a B finish and the 6 millimeter in this shiny black I've got some oxidized chain we'll be using as well as some flat cable chain then for findings I've got 6 millimeter closed jump ring a 12 millimeter lobster clasp a couple of 2 millimeter crimping beads 3 millimeter crimp covers and a couple of thread protectors I'll be stringing on the 19 strand beadalon and stringing wire that is the 0.015 size and that's in the gold finish and for tools what I have here are some flush cutters chain nose pliers then chain nose pliers I have a bead stopper and a crimping tool so let's go ahead and get started we're gonna assemble our chains which I have pre-cut in the lengths we'll need and just start to see how this is going to shape up so here I have a couple of five and a half inch lengths and those will be going up the sides then I've got a 4.25 inch section here and a four point J well I may have that reversed this is 4.25 for the black and 4.5 for the gold and you'll see how that shapes up as we start to create our design with the draping and beading that we'll be doing so now let's get the Flex wire it will be meeting and I'm gonna cut approximately 10 inches we'll give ourselves Oh nearly a foot to work with that like so and I'll clip that with my flush cutters I'll bring in my bead stopper and just attach that to one end of my cord so we're ready to bead the focal portion of our necklace now to begin that what I'm going to do is slide on the end link of my oxidized black chain that's the first piece that will be going on here and next we're gonna add three of these black six millimeter rondell's after that we're gonna add on the end link of our 4.5 inch gold chain and now we'll start alternating let's see we don't want to start with a black and I'll be alternating 14 of the small black beads with 13 of these larger sparkly eight millimeters so get those on here and then we'll move to the next step so once all of our beads are on we've got our 14 small and 13 larger and I'm gonna bring the other end link of my gold chain onto my flex wire from there I will add my final three six millimeter black Rondo's and then the end link of my oxidized chain so you can see what we have going here is a beautiful layered look a draped focal and we will be integrating that flex wire portion on two lengths of chain going up so to do that what I'm going to do now is bring on my two millimeters crimping bead and I'm going to use one of these thread protectors which is a great secure way to attach so I'm coming through the little tube on one side of that thread protector over the top and I'm going to catch my cord into the groove up there and double back my crimping bead pull that up to the base and I can bring in my crimping plier now I'm going to go into the back trough of the tool squeeze the bead in half and crease it then come to the front trough in the other direction and fold the two sides in once I've got that on nice and secure a minute trim my tail and go ahead and add on my crimp cover and save that back get a grip here and just slide that little two millimeter bead into with the three millimeter crimp cover there we go and now I'm gonna take my chain nose plier and just squeeze the two sides of that round crimp cover together to cover my crimping bead and I want to alternate gently on either side of that opening to get a nice flush closure without any dents or bumps there we go okay and so to attach that to the chain we actually don't need a jump ring because this chain by Nunn design has open links and I always enjoy using the links as jump rings themselves so I'm just gonna take my pliers and open up that end link and slide on my thread protector close it up and we've got one side fastened so now I'm just gonna slide all of that down tighten up my flex wire position my beads and remove my bead stopper and I'm gonna do the same procedure on the other side to create that attachment with the indeed crimp cover and thread protector coming through the side of the thread protector over the top and into the groove and doubling back through my crimping bead so this design is really versatile it's a it's a neat way to incorporate beads and chain together I was picturing a design that might have gemstone chain with semi-precious beads you could use any number of glass beads and we'll go over the measurements of each section just so that you can really make this design your own so lastly I'm going to attach the crimp cover and latch this on to my chain on this side and then all we have to do is attach our clasp all right so I'm just coming back in here and clipping the tail of my flex wire and I'll go ahead and attach the other side of my chain find the opening of my little link and slide it onto my thread protector close it up and we'll do the same thing to attach our jump ring which I opted for a closed jump ring for security so we'll get these on I think this design would also go really nicely in silver and just with a any number of colors sizes and shapes of beads right so there's the jump ring and we'll get our lobster clasp on here yeah we are okay so real quick I want to bring a ruler in and just take a look at these measurements because if you are substituting other beads you'll want to know the lengths of these sections so beads all together as I measure are six inches total coming around and so the number of beads you use is going to vary depending on their size but you'll want to know the spacing and so this section here is 1/2 inch between the gold and the oxidized chain and like I said the chain is coming up the top are five and a half inches the oxidized chain is four and a quarter inches and the gold one is four and a half so I hope you enjoyed this video all of these tools and supplies are available at beadaholique.com be sure to click the subscribe button on our YouTube channel get notified for all of our latest updates we have new videos coming out every week thanks for joining us

Customer Reviews

Based on 2 reviews Write a review

You recently viewed

Clear recently viewed