How to Finish a Kumihimo Braid to Fit into a Larger Clasp or Cord End
Store Closing, Limited Stock
SKU VID-1746
Designer:
Kat Silvia
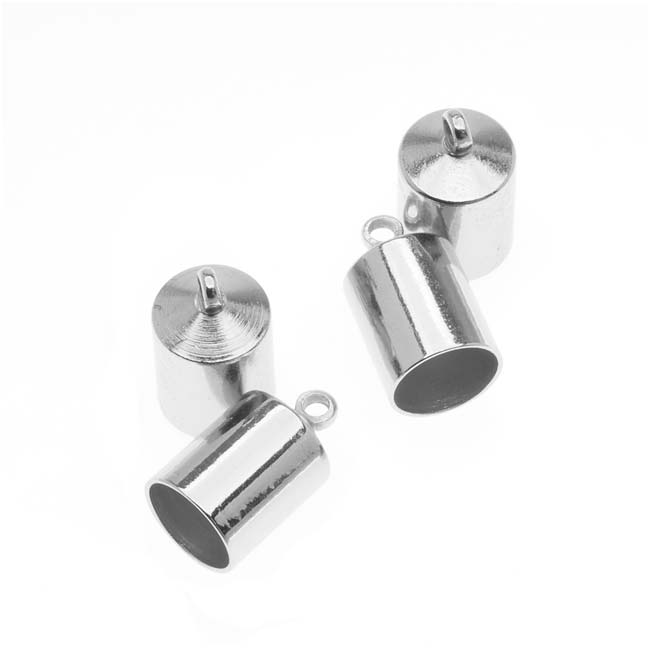
In this video you will learn how to bulk up a smaller kumihimo braid that has been made with S-Lon cord in size 18 to allow it to fit into a clasp or cord end. This technique will help your cord ends fit snuggly for a better, more secure finish. Learn more with our Kumihimo 101 Guide.