
|
Economy Waxed Cotton Necklace Cord 1.5mm Black 10 Yards (30 Feet) SKU: XCR-4220 $2.99 |

|
E6000 Industrial Strength Glue Adhesive (0.18 fl oz) SKU: XTL-1054 $2.99 |

|
Fiskars 5 Precision Tip Scissors - Super Sharp SKU: XTL-5700 $7.45 |
Related Videos

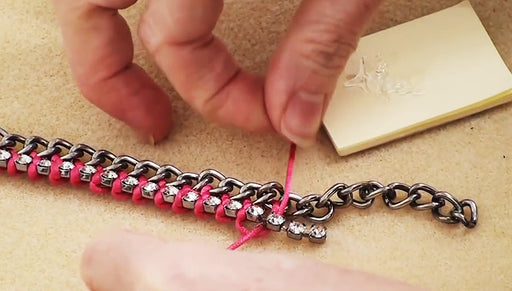
How to Tie Rhinestone Cup Chain onto Curb Chain
In this video tutorial, see how to tie/knot rhinestone cup chain onto a curb chain. This trendy technique is very easy to do. In the video see how ...
View full details
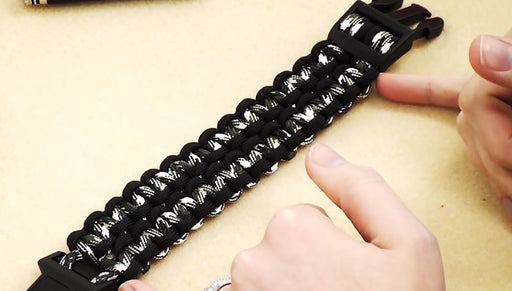
How to Make a Wide (Double) Cobra Paracord Bracelet
In this video, learn how to make a wide or double cobra paracord bracelet, which is two small cobra braids side by side.
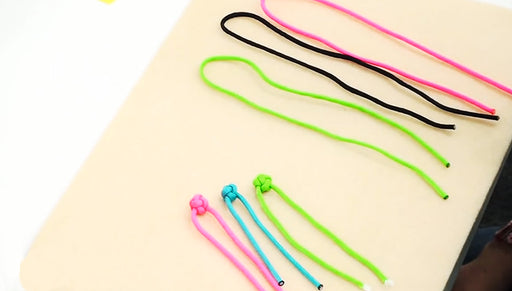
How to Make a Celtic Button Knot
In this video, learn how to tie a Celtic button knot. These are useful for button and loop closures.