
|
English Beading Needles Assorted Variety Pack SKU: XTL-3004 $4.20 |

|
Beadalon Beading Mats - Prevent Bead Rolling 12 x 9 Inch (Set of 3) SKU: XTL-9930 $3.99 |

|
Miyuki Delica Seed Beads, 10/0 Size, Opaque Red DBM0723 (8 Grams) SKU: DBM-0723 $4.30 |
Related Videos

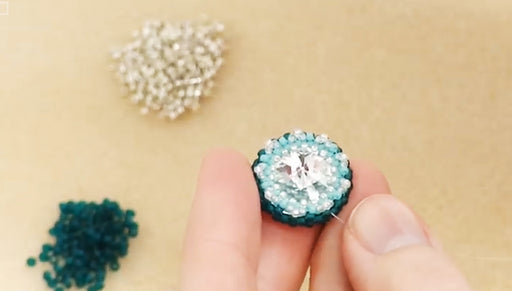
How to Embellish a Beaded Bezel for the Evening Star Necklace
In this video, learn one way to embellish a basic beaded bezel. This embellishment is used in the Evening Star Necklace, a Free Beading Project fro...
View full details

How to Bead Weave a Metal Bead Bracelet using Modified Ladder Stitch
In this tutorial see how to make the Firenze Bracelet - a metal bead bracelet using a modified ladder stitch bead weaving technique.
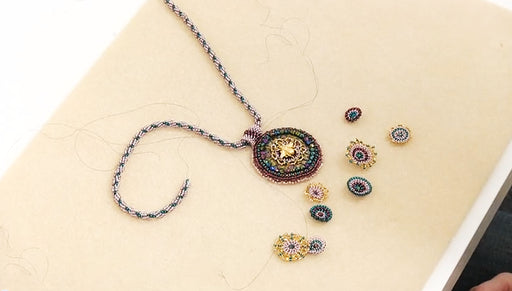
How to Attach Embellishments to a Focal Piece
In this tutorial learn how to attach assorted embellishments to a focal piece in bead weaving and bead embroidery. This is a very free form activit...
View full details