
|
Toho Round Seed Beads 8/0 55F 'Opaque Frosted Turquoise' 8 Gram Tube SKU: JSH-0249 $2.25 |

|
Toho Round Seed Beads 8/0 48F Opaque Frosted Navy Blue 8 Gram Tube SKU: JSH-0240 $2.25 |

|
Toho Round Seed Beads 11/0 43DF 'Opaque Frosted Cornflower' 8 Gram Tube SKU: JSK-0230 $2.55 |

|
Wildfire Thermal Bonded Beading Thread .008 Inch - Black- 50 Yd SKU: XCR-8936 $11.99 |

|
Beadalon Beading Mats - Prevent Bead Rolling 12 x 9 Inch (Set of 3) SKU: XTL-9930 $3.99 |

|
English Beading Needles Assorted Variety Pack SKU: XTL-3004 $4.20 |
Related Videos

How to Tie Off and Add New Thread in Bead Weaving
An essential skill in bead weaving, this video will show you how to tie off and add new thread.
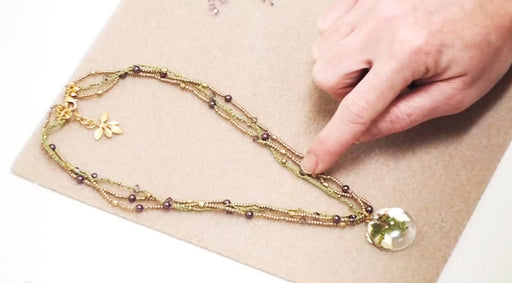
How to Crochet for Jewelry (without hooks)
Learn how to crochet stringing material and add beads into your stitch, all without the use of hooks or other tools.
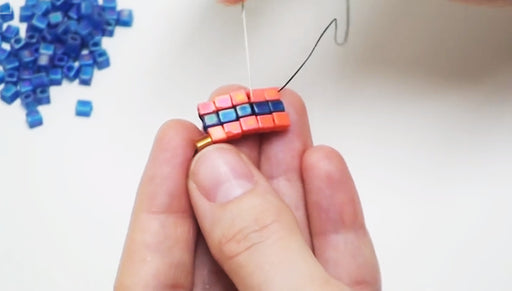
How to Do Square Stitch Bead Weaving
Andrea demonstrates how quick and easy it is to use Square Stitch for jewelry making using Miyuki Beads, a big eye needle and Wildfire thread.