Note: Components and tools listed within this INSTRUCTIONS box and the printer-friendly PDF, if available,
may have been discontinued since this project was published. Refer to the PURCHASE COMPONENTS and TOOLS AND
OTHER SUPPLIES sections for current availability.
You may also wish to use clear nail polish or a gloss clear coat to finish the side of the bracelet that gets filed down to make it shiny again.
- Shake your mold release spray and then spray into the bracelet mold cavity. With very clean fingers or a non-fibrous cloth, work the mold release into the mold and let dry. Wash your hands.
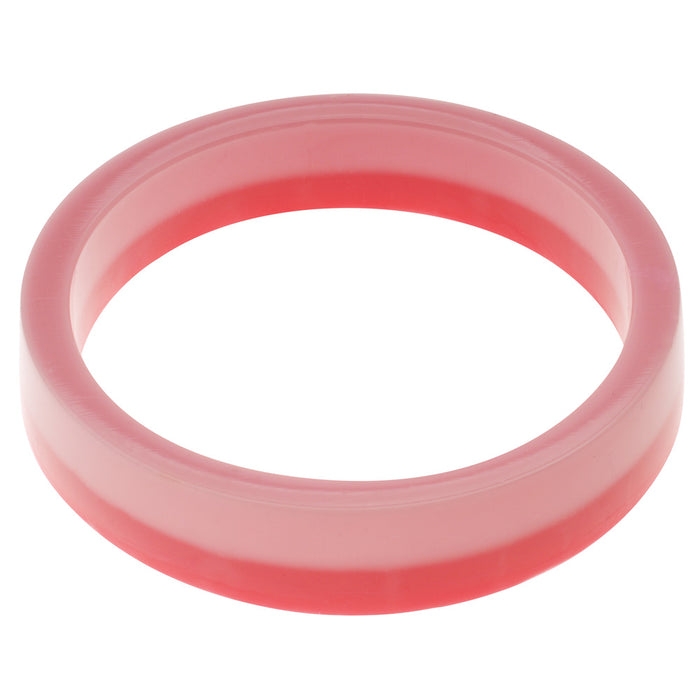
- Mix 1 oz. of Ice Resin. Once part A and part B are mixed, squeeze 1 small drop of red pigment and 2-3 drops of white into your resin. Using your mixing stick, mix the colors together until all the striations are gone. Adjust the color as you like, just remember one drop at a time and because of the small amount of resin being used, do not use more than 3 or 4 drops total of all the dye.
- Carefully use your mixing tick to transfer the resin into the bottom of your mold cavity. Try to avoid getting resin on the sides of the mold cavity, but it will mostly slide off and not show too much in the end if you do happen to.
- Fill the mold about halfway and then allow the resin to set for 24 hours.
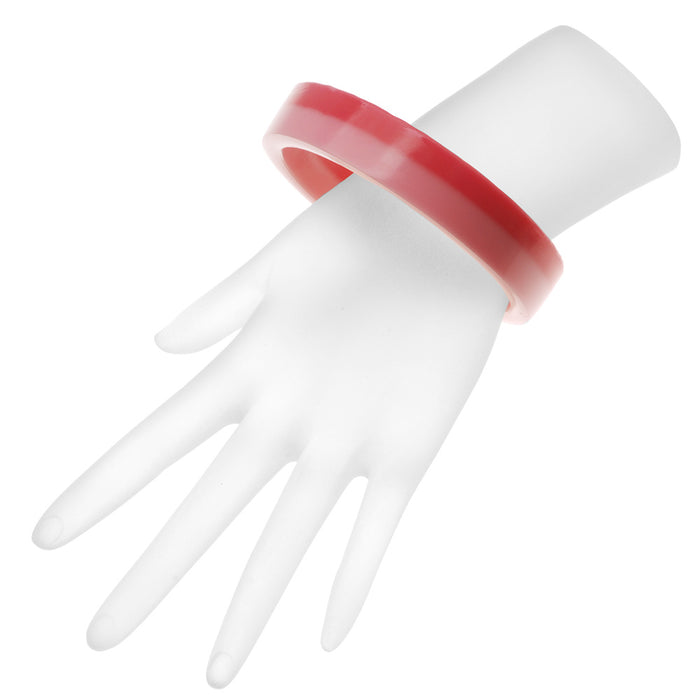
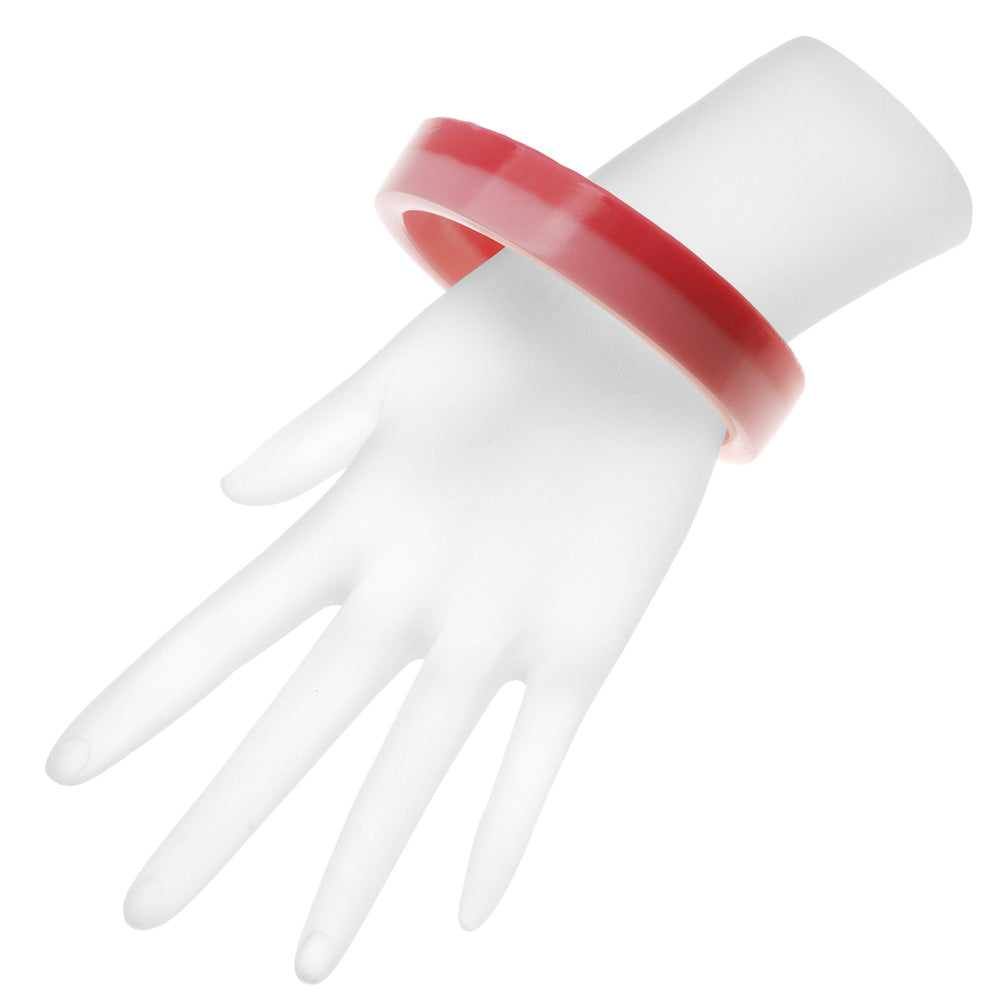
- On the following day, or several days later if you prefer, mix another 1 oz. of Ice Resin. Once part A and B are mixed, squeeze 1 small drop of red pigment and 1-2 drops of white into your resin. Using your mixing stick, mix the colors together until all the striations are gone. If you want a darker color, add another drop of red. Pour your dark pink resin directly on top of your light pink in the mold. Fill until just slightly below the top of the mold, do not let it spill over. Let cure for a full 3 days.
- After at least 3 days, pop the bracelet out of the mold. You will most likely need to sand down the rough edge. Do this with a diamond file (wear a mask, you don't want to inhale the dust). Keep sanding until you have a nice smooth edge that matches the other side of the bracelet. If you wish, paint the sanded edge with clear coat or clear nail polish to shine it back up. Allow to dry thoroughly.
WHAT YOU'LL NEED: (scroll down for purchase options)
- TRC-10 - ICE Resin Jewelers Grade Clear Casting Epoxy Resin 8 oz Kit
Project uses 1 set. You will need 1 package.
- TRC-04 - Casting Epoxy Resin Mold Release And Conditioner 4 oz.
Project uses 1 bottle. You will need 1 package.
- TRC-85 - CASTIN CRAFT Casting Epoxy Resin Opaque Red Pigment Dye 1 Oz
Project uses 1 bottle. You will need 1 package.
- TRC-87 - CASTIN CRAFT Casting Epoxy Resin Opaque White Pigment Dye 1 Oz
Project uses 1 bottle. You will need 1 package.
- TRC-101 - Resin Epoxy Mold For Bangle Bracelet - 2 5/8 ID 3/4 High
Project uses 1 piece. You will need 1 package.
RECOMMENDED TOOLS:- XTL-0102 - 10 Piece 4 Inch Precision Diamond Needle File Set


 Earn Reward Points with your purchase of project components or tools.