


Related Videos

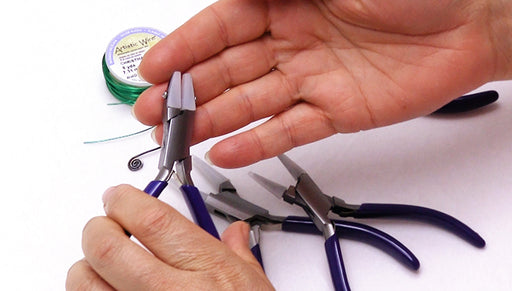
Show and Tell: Eurotool Nylon Jaw Pliers
In this video, you will see four types of nylon jaw pliers by Eurotool, including the half round and half flat nose, round nose, and chain nose pli...
View full details
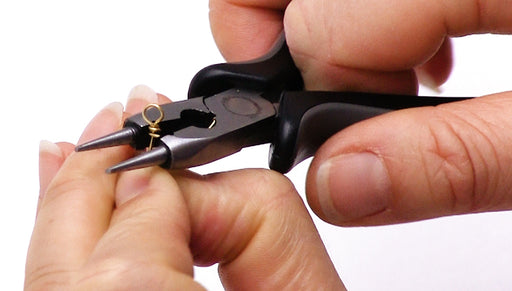
How to Use the Beadsmith Ergonomic 4-in-1 Pliers
This video showcases the 4-in-1 Ergonomic Pliers by Beadsmith. This tool offers multiple features including ergonomic handles for comfortable grip,...
View full details