How to Use the Artistic Wire S-Hook Clasp Jig Tool

SKU VID-1688
Designer: Alexandra Smith
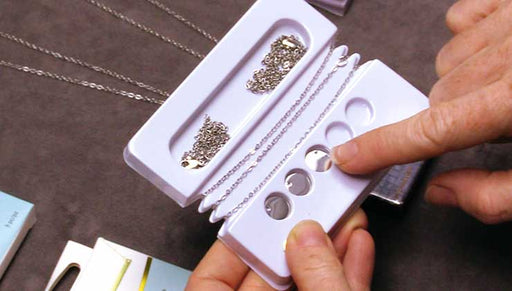
In this video, you will see how to make an S-hook clasp using the Artistic Wire Findings Forms Jig Tool. This demonstration can be adapted to a variety of other Artistic Wire jig styles, each including specific printed instructions. You will also see how to hammer your finished clasp for a work-hardened, artisan look.
Audio Transcript
Note: This audio transcript is auto-generated and may not be completely accurate.
hi this is Alexandra at beadaholique you show you how to use the artistic wire s hook clasp jig tool so this tool is going to make a clasp that looks like this and this uses twenty gauge wire eighteen and twenty two would work as well we've got some craft wire here I also have a couple of eight millimeter jump rings that our class will hook on to and it comes with a little push peg that you'll see is useful we've got some flush cutters nylon jaw pliers some chain nose pliers and after we have formed our clasp I'm going to bring in a bench block and hammer and that's going to give us this work hardened artisan look to our clasp so when you buy a jig like this and there are a variety of styles for different components they will come with specialized very clear to read instructions like so now to begin I'm going to bring in my ruler and cut about four and a half inches of wire to make sure that's nice and straight I'm gonna take my nylon jaw pliers just run that along the length of my wire to get any strange warps out of there and get it ready to use now we're gonna take the end of our wire and insert it inside the hole that's at the center of our jig just about half an inch quarter or half an inch I'm gonna push that down with my finger like so and to begin I'm going to bring the wire to the right over the top of this right hand peg around the bottom of it and up over the top of this raised plastic portion it's going to shape one side of our clasp I'm going to come around do the same thing on the opposite side create the other loop and then through the center from behind this peg and around the outside of it until I've crossed through almost through the middle so that wire is coming over on itself and what I want to do with this peg because this is slipping off a little bit we want to make sure we press our wire in so I'm going to take the peg and press it down it's hollow it's got a hole it fits right on there press it down on to our loops on one side also on the other side just for good measure I'm gonna kind of tap it around the edges as well to get a really good solid shape on there then I'm ready to take off my wire I can lift that edge up I could also clip it off if I want and slip off our forum wire from here we're ready to get it all fine-tuned so I'm gonna clip off the extra by just setting my flush cutter right against where the wire overlaps on itself on each side of those loops and I'm gonna use my chain nose pliers to make sure I have a nice flush closure on those and I can make some micro adjustments as I go not quite ready to make it exact yet because we'll be hammering it so let me also tuck in this edge a little bit get the shaping right that looks about right okay so now I'm gonna bring in the bench block and set my clasp down and put the flat side of my hammer just gonna start lightly tapping on that you'll see it gives it sort of a textured flatten appearance it's also going to help keep the shape of the curves so I've done one side I'm going to flip it over give it a few more taps there to make the sides match you'll see that my arms have opened a little bit and that's alright because they push right back in and you'll also feel the wire has stiffened a bit which is good for helping to keep the clasp closed when you're wearing it so these jump rings that I've selected fit nicely and have the same gauge and that's what you will put on either side when you're ready to attach whatever project you're using via crimps or wire wraps whatever you choose I hope this video was useful you can find all these tools and supplies at beadaholique.com and please also subscribe to our YouTube channel for all the latest updates thanks for watching

Customer Reviews

Based on 1 review Write a review

You recently viewed

Clear recently viewed