How to Use Cord End Caps

SKU VID-0158
Designer: Julie Bean
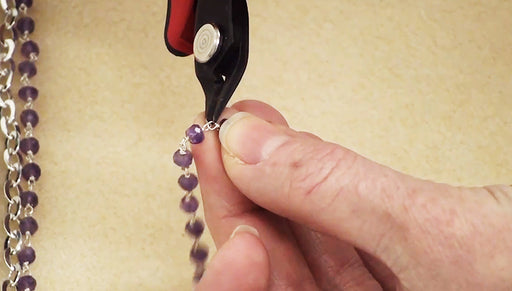
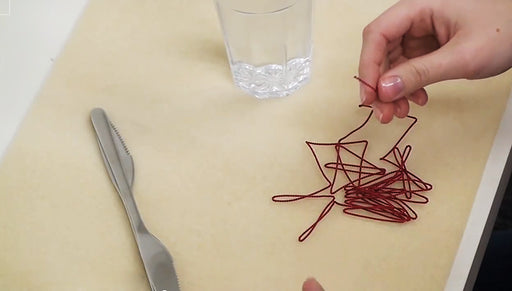
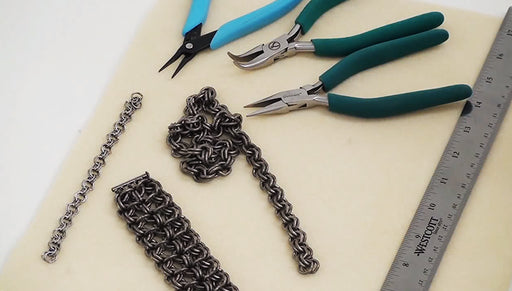
In this video tutorial, see how to easily finish your braided and knotted jewelry used cord end caps. The particular caps featured in this video do not have a loop already formed onto the finding, see how you can make your own loop and then attach the end cap to the braid.
Audio Transcript
Note: This audio transcript is auto-generated and may not be completely accurate.
Hi, this is Julie with Beadaholique.com Today I'm going to show you how to use these cord end caps for your Kumihimo braid or any other braid you work with whether your doing macrame knotting, friendship bracelets or Kumihimo. In a previous video I showed you how to use this type of cord ends. That was in the video that shows you how to tie off your Kumihimo braid which showed you how to do this taping technique if you're not familiar with that. But in this video I'm going to show these ones which don't already have a loop to them. So what you're going to need is your gonna need a head pin. Now try to use a head pin that has a really narrow profile and if you have one that pulls right through that's okay you could still use it. You're just gonna need to have something like a little daisy spacer something you can put on the end of it then thread it through so it's secure and it doesn't go anywhere. Or you can just use a head pin which has a large enough head that's not going to pull all the way through it. That's gonna hold tight on there as well. So you'll want to make sure that your end cap fits over your braid work. That one does. So what you wanna do first is you're going to put the head pin in there. I'm going to take my wire looping pliers. You can also use round nose. If you wanted to you can put a bead on top of this here as well and it make it decorative as you like. Going to use my wire looping pliers loop the wire around and then I'm going to make a wrapped wired loop just as I would with any other jewelry making application. I'm going to take a pair flush cutters, trim off my excess wire. Go ahead and squish in that end. It's not sticking out. I'm going to do that on the other side as well so I need to do two of these. Again I just need to put the head pin through the hole make a wrapped wire loop, cut off access with flush cutters and go ahead and tuck in my end of my wire. So now what I need to do is I need to get these onto my cord. That's really easy. Take some E6000 glue. You can use a toothpick or scrap piece of wire as an applicator for your glue. I like using the end of the magic pick which is something I have on hand. I'm going to put some on the tip over my cord end and a little bit over my tip. And for this application because I know it's going to be a tight fit I used the taping method to tie off my ends because I didn't have any extra space if I was to wrap another cord around my end to secure it. So I wanted to use tape. That's one end. I'll show you on the other end as well. Just fits on top and that will dry in place. So that's how you attach those. And really quickly I'm going to show you how to finish it up. I'm going to attach a clasp. I have a jump ring. Just going to open it up. I'm going to loop it through the wrapped wire loop I just made and then the loop at the base of the clasp. Close the jump ring. Good to the other side do the exact same thing. Just open up the jump ring loop it through the wrapped wire loop. Loop it through the little loop at the base of my clasp close it back up. Now we have a finished necklace. And that is how you use the cord ends that don't have a loop already attached that you have to make the loop for. Go to Beadaholique.com for all of your beading supply needs!

You recently viewed

Clear recently viewed