
|
Wire Elements, Tarnish Resistant Silver Color Copper Wire, 22 Gauge 20 Yards (18.2 Meters) SKU: WNT-2230 $10.95 |

|
Wire Elements, Tarnish Resistant Silver Color Copper Wire, 26 Gauge 34 Yards (31 Meters) SKU: WNT-2630 $9.75 |

|
The Beadsmith Wire Looping Pliers - Concave And Round Nose SKU: XTL-5032 $14.99 |

|
Sharp Flush Cutter Pliers - For Cutting Beading Wire (1 Piece) SKU: XTL-5600 $23.99 |

|
Xuron Jeweler's Super Fine Pliers Chain Nose Flat Nose SKU: XTL-5450 $25.99 |

|
The Beadsmith Jeweller's Micro Pliers Bentnose Bent Nose SKU: XTL-5512 $8.49 |

|
Beadalon Beading Mats - Prevent Bead Rolling 12 x 9 Inch (Set of 3) SKU: XTL-9930 $3.99 |
Related Videos

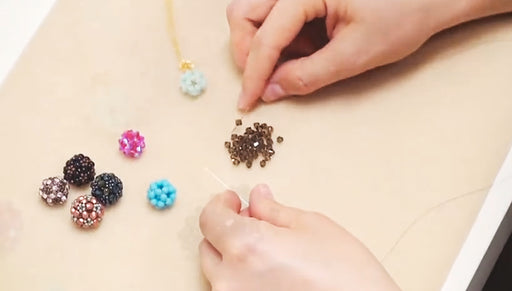
How to Make a Beaded Bead Using Right Angle Weave Double Needle Method
In this Beadaholique video, Andrea shows us how to make a beaded bead using right angle weave and the two needle method.

How to Make a Name Stamped Mother's Necklace
Learn how to make a name stamped mother's necklace using several types of metals and tools.
