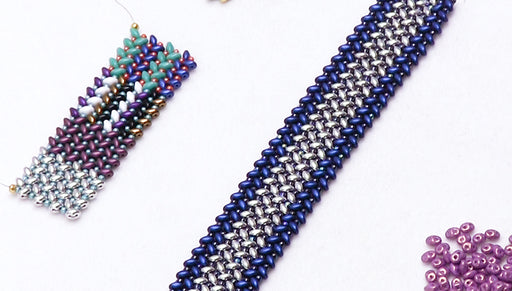
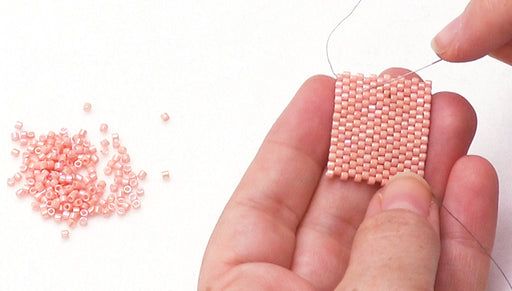
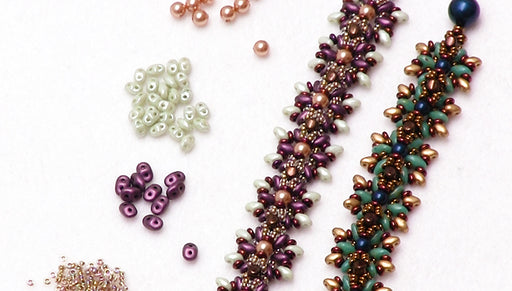
How to Finish Off Traditional Loom Work and Add a Slider Clasp

SKU VID-1099
Designer: Julie Bean
In this video learn how to tie off your loom warp threads and add a sleek slider clasp. This is an easy finishing technique that gets around the common and difficult process of having to weave in your warp threads on a traditional loom piece.
Audio Transcript
Note: This audio transcript is auto-generated and may not be completely accurate.
Hi, this is Julie with beadaholique.com the loom and add a slider and clasp to it so these are by beadalon and they're really great so you see they've got this little channel right here and that's what we're going to slide over the last row of our beads in our loom piece so to begin with you want to make sure your loom piece is finished so I have woven in all my little hanging threads and we actually have another video showing you how to do that you also want to make sure that on each end you've added one extra row that's going to get covered so it doesn't really matter what color pattern that extra last row is ran just slide this guy right over it so to remove your beadwork I know this is always a scary part but just cut it off of the loom and then we're going to do that on this side too and we can go ahead and get rid of our loom at this time so you want to make sure that you have enough inches of thread on each side to be able to tie knots with it comfortably so the technique that I'm going to show you is going to work with any piece of loom or if you have all these ends leftover which is a lot of the traditional looms you find on the market not just the jewel loom that I was using for this piece so what we're going to do and I have my little loom needle here which actually helps me to pick out my threads so you're going to take the end to threads and you're going to tie them together in a knot so we're just going to do a simple overhand knot to begin with and pull it down to the bead and now we're going to go back and do a surgeon's knot so we're going to go through it twice and pull that down towards the bead now you might end up with some kind of unsightly knot don't worry about it they're all going to just be covered up by this slider end so now we're going to go and isolate the two next threads and we're going to do the same thing so we're going to tie them together and then that surgeons not again okay so now we've got two different units of two threads that have been tied together so a total of four threads so now we're going to grab those four threads and we're going to tie them together and again that surgeons not for the second not okay and pull that down and that is what I'm going to call basically one unit so now we're going to do the exact same thing with the next four threads so let's see if I can isolate these those a little bit easier to look at so these are the next four so let me pick up these two that are closest together I'm going to do the same thing these two now be careful not to pull too tight you see I'm pulling that knot right down to the bead but I'm not pulling super tight because I don't want to cause any warping in here you know let's tie these guys together lost a thread in there somewhere okay you do just have to be a little bit patient with this it is a process but it ends with a really nice finished look and a nice way of securing your loom works so that you know that your bees are going to be really secure and be able to put up with quite a bit of wear which is really nice so there we have another unit done so this is what we've got so far so here these guys are all tied together these guys are tied together and we've got these remaining eight warp threads because we have sixteen warps for this particular bracelet design so I'm just going to continue doing that so I'm going to go all the way here so I'm essentially gonna end up with essentially four big knots on each end and then I will show you what to do from there I've tied all my knots and you see they're quite unruly they actually remind me of a Looney tune characters hair um so what we're going to do to finish this guy is we're going to take a couple post-it notes and we're going to lay them out just a little bit short of the actual length of our bracelet we're going to set these guys this on to it and in order to add the glue to our knots which is what we want to do we're going to take some tape and we're going to tape these strands down because we don't want them getting in our way when we're trying to add a little bit of glue and do that on both sides so just pull all those strands back so you have a really nice clear view of your knot now we're going to use some e6000 glue which is a really great glue it's very multi-purpose so now we're just going to take a toothpick and we are going to put glue on top of our knots right up near the beads and I'm just pressing the glue into it I'm not using a huge amount of glue but I am covering that knot and really kind of scraping my toothpick over my threads I'm even like I said touching up against my beads a little bit okay so let's do the other side I love this technique because I think it's a really nice way of finishing loom pieces the whole process of doing a loom piece is super soothing I love it so now that I know of a really clean and easy way to finish it off it's nice and is encouraging for making more loom pieces at least that's what I've found because I never really knew how to finish off a loom piece in a way that would look clean and elegant and was pretty simple to do because other traditional methods are taking all these different warp threads and weaving them back in which is a lot and can be kind of impossible - at some point if you have a little bit of a wider piece so I put glue on all my knots and what you're going to do now is you're going to let that glue dry for a good 10 to 15 minutes it doesn't have to be completely dry but you want it to be where it's not wet when you start to work with your ends separate out your clasp ends so cool thing about this is it is an adjustable clasp so you have some nice lengths here to be able to adjust your bracelet and we're going to take one side at a time to do this but first we're going to pull off our tape you can just discard that and now we're going to trim our threads so we're going to trim it up close to the knots making sure we don't actually cut a knot okay we ran it on both sides and you'll see that this well is actually pretty nice and big which is allowing us to not only easily slide in that last row of beads but also all these knots we're going to want to add some glue though first I don't know if the glue is really a necessary addition at this point but I figure why not so I'm just going to take my toothpick and put some in the base here and I'm actually going all the way down to the bottom and I'm just smearing it inside okay so now you're going to take the clasp holding it like this so that little slot is facing your beadwork and you're going to slide it between the last two rows of beads so that you're sliding it over the very last row and over your knots you're just going to keep sliding keep sliding until they are all inside there and now you're going to take a little bit more glue go into that well and now just grab a posta so I don't do it on my nice fabric here you're just going to use a little bit of pressure to close this tab and there we go now these little ends are sticking out I should have probably corrected those a little bit more before I closed it but I can just tuck them in so one side is done I'm gonna do the exact same thing on the other side and then this piece will be finished like I said I really love the look of these is so clean now I know to caution is if you put too much glue it can start to kind of spill out any hole or any opening so that's just something to be aware okay same thing over here okay and then just use a little bit of pressure it doesn't take a lot you don't have to be very strong to do this there we go we are done and we have a finished little piece now if you are interested in this particular pattern this is an exclusive beadaholique.com technique I hope you enjoyed this lesson on how to finish off your loom work and add these really pretty beadalon slider ends you

Customer Reviews

Based on 1 review Write a review

You recently viewed

Clear recently viewed