Audio Transcript
Note: This audio transcript is auto-generated and may not be completely accurate.
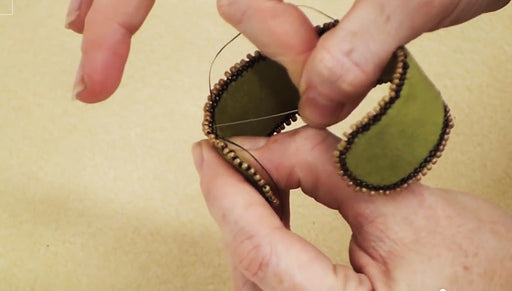
Hi, this is Julie with Beadaholique.com and I'm going to show you how to dye Lacy's Stiff Stuff which usually comes in this white color using a fabric dye and here I've actually got some the sample swatches and I made all four different colors using the same dye bath and just the amount that I left each piece in it. So this piece here, the lightest color I left in just for the shortest second, basically I dipped it in and I pulled it right out this one I left in for about thirty seconds, this one I left in for about fifteen minutes and this darkest one in for an hour. I want to show you how to do this I'm going to use a different color I want to first show you why you might want to do this and so I have this bead embroidered piece right here and it's quite pretty if you've see right between the layers of the beads there's the white Lacy Stiff Stuff showing through so if you wanted to not have that happen or you going to be doing a pattern that actually shows some of the foundation backing, you're gonna wanna dye your Lacy Stiff Stuff to match your design. I'm going to show you how to do that you're going to need some type of base and I have just something that was bought at a dollar store, just something inexpensive and disposable because you're not going to want use this for cooking I've got my work surface covered in plastic, you'll probably end up doing this by the sink I've got some gloves got a popsicle stick to stir I've got a measuring cup, this one here has eight ounces on it I'll tell you the measurements we need in a moment I've got a little swatch of Lacy Stiff Stuff which is what I'm going to put in the dye bath I have some salt and I have a whole host of fabric dyes I'm gonna be using RIT dye for this particular project but there are other dyes on the market that are great to use as well and I think since I've already dyed using the purple color and use this fuchsia color, you can see the color right here first off make sure you don your gloves anything this dye gets on is going to stain be really careful, cover your work surface, make sure you don't have a cat jumping around just make sure that you take every precaution necessary definitely cover your hands don't want to get this on your skin and I'm going to start by taking salt about a teaspoon and putting it into my basin and I am very carefully going to open up my liquid dye and I look at my measuring cup and this only goes to one ounce so I'm going to guesstimate where half an ounce is and you can adjust these quantities accordingly if you want a stronger dye or a light one about half an ounce going to go ahead put that right into my basin now if I was doing this not on video I'd be doing this by a sink I'm going to go into the kitchen and get two full eight ounce of really hot water and pour it into the basin once you've poured both cup full go ahead and just take a popsicle sticks go ahead and stir up the dye now I'm going to take my white sheet of Lacy Stiff Stuff I want to show you what's going t happen with two different instances. Take one just drop in there and I'm going to let that sit for about ten minutes on the second one drop it in pull it right out what you need to do and hopefully your working near a sink or a source water go ahead take this and run it under hot water to remove any excess dye and then we'll let that air dry so now I rinse this with hot water and let it dry but I want to show you the color difference the palest pink after so the longer you leave it in the dye bath the darker it's gonna become and if you're not happy with the color you have right here you can definitely just add some more dye it doesn't have to be precise, you can play with it, there's a lot of freedom to it you're just trying to get the color that you want, so I'm gonna let this one here sit, you can see that little tab in there for about ten to fifteen minutes comeback and pull it out and rinse it off and Ill show you the color we ended up with so this piece of Lacy's Stiff Stuff, we've been patient and waited about fifteen minutes I'm going to rinse it right now and come back and show you what color it actually is you see how bright it is, some of it is going to be pulled off when I rinse it and I'm rinsing it in hot water I've rinsed this now and you can see the color we have, this was about fifteen minutes so this one, the swatch right here was instant, just dipped it in and pulled it out here's what you get for after about fifteen minutes, you can see quite a difference so if you want to shade in between these two shades just leave it in for maybe three minutes, five minutes, ten minutes, whatever you want to do if you want a darker shade you'll just leave it in darker if this bath doesn't look dark enough to you,the colors doesn't get as rich as you want don't be afraid when you first pour the hot water in to just instantly add some more dye to it you really have a lot of flexibility here and it's just a matter of figuring out what color you want, you can also take this piece and put it back in the bath as well try to do it when the water is still hot though, make that decision early on you do have a lot of flexibility and then to dispose of this just carefully pour it down the sink and then rinse off your pan. Make sure you don't splash anything because it will stain the surface and then just let these guys air dry like I did with these pieces here and then you'll be ready to go ahead and stitch onto them all of your bead embroidery. Go to www.beadaholique.com to purchase beading supplies and to get design ideas!