How To Do Right Angle Weave with an Edging using Crystal Rondelles

SKU VID-1861
Designer: Kat Silvia
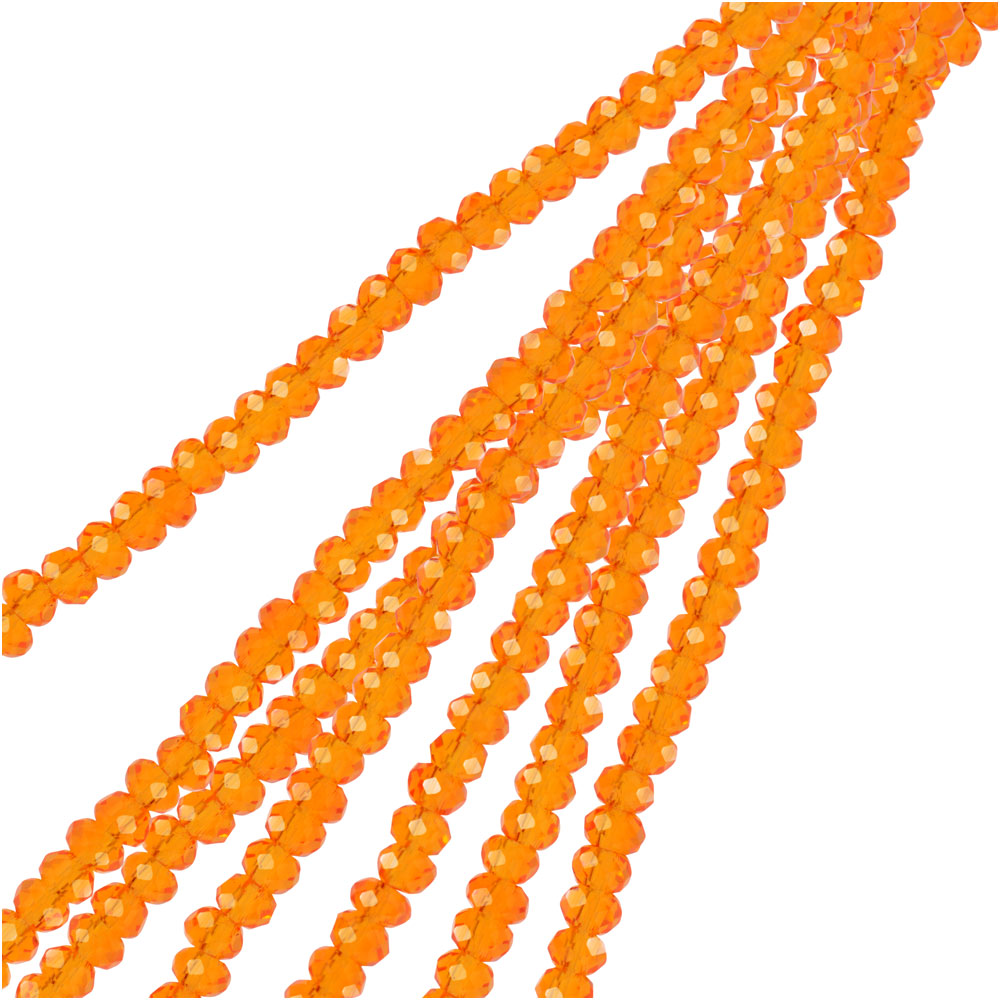
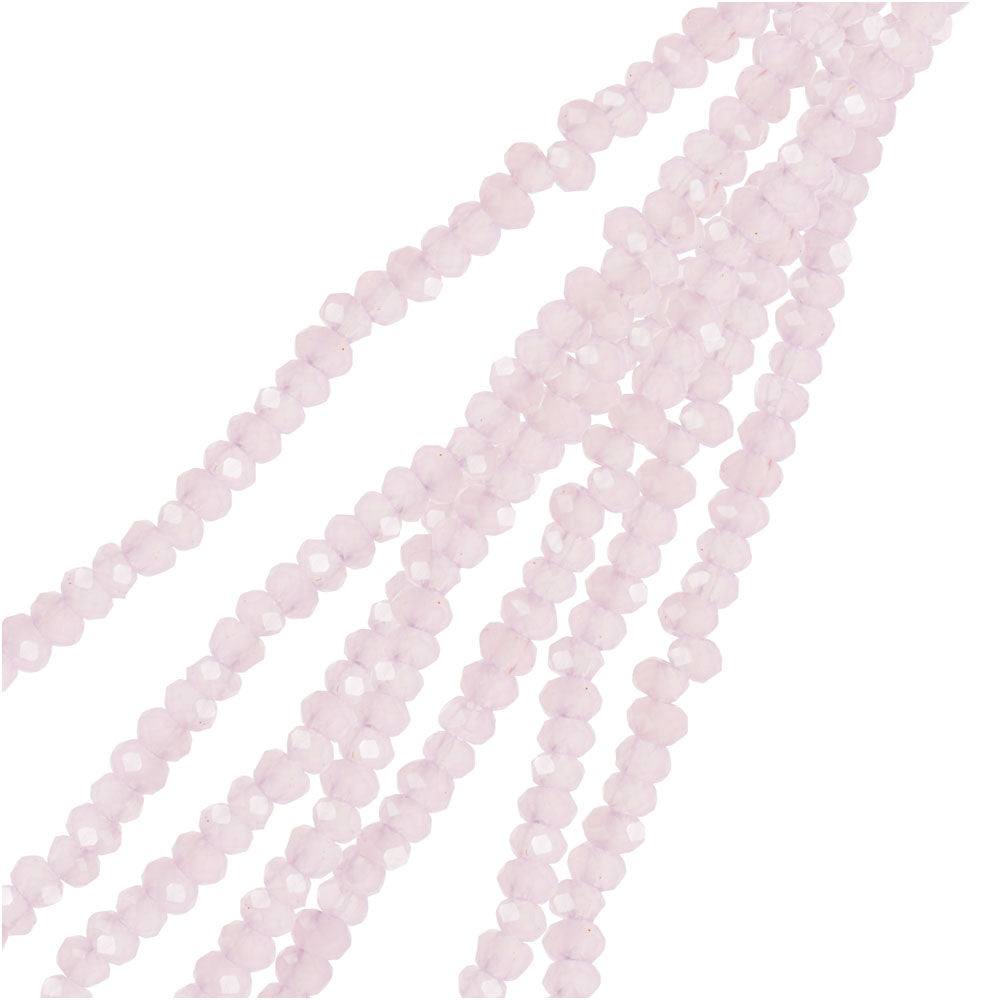
Delicate Right Angle Weave can be very appealing, but sometimes it needs a little help to give it some structure. In this video you will see how you can take a single strip of Right Angle Weave and add an edging to it using crystal rondelles.
Audio Transcript
Note: This audio transcript is auto-generated and may not be completely accurate.
hi this is kat with beadaholique.com and in this video i'm going to show you how to do a right ankle weave bracelet with an edging using the rondelle crystal beads now these are really sweet little tiny rondelles and you can see that you're going to make a nice little delicate bracelet here and what i've done here is i've done a right angle weave in a single strand with those pink little beads there and then i've added little silver beads running back through to give it some stability and i didn't initially intend on doing that but if you see what it looks like when it's just regular kind of raw you know without that edging you can see that it is really delicate and because the rondelles are not perfectly even it is a little bit wobbly so what i did is i ran my needle back through and i'm going to show you this in just a moment using a different color of the rondelles because we have so many colors to choose from it just kind of came together really nicely so what i want to show you here is a very easy way to accomplish this but we have our needle coming out this side here now i will say that i left a nice long tail on this side and i'm going to show you why in just a minute but what i wanted to do here is i'm coming out and i've finished my last little loop there and you can really just see how kind of i don't want to say wobbly it is but it is a little bit wobbly so i wanted to make that you know nice and secure so before we run it back through the other side what i'm going to be doing here is i'm going to be picking up one of my sort of secondary color here letting that fall all the way down to the bottom and you can see that i'm just coming out that top bead right there and now here's where i'm going to actually go go ahead and attach my clasp so i'm going to string through one end of my little magnetic clasp there and actually i'm just going to go ahead and separate that so i can have the other side ready later so i have one bead my clasp and i'm going to pick up one more bead here and i'm going to go back through that last bead that i had strung in my right angle weave so i'm just kind of bringing this all together here right up close to the top there we go now i'm coming out of that orange bead right there and i want to start my row of the white beads so i'm going to pick up one more white bead here and i'm going to go into without catching my magnetic clasp i'm going to go into that next orange bead that's right there just going through one and stringing that all the way through let me kind of rotate this so you can start to see it come together here all right so i have that one orange bead in my right angle weave and i've added that one white bead and now i'm just going to string all the way down going through this entire side picking up one white bead and going into the next orange bead all the way down here and it's going to start to kind of zip together and give a nice little structure now couple of tips this does seem really easy but i do want to let you know as you're doing this make sure your tension is tight but not too tight because we don't want it to start to crunch on us so just go ahead and pick up one bead and just you know take your time going through each little rondelle and what you'll start to see here is that when you can get to a point and it'll start to curve just go ahead and pull it just to make sure that it stays straight and then you just do this all the way down the entire line and i'm going to meet you on the other side i'm going to show you our next step okay so i'm coming to this side here just picking up one more going through that last one there and here's where we're just going to do a similar version but we're going to kind of do it a little bit a little bit differently okay so now go ahead and go through that orange bead as though it were just the right angle weave there and now what we're going to do is we're going to pick up one of those white beads go through the other loop side of the other clasp pick up one of those white beads and go through and bring that together there now i like to kind of situate mine so it you know it's really nice and tight in there and i'm going to actually go through that one more time because this is not only stability but it just helps with making sure everything is going to be nice and tight and long-lasting for us there we go all right and go through that one little white bead there now we are missing one extra little white bead on the end so what we're going to do is we are going to actually go through that little piece there oops sorry before we do that we're adding this one extra white bead here and go down through this little orange bead to the side so we're adding that one little extra bead on the outer edge there oops make sure we don't have that happening there we go all right so what we want is we want four little white beads on the outside there so now i'm gonna take my needle and i'm gonna go through this next little white bead here and everything's getting nice and tight so we just you know and that's fine but the reason i wanted to do it this way is we are going to actually be tying off so go ahead and take your thread catch that thread bridge oops make sure to catch that thread bridge underneath we're going to create a little loop and we're going to pull that tight there we go and now going through just a couple little adjacent beads i like to do two little knots there and pulling that through perfect all right going through the last couple of beads there done okay now we can come in with our scissors and just snip off the side here there we go just take my needle off and i'm going to thread the beginning tail piece here all right so now what we need to do to complete this side here is we need to add one more white bead but we need to move our thread so that we are coming out the right way so i'm going to go through this little orange bead here and remember the rule with right angle weaves just always stick to that right angle there try not to create any any extra thread bridges if you don't have to so i'm just going around the initial little unit now getting through here is getting tight which is good we want it to be you know secure but just make sure that we can go up and over here up and over and through that loop coming out this white bead and now we are ready to do the other side so i'm going to go ahead and pick up one white bead and go through that orange bead right up at the top there so this is why you want to have that long tail it just makes this little turnaround a little easier so now go ahead and start to go down this entire row here using that same technique just picking up one going through the next one and i will meet you on the other side and we will officially finish this off okay so i'm just adding my last little bead there and before we finish it off i want to add one more and that will help reinforce the clasp there so again we're making sure that we have those four little white beads on the end now you can do this all in one color if you don't like the look of it kind of having that zipper effect but this is a really fun way to just kind of stabilize that right angle weave all right and i'm just going to continue just to weave down this one side and do my little loops to tie off same as before just make sure you're sneaking your needle in there there we go all right beautiful so that is it's it's just a really easy way to use these little tiny crystal rondelles in a right angle weave and this makes really delicate delicate work so be familiar with right angle weave before you try to jump into the sky here there we go all right and you can see that it's just really really fun it's a nice way to use a two-tone crystal and just so you can kind of see on the wrist it just looks really nice and sweet and i love that little magnetic clasp on the back so that's just sort of how it looks and you can see that the pink one is there as well so this can be a really nice little fun project it could be very bridal if you wanted to use white and silver or gold or whatever your wedding colors are alright i hope you enjoyed this video you can get all of these supplies and see even more tutorial videos by heading over to beadaholique.com you

You recently viewed

Clear recently viewed