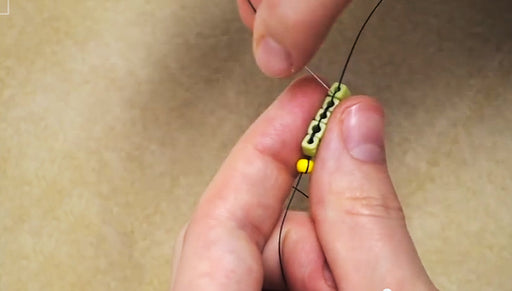
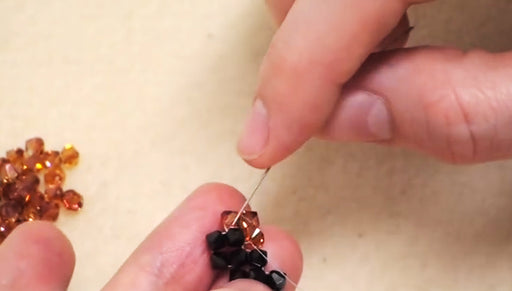
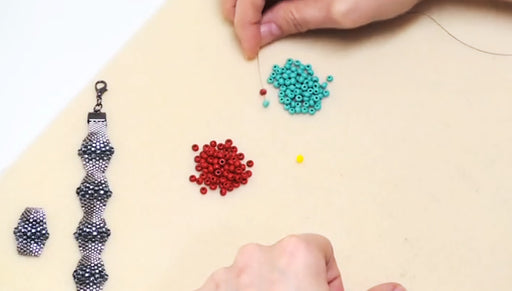
How To Do Brick Stitch Bead Weaving

SKU VID-0215
Designer: Andrea Morici
Learn the Brick Stitch, a very fun and versatile stitch for bead weaving. This stitch starts out with a Ladder Stitch. (Check out our video on how to make a Ladder Stitch.) The beads are then stacked on top of each other to resemble a brick wall.
Audio Transcript
Note: This audio transcript is auto-generated and may not be completely accurate.
Hi there I'm Andrea the senior designer here at Beadaholique in today's video I'm gonna show you how to do a brick stitch to teach you brick stitch today I'm gonna use three different colors a Miyuki 4 millimeter cube beads I've got lovely brick red color a mustard yellow color and nice deep purple color and I've got a contrasting green stopper bead. I've got black wildfire thread in the point 016 size threaded onto my size 10 needle and the only reason I'm using black today is as usual to be able to show you the thread path a little bit more easily against the colors but normally you would use a similar colored thread or crystal colored thread so that you cannot see the thread like most bead stitches first I'm gonna add a stopper bead leaving about a six- to eight-inch tail you go through the stopper bead and then you past through it one more time and that will keep your beadwork on your thread And now the base row for brick stitch is actually a stitch that we have separate video for and it's called ladder stitch so if you do not know ladder stitch already please review this video before moving on to the second row once you have your base row completed what I like to do is flip my work over to start work on the second row to do this I'm gonna pick up the second color the yellow color I'm gonna pickup two of these beads and I'm going to pass my needle underneath the thread that is connecting the last two beads of the base row this should cause your beads to sit on top of the base row you gonna go back up through the first bead of the second row down through the second bead and now you're gonna pick up the thread between the second to last and the third to last bead in the base row you're gonna pass between those two beads and through the thread connecting them you can go back up through the second bead in the second row pull tight now you're going to add pick up one more bead and then you're going to you pass through the thread between the next two beads in the base row go back up through that last bead that you added add one more bead and you're going to continue in this manner until you have the second row completed you can flip your bead work again so you're always working in the same direction basically now as you can tell think that most people would agree that it would be easy to do decrease the stitch by completing the next row the way that we did that row and that row and it would gradually get smaller like a pyramid so if that's what you want then that is very easy to do but if it's not what you on then what you're going to do is pick up two beads of your third row and this time you're going to go through the last bead in the previous row and also through the thread between the first two beads in your base row you're gonna pull that tight and then go up through the last bead of the second row up through the first bead of the third row back down through the second bead of the third row and through the thread between the first two beads and the second row and then back up through that second bead and that's how you begin the third row and then from there on your gonna complete that row exactly how you did the previous row and then you're gonna do the fourth row how you did the second row and so on and so forth now that you have come to the end of the third row you've picked up your final bead of this row what you're going to do is you're going to add the bead you can put it into place if you like but you need to go past your needle down through the last bead in the second row and this is the tricky part you're going to pass it underneath the thread connecting the last two beads of the base row and then back up through the layers back up through the last bead of the second row and the last bead of the first row to tighten that stitch up you're gonna go back through those last two beads of the last row once again so as you can see your thread is coming out of the second bead of the third row so what I'm going to do is I'm going to pass it between the two last beads underneath that thread go back through that same path that you just made this method is slightly more complex than from other ways of doing brick stitch but it insurers that there will be no thread sticking out on the side of your bead work which is how some people prefer to teach brick stitch this way all your thread work is completely hidden and they have it that's basic brick stitch

You recently viewed

Clear recently viewed