|
Beadalon Beading Mats - Prevent Bead Rolling 12 x 9 Inch (Set of 3) SKU: XTL-9930 $3.99 |

|
FireLine Braided Beading Thread, 4lb Test and 0.005 Thick, Crystal Clear (50 Yards) SKU: XCR-1275 $13.99 |

|
The Beadsmith English Beading Needles Size 12 (4 pcs) SKU: XTL-3006 $3.99 |
Hi. I'm Andrea, the senior designer here it Beadaholique.com In this video and the demonstrate how to do Right Angle Weave. To show you Right Angle Weave, I'm going to use Swarovski bicones four millimeter size. And I'm going to use two different colors because I'm going to do two rows of right angle weave. So this is to show you where the second row begins. So I have my single needle here and it's a size twelve beading needle and I have about a yard of crystal Fireline. It's six pound crystal Fireline threaded onto my needle. And as in most bead stitches I'm going to thread on a stopper bead. But in the case of right angle weave you don't necessarily need one because the first stitch that you make kind of locks the stitch in place. But let's do it anyway just to show you how. So I have a contrasting color I'm going to thread onto my needle. I'm going to take it down to about six inches from the end leaving a six-inch tail or you could do longer if you'd like. Then I'm going to go in the same direction back through the bead and I'm going to pull tight. And that's your stopper bead. So to begin i'm going to thread on four of one color. And then i'm going to go back through the first one to create a circle or in this case kind of a square. Then going in the same direction I'm go through the next two consecutive beads so that I'm coming out of the bead directly across from the first bead that I strung. Essentially right angle weave you're just creating circles or little squares of four. So the next unit that I'm going to weave, I already have one of the beads. This is my first bead. So now I only need three to create that square or that unit. So I'm going to thread on three and I'm going to go back through the bead that I was coming out of. You're going to pull that tight and once more I'm going to go through that next two consecutive beads. Now once again you're going to do your third unit but we already have the first bead for that unit. So we don't need three more beads. Go back through that last bead. Once again I like to flip it over and go through the two consecutive beads. So as you can see, I'm kind of just going through back through the next unit and kinda making loopty loops to solidify this row. You can make his row as long as you want. We're gonna pretend that this is a uh... long bracelet but just to show you the next row. To begin the second row, I want to be coming out of this bead right here. So I'm going to through this last loop and this last unit one more time. Until we're coming out of that side bead there. So now we're going to be building units this way. And to begin with we already have the first bead. So we're gonna thread on three more of the second color because this is the second row. Go back through that first bead. And this time we have to make it all the way around because we're gonna make second unit right there. So we're not just gonna go through two consecutive beads. We're going to go through the whole unit. When we get to this point we're going to notice that the second row is going to share a common bead with the first row. So if you look at the second unit of the second row we already have two of the beads. So I'm gonna go through that common bead it's shared with both rows. Now I will quickly complete two more units on the second row and for each unit I will only need to pick up two additional beads. That's how you do the Single Needle Right Angle Weave. And that's two very short rows of it but I hope you can give the gist of it. And once you get more proficient you can really play a lot with this weave. We made this bracelet using right angle weave with just a few simple embellishments. As you can see, it's the familiar right angle weave on the back. But can you really can do some really nice things with this weave. And I hope you get really good and have fun with it Go to Beadaholique.com for all of your beading supplies needs!
Related Videos


How to Flat Even-Count Peyote Stitch
Learn how to use a simple peyote stitch to weave seed beads into colorful patterns used to make bracelets, necklaces and rings. The pattern used in...
View full details

How to Attach Tube Clasps to Peyote Bead Weaving
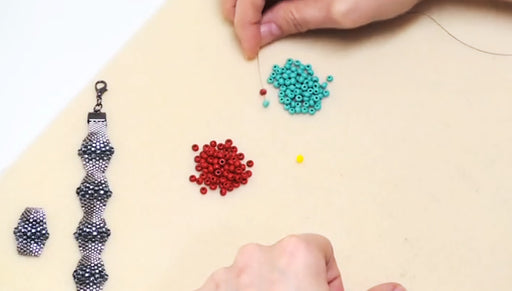
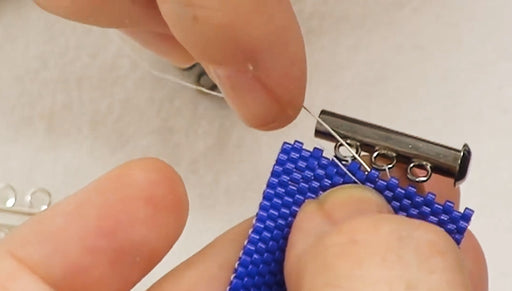
In this video, you will see two different methods to attach a tube, or multi-strand, clasp to a piece of Peyote Bead Weaving.


How to do Peyote Bead Weaving with Various Sizes of Beads
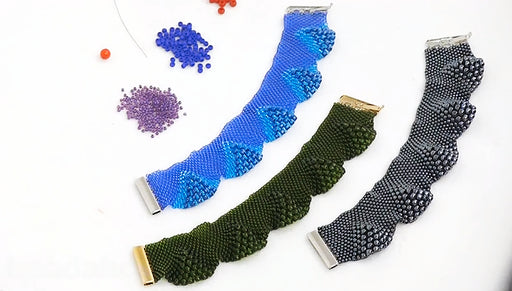
In this video, you will see how a wave-like effect can be achieved by using various sizes of seed beads in the same peyote stitch. This technique c...
View full detailsCustomer Reviews
You recently viewed
Clear recently viewedIt was difficult to see the white thread against the light background and the instructor kept referring to going back to the “second” or “third” bead while covering everything with her hand. I was thoroughly confused. I was able to understand it demonstrated with larger, round beads with more contrasting colored thread in a different video from a different instructor.
I can see how mastering this simple right angle weave stitch allows for an explosion of possibilities, whether you do this by embellishing the basic beadwork or alter it by using different beads or mixtures of beads. I've looked at a few different tutorials on teaching R.A.W. but I think this is one of the easiest and simplest ones to follow. Good teaching, good visuals. Definitely worth the few minutes it takes to watch.
