How to Design a Set of Stretch Cord Bracelets

SKU VID-1808
Designer: Kat Silvia
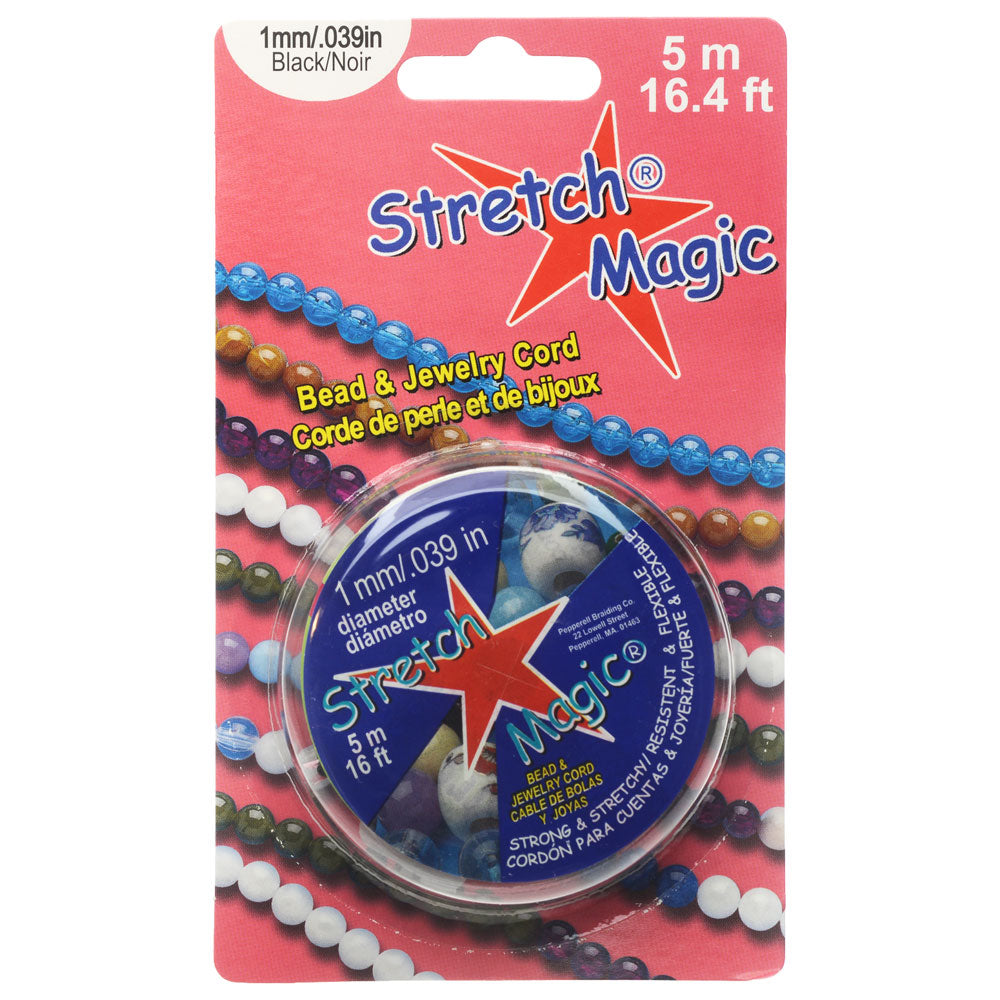
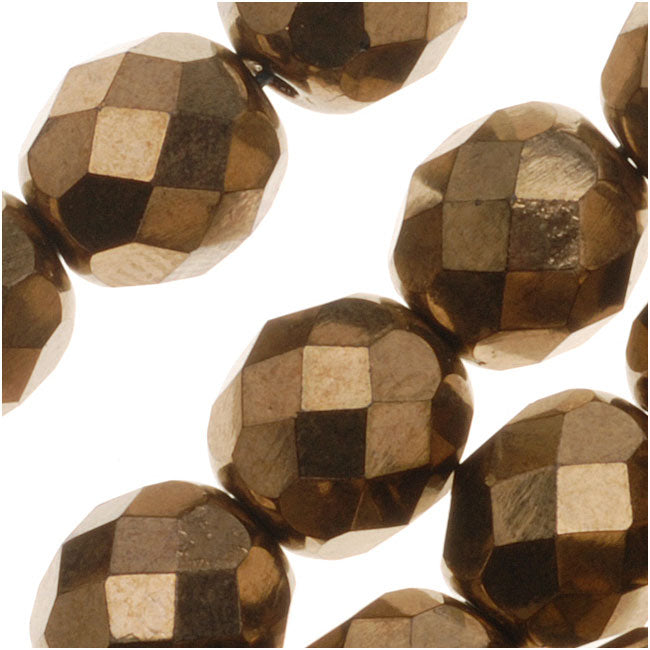
In this video you will learn how to use a bead board to help plan your stretch bracelet designs. This is really helpful in planning where your knots are going to land in order to hide them as much as possible, as well as making sure each bracelet is the same size for easy stacking. The black Stretch Magic cord is perfect in this design because of the dark beads but be sure to choose the right size and color of stretch cord for your design.
Audio Transcript
Note: This audio transcript is auto-generated and may not be completely accurate.
hi this is kat with beadaholique.com and in this video i'm going to show you how to make a set of stretch bracelets now for this video i'm going to be using the stretch magic in the one millimeter size and i've chosen the black stretch magic because of my design here so as you can see on my bead board i have laid out all three of my designs and the reason i'm using the bead board and this is a really great tip is if you are using the one millimeter stretch magic your knots are going to be a little bit bigger so what i've done here is i've actually utilized the large black beads here and these are 10 millimeters so i have 10 eights and sixes in here as well as my gemstones but what i wanted to do is i wanted to make a nice little pocket for each of those little knots to hide so you can see that my bracelets here aren't completely even i'm not starting at one end i'm not really starting in the middle on all of these so what i did though is i wanted to make sure that um my bracelet here is going to end up with the three black beads in the back so then i can hide my knot at the very ends so it won't be you know kind of a big bulky knot next to let's say my six millimeter beads so that's why the bead board is here and it's why i wanted to map out all of my designs also to make sure that i was really happy with the distribution of all those skull beads as you kind of stack them up and wear them around the wrist they'll sort of move but i wanted to kind of really create a nice little style there okay so like i said i have tens eights sixes and my gemstone skull beads there i have a pair of flush cutters you can also use scissors as well and i'm going to be using a little dab of gs hypo cement we also find that e6000 can work as well so i'm going to start by taking my one millimeter stretch magic and i'm going to kind of pre-stretch it so go ahead and just give it a few good little tugs there all we're trying to do is just make sure that once you have your bracelet that it's not going to slack too much more after that now i'm just keeping mine on the spool you can of course cut yours off too but i'm just giving it a nice good stretch there there we go all right so i'm just going to set that to the side and now all i'm going to do is just start stringing up my beads because i already have my design planned here so you can actually design your beads as you like this is how i've decided to do mine just kind of i wanted to go for a graduated size and i didn't want it to be all super dark super black so i wanted to add in a little little flash of these czech fire polish so i added in some of these nice little bronze beads here all right now my beads are stringing pretty simply here pretty easily but if you find that you are not getting onto the beads quickly let's say if you're using something like a pearl or a gemstone that can sometimes have a rough core to it what i suggest is you can cut this stretch magic at a little bit of an angle and what that will do is that'll create a little needle like end for you so it might just help a little bit kind of getting through some of those beads all right so i'm just almost done stringing here another thing i love about the bead board is it helps to size it for you but i will say because i'm using some larger beads you can see that i'm about seven inches on my bead board it goes from five to zero and then to two but when you actually wear these because they are larger beads it's gonna probably equal a little bit closer to a six and a half or six and three quarters now stretch obviously you know kind of it will um obviously stretch so you can have it tighter or looser on that six and a half so it's just kind of up to you but this is a good way to get that whole set nice and even alright so now i have my pre-stretched cord here so now i need to cut it off of one end and we don't need much i'm going to kind of cut a little extra for me just so i can really showcase how to do that knot okay so let's center all of that now you can see that when i bring it together there i'm gonna have my knot sit right in the back of those little black beads just like so okay so now what i'm gonna do is i'm gonna take my cords and i'm going to go with the left over the right and i'm going to go down through the center with that one cord and what i'm going to do is i'm going to go down through the center again so i kind of have a little coil that's happening there and now what i'm going to do is i'm going to take that cord that's in my right hand here loop it over and do one single overhand knot so now i'm going to bring that all together and pull pull pull pull pull until it comes together really really nicely now i'm gonna let that slack for just a second come over to my gs hypo cement i'm going to add a little tiny dab of glue right onto my knot there just a little bit and this is where that pinpoint precision on this gs hypo cement is really nice to work with and again just really making sure my knot is nice and tight and then what i'm going to do is i'm just going to do one more quick overhand knot right on top of that glue and i'm going to hold it here for just a few minutes and then you can trim off your cords now what i like to personally do is i'm going to actually let this sit and dry in case i need to do another knot so don't trim it just yet so what i can do is i can set this one aside let it dry and move on to my next one and then i'll come back in a couple of hours and i'll trim that off but that's how easy this is to do it's really fun it's really simple and i love that stretch magic comes in different sizes and now we have some cords that are black so you can see that even as you stretch this one you'll see in the center there that you're not really seeing a lot of that cord because it kind of matches my beads so really fun project to do and it's just in time for halloween all right thanks so much for watching guys you can get all of these supplies and see this full tutorial written up for you by heading over to beadaholique.com and if you're new to our youtube channel be sure to hit that subscribe button below to get all the latest from beadaholique.com you

Customer Reviews

Based on 2 reviews Write a review

You recently viewed

Clear recently viewed