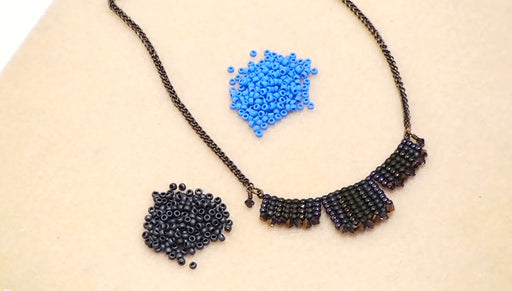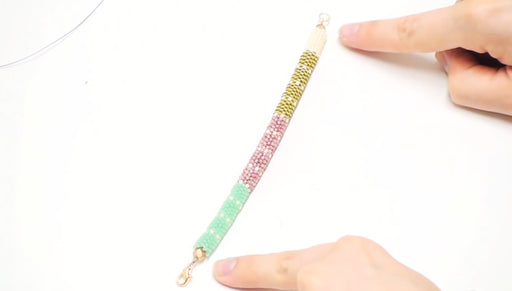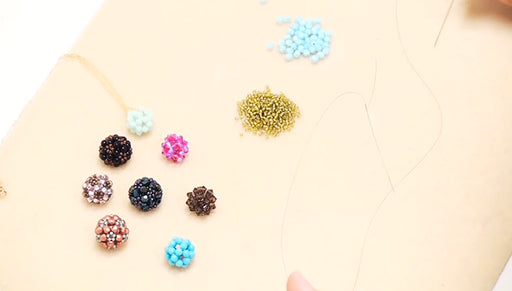
|
Toho Round Seed Beads 8/0 48LF 'Opaque Frosted Periwinkle' 8 Gram Tube SKU: JSH-0241 $2.25 |

|
Toho Round Seed Beads 8/0 611 'Matte Opaque Gray' 8 Gram Tube SKU: JSH-0112 $2.99 |

|
Beadalon Beading Mats - Prevent Bead Rolling 12 x 9 Inch (Set of 3) SKU: XTL-9930 $3.99 |

|
The Beadsmith 5 Inch Big Eye Beading Needles (Set of 4) - Easy Needle To Thread SKU: XTL-3164 $3.99 |

|
Wildfire Thermal Bonded Beading Thread .006 Inch - Frost / White- 50 Yd SKU: XCR-8933 $12.99 |

|
The Beadsmith Cordless Thread Zap II Thread Burner Tool SKU: XTL-0106 $16.49 |
Hi this is Andrea for Beadaholique.com. In today's video I'm going to show you how to make a peyote and herringbone stitch triangle. Now I say peyote and herringbone stitch because if you look at the way that I demonstrated on this particular piece which is what I'm going to show you how to make you can see clearly that along the seams of the triangle that is herringbone stitch and in between is peyote. A lot of people would prefer to these as peyote stitch triangles. You can use any colors you want. You can do any patterns you want. It's really pretty and versatile stitch and it's really fun. If make four these you can sew them together and make little pyramids. Okay let's get started. To make this piece I have two different color 8/0 beads. They're Toho beads. I've got a periwinkle and a gunmetal color. You got some of my thread here. All I'm gonna need for this is just probably a yard that's even being generous. This is just some wildfire thread. I'm going to use my Thread Zap II to cut my piece of thread. And I have a big eye needle. So to begin this stitch like I said this is pretty much herringbone down the spines of the triangle. So to differentiate between herringbone and the peyote stitch I just used two different colors. So I'm going to start off by making that little center three bead circle or triangle. I'm going to pick up three beads gunmetal color. By the way if you're not already familiar with herringbone and peyote stitch I would go ahead and watch our videos demonstrating how to do those before proceeding with this. So I've a little four inch tail. You really don't need too much. I'm going to make a square knot. Make one simple overhand knot and another. I'm going to pull tight. As you can see the beads already lineup exactly the way I want them to. Take my needle I'm going to past through this one bead to the left. I'm going to pull a little bit so that knot that I just tied is a little bit hidden. So like I said before if you're already familiar with herringbone you would know that to complete a herringbone stitch right here you'd pick up two beads and pass through the next bead to the left. You're gonna help these fall into place the correct way. Just with your fingers. Just manipulate them until they're sitting in a "V" shape. Move on to the next set of beads and do the same thing. And again so that there is row of herringbone stitch coming out of each side. This time I'm going to go through one bead to the left and also that next row of herringbone. Always for the herringbone always help the beads so they're in the right spot. That's what you want to look like so far. So I'm going to add another row of herringbone onto this spine. Pick up two beads go one bead to the left and this is where your peyote stitch comes in. So as you can see it's a step down but then it step right back up right there. So we're going to fill in this space right here with a periwinkle bead. So pick up one of those and go through the next bead on the left. Pull that into place. Now we know where the herringbone row began. So we're going to pick up two more go through that next bead to that left. Help those beads into place and pick up another periwinkle because we are at the peyote part of this stitch and go through the next bead in the row. Here we are at herringbone again. Pick up two manipulate them so that they're in place and one of my peyote beads. This is where we're going to step up again. So I'm going to go through the next bead to the left I'm also going to step up as well through that herringbone spine so I'm coming out the top there. I'm going to add another row of herringbone onto this edge here. Now if you take a look we have two spaces in the peyote sections so one and then two I'm fill in this first space. Pick up one of my peyote beads, one of my periwinkle beads, I'm going to go through this next one to the left. I'm just gonna do that again. Pick up another periwinkle go through the next bead to the left. So we're just basically building up and out with the herringbone rows. Then filling in between with increased rows of peyote. Pickup two for your herringbone go through the next bead to the left help those beads snap into place there then we're gonna fill in this little peyote segment.So pick up one bead go through the next bead to the left and pick up another bead and do the same thing. Pick up two in your herringbone row. Now we're just going to fill in this little peyote stitch in. This is where we step up again So I'm going to go through that next bead to the left again like normal then I'm going to climb up that spine to the next row of herringbone. I'm going to continue for a little while here then I'll show you how to end this. So I've completed another couple rows here and I have stepped up to this last herringbone row that I just made and this is where I want to kind of finish it off and I'm going to add points to my triangle. So to do that instead of adding two I'm simply just going to pick up one and go through the next one. So that will stand like a corner of the triangle. Then I'm fill going to fill in this peyote row. So you can make these things as large as you what them. You can just keep going and keep going. You can do as I've done in this one and add smaller beads along the edge and that kind of pulls it in a little bit and gives it a slightly domed feel. Here I've gotten to the second corner. I'm going to pick up just one gun metal bead again this time. Now I'm going to fill in this peyote side. For this last corner here I'm just gonna pick up one more and go through the next one. I'm just gonna finish off this last side of peyote here. And like all stitches I need to finish this off. To do that I'm just going to catch this thread between these two beads loop my thread around creating a little overhand knot and pull. Now I'm just going to weave in the remainder of my thread and trim it off So that's how you make this nifty little peyote and herringbone stitch triangles. If you're like me you're going to have so much fun with this. You'll make about of thousand of them in every different variation that you can think of. So I hope you had fun and I hope you learned a lot. Go to Beadaholique.com for all of your beading supplies needs!
Related Videos


How to Do Herringbone Stitch
In this Beadaholique video, Andrea shows us How to Do Herringbone Stitch.


How to End a Tubular Stitch
In this Beadaholique video, Andrea shows us how to end a tubular stitch.


How to Make an Ornate Beaded Bead Using Right Angle Weave Double Needle Method
In this Beadaholique video, Andrea shows us how to make a ornate beaded bead using right angle weave and the two needle method.
