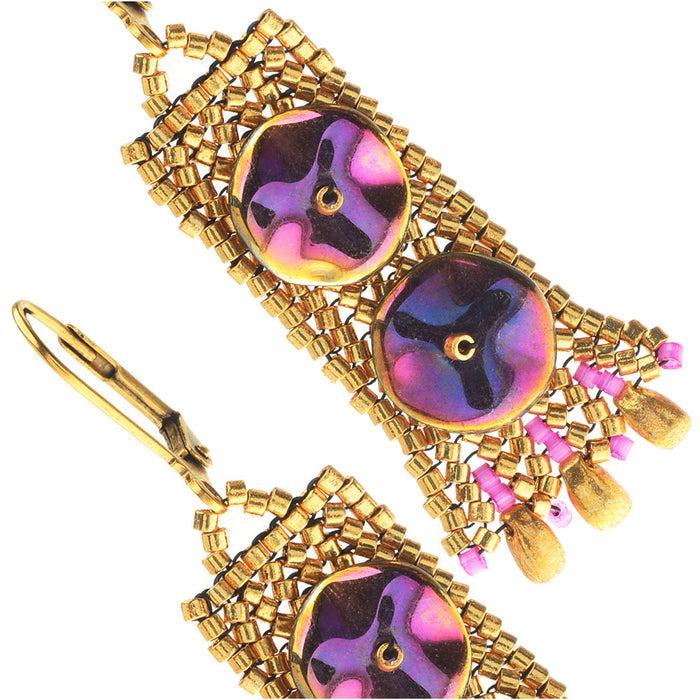
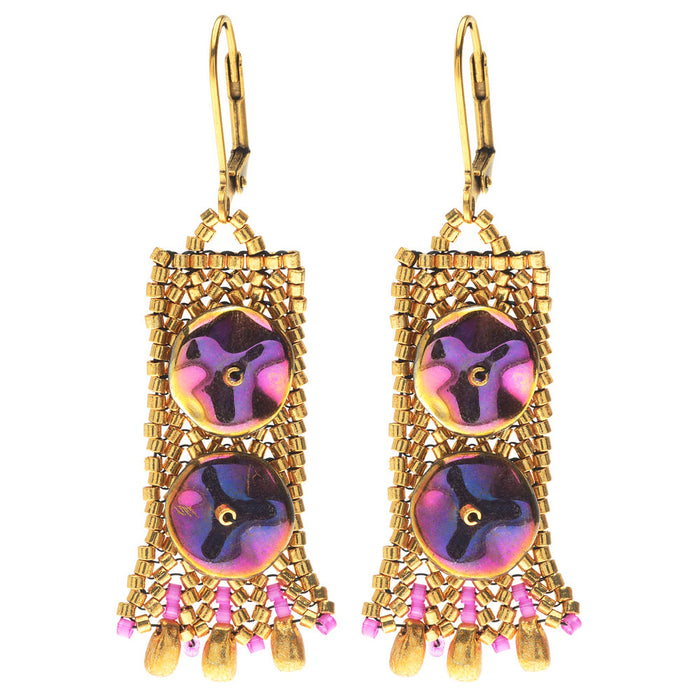
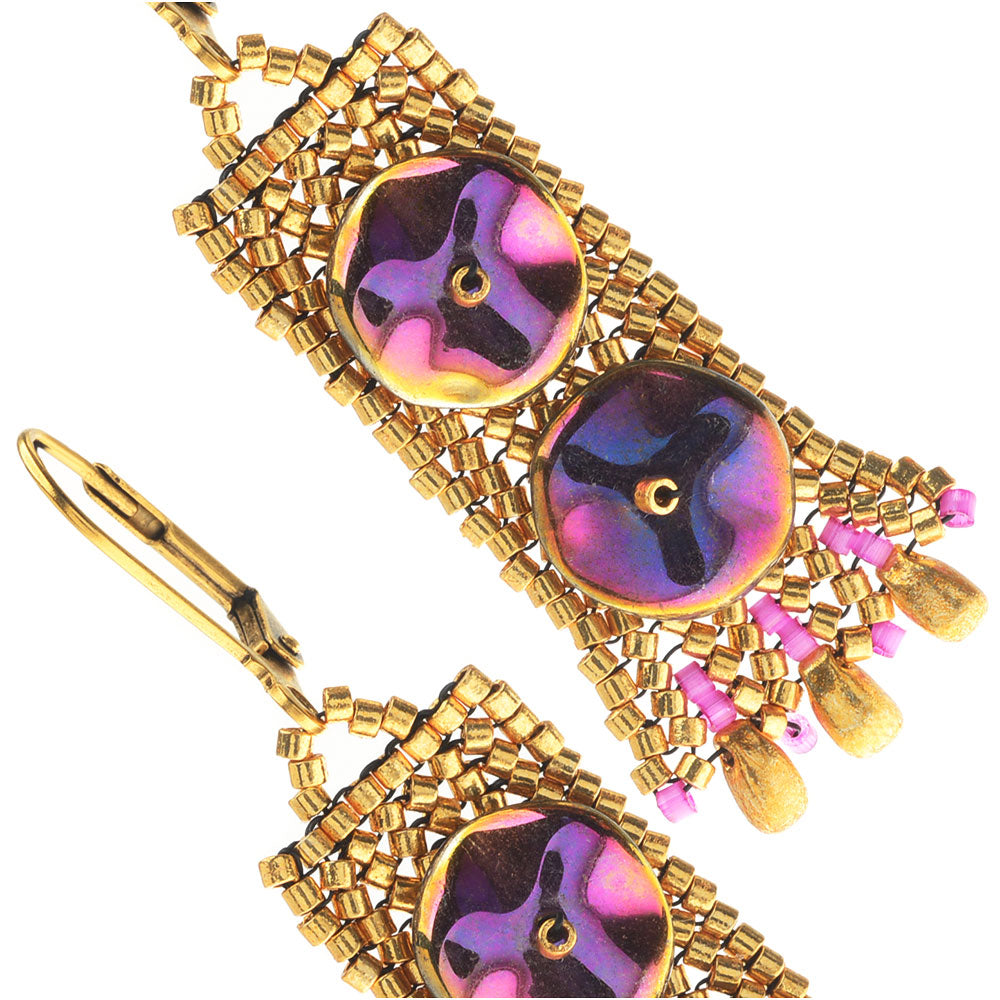
Note: Components and tools listed within this INSTRUCTIONS box and the printer-friendly PDF, if available,
may have been discontinued since this project was published. Refer to the PURCHASE COMPONENTS and TOOLS AND
OTHER SUPPLIES sections for current availability.
By following the instructions below you will make one earring. Repeat all instructions to make the second earring.
- Cut a 5 foot length of beading thread and thread a needle. Using the gold seed beads, create a ladder stitch foundation row that is 8 beads across.
- Next, watch our video on how to weave flat herringbone stitch. Following the technique shown in the video, weave 20 rows of herringbone using the gold seed beads.
- On your 21st row, after adding your first pair of gold seed beads, pick up one fuchsia seed bead on your needle before sewing up through the next gold bead over. Then add your next new pair of gold seed beads. Repeat this process twice more in this row, so you have a fuchsia seed bead sitting between each of the gold columns in this row.
- Repeat step 3, creating a second row with fuchsia beads between the gold columns.
- Your next row will be the fringe row, so you won't be adding any more gold seed beads. Sew out through the first gold seed bead in the previous row and add one fuchsia bead to your needle. Then sew down through the next gold bead over. Then take a Miyuki long drop bead on your needle and sew up through the next gold bead over, so the long drop bead sits between the first two seed bead columns. Repeat this process, adding a fuchsia bead at the top of every column and a drop bead between each column, until you reach the end of the row.
- Sew up through your beadwork and backtrack a few times, to secure your thread. Then sew up to the place where you want to add your first ripple bead.
- Sew out from your beadwork and add one ripple bead to your needle, so the colored side is facing up. Then string a gold seed bead. Sew back down through just the ripple bead, so the seed bead is anchored on top of the ripple bead. Slide both the ripple bead and seed bead as close to your herringbone stitching as you can get them. Then sew back into your herringbone beadwork and make a few passes through your beadwork to secure the thread.
- Move to the place where you want to add your second ripple bead embellishment and repeat step 7.
- Now you will make a beaded bail to attach your earring hook. Sew up to the top of your beadwork and use your needle to exit through the third bead from the end of your foundation row. Add 6 gold seed beads to your needle, then sew down through the third bead from the other side of the foundation row. Make a few passes through your beadwork to secure it, then trim off any remaining thread tails.
- Take one earring hook and twist open the loop at the bottom using pliers, the same way you would open a jump ring. Slide the loop onto your beaded bail and twist it closed.
- Enjoy your earrings!
WHAT YOU'LL NEED: (scroll down for purchase options)
- BCP-02021 - Czech Preciosa Glass Ripple Beads 12mm, 12 Pieces, California Sunshine
Project uses 4 pieces. You will need 1 package.
- DB-1832 - Miyuki Delica Seed Beads 11/0 - Duracoat Galvanized Gold DB1832 7.2 Grams
Project uses 1 tube. You will need 1 package.
- DB-1808 - Miyuki Delica Seed Beads 11/0 - Fuchsia Silk Satin DB1808 - 6.5 Grams
Project uses 1 tube. You will need 1 package.
- DBL-015 - Miyuki Long Drop Glass Beads 5.5x3mm - Galvanized Gold (25 Grams)
Project uses 6 pieces. You will need 1 package.
- FEA-8226 - Nunn Design Antiqued 24kt Gold Plated Leverback Earring Findings 18mm - 2 Pair
Project uses 1 pair. You will need 1 package.
- XCR-8935 - Wildfire Thermal Bonded Beading Thread .006 Inch - Black - 50 Yd
Project uses 10 feet. You will need 1 package.
RECOMMENDED TOOLS:- XTL-3027 - Crafter's Collection Beading Needle Assortment - Sizes 10, 11 & 12 - 10 Pack
- XTL-0109 - Beadsmith Extra-Fine Thread Snips - Cuts Textiles, Yarn, And More!
- XTL-5450 - Xuron Jeweler's Super Fine Pliers Chain Nose Flat Nose


 Earn Reward Points with your purchase of project components or tools.