Note: Components and tools listed within this INSTRUCTIONS box and the printer-friendly PDF, if available,
may have been discontinued since this project was published. Refer to the PURCHASE COMPONENTS and TOOLS AND
OTHER SUPPLIES sections for current availability.
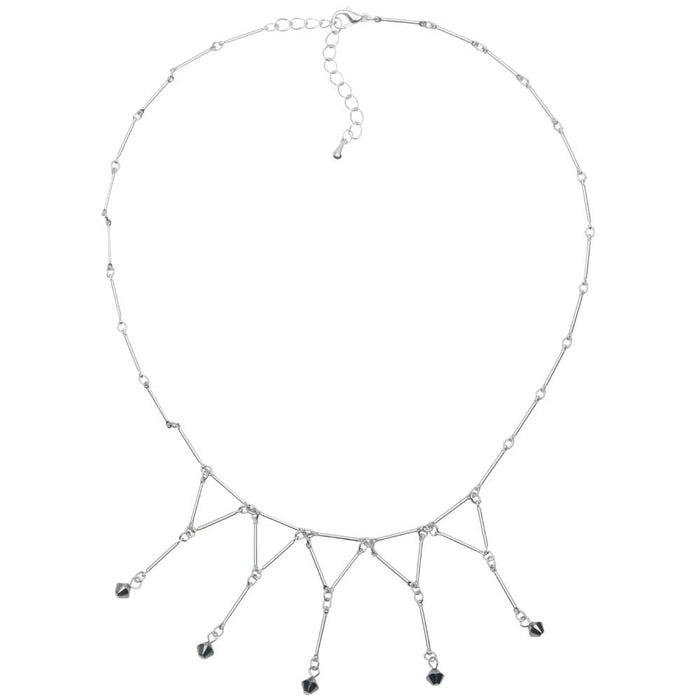
This necklace uses a chain extender for adjustable length from 15.5 to 17.5 inches. You will be connecting the chains in this project by opening and closing the tiny
jump rings that are in between the bar links in your chain. Note: While the exact amount of bar chain used in this project measures approximately 23 inches, you will need to purchase at least 3 feet to account for the links removed according to the instructions.
- To see helpful techniques for working with bar chain, please watch the video: How to Use the Third Hand Tool to Make Jewelry with Bar Chain. This video includes tips for separating chain links, attaching jump rings, and securing your design during assembly.
- Begin by using pliers to separate 15 inches of bar chain. Clip the chain onto the third hand tool as shown in the video, or choose your preferred method for assembling the design.
- Next, use pliers to separate five 2-link sections of bar chain, keeping the jump rings attached on either end. Also separate five single links, also with jump rings attached. Set aside.
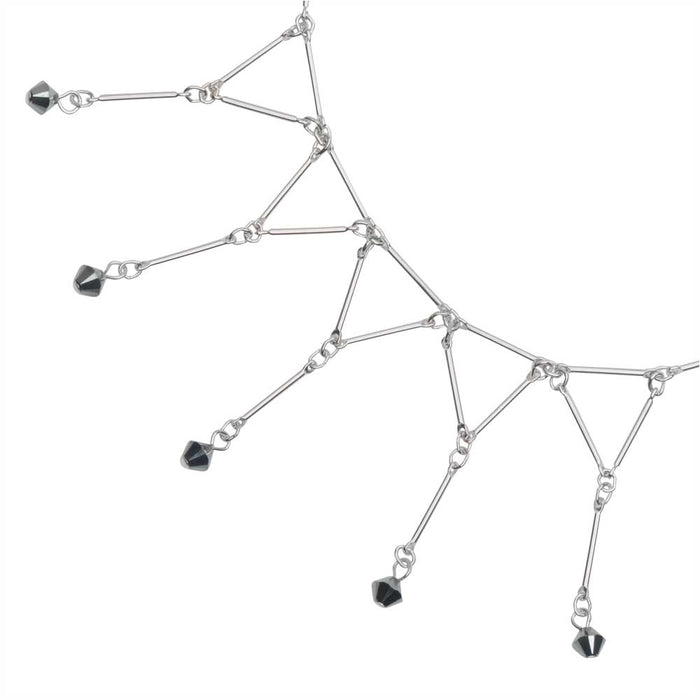
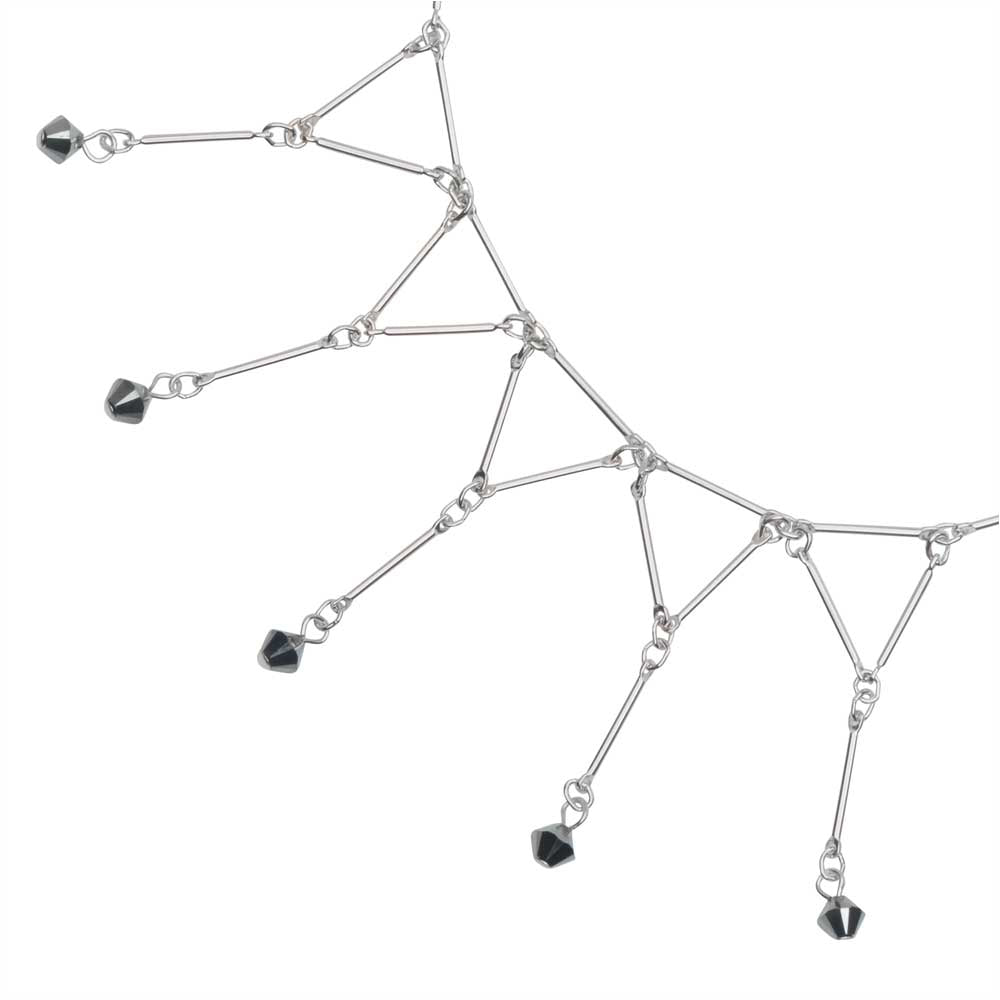
- To create the triangle focal: Open the jump ring on one end of a 2-link section of chain and slide it onto the jump ring on your 15 inch chain that lies 6.5 inches (11 links) from one end. Close the jump ring. Open the jump ring on the other end of this 2-link section and slide it onto the jump ring of the 15 inch chain that lies one link over from your first attachment. Repeat this process to attach a total of five triangles along the center of the 15 inch chain length, as described in the video (also see photo for reference).
- To hang the single links from each triangle: Open the jump ring on one end of a single link of chain and slide it onto the jump ring at the tip of one triangle. Close the jump ring. Repeat this process to attach single chain links onto each of the four remaining triangles.
- To attach the beaded dangles: Onto a head pin, slide one 4mm Austrian Crystal bicone. Above the bead, make a simple wire loop. Latch the loop onto the end of one of the single links you attached in the previous step. Close the loop. Repeat this process to attach a total of five bicone beads onto each hanging chain link (see photo for reference).
- Once your necklace focal is assembled, remove the chain from the third hand tool.
- To attach your clasp: Open a 3.4mm oval jump ring and slide on the end link of chain on one side of your necklace. Also slide on the loop of your clasp. Close the jump ring. Repeat this step on the opposite side of your necklace, this time sliding on the end link of your chain extender. Enjoy!
WHAT YOU'LL NEED: (scroll down for purchase options)
- CHA-08039 - Silver Plated Bulk Chain, Long Bar Links 13.5mm, By The Foot
Project uses 24 inches. You will need 3 packages.
- SWBI-14562 - Austrian Crystal, #5328 Bicone Beads 4mm, 24 Pieces, Crystal Light Chrome 2X
Project uses 5 pieces. You will need 1 package.
- FHP-5314 - Silver Plated Head Pins 1 Inch/22 Gauge (50)
Project uses 5 pieces. You will need 1 package.
- FJR-3920 - Silver Plated Open Jump Rings Oval 21 Gauge 3x4mm (50)
Project uses 2 pieces. You will need 1 package.
- FCL-2507 - Silver Plated Curved Lobster Clasps 10mm (10)
Project uses 1 piece. You will need 1 package.
- FCR-9010 - Necklace Chain Extender, Curb Links with Drop 2 Inches, 10 Pieces, Silver Plated
Project uses 1 piece. You will need 1 package.
RECOMMENDED TOOLS:- XTL-0328 - Third Hand Tool For Jewelry Repair, Includes Alligator Clips / Magnifier / Cast Iron Base
- XTL-5600 - Sharp Flush Cutter Pliers - For Cutting Beading Wire, 1 Piece
- XTL-0034 - Wubbers Classic Series Round Nose Quality Jeweller's Pliers
- XTL-0023 - Baby Wubbers Quality Fine Bent Chain Nose Jeweller's Pliers
- XTL-5450 - Xuron Jeweler's Super Fine Pliers Chain Nose Flat Nose


 Earn Reward Points with your purchase of project components or tools.
