
|
Beadalon Beading Mats - Prevent Bead Rolling 12 x 9 Inch (Set of 3) SKU: XTL-9930 $3.99 |

|
Griffin Silk Beading Cord & Needle Size 4 Brown SKU: XCR-9419 $2.69 |
Related Videos

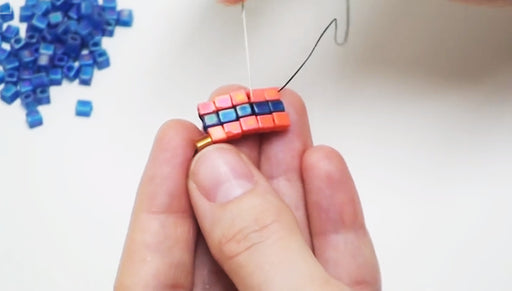
How to Do Square Stitch Bead Weaving
Andrea demonstrates how quick and easy it is to use Square Stitch for jewelry making using Miyuki Beads, a big eye needle and Wildfire thread.
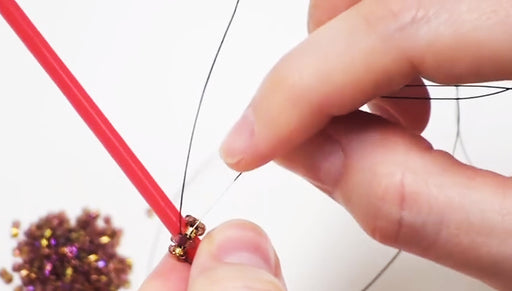
How To Do Tubular Even Count Peyote Stitch Bead Weaving
Beadaholique's Andrea demonstrates the tools and technique required to do Tubular Even Count Peyote Stitch.
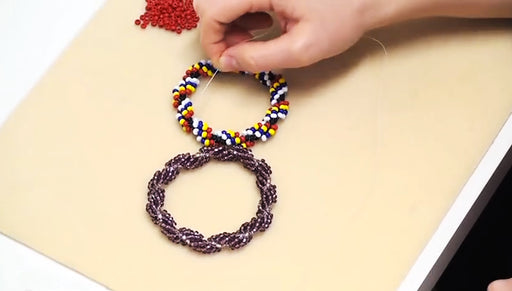
How to do Spiral Rope Stitch for Beading & Make a Bracelet
Beadaholique's Andrea demonstrates quickly and easily how to do Spiral Rope or 'Dutch Spiral' stitch. Then she shows us how to make a bangle bracel...
View full details