|
Anchor Charm Memory Wire Bracelet -Turq/Red - Exclusive Beadaholique Jewelry Kit SKU: KB-SP-010KD $12.49 |

|
Star Charm Memory Wire Bracelet, Blk/White, Exclusive Beadaholique Jewelry Kit SKU: KB-SP-010SJ $9.49 |
Hi, this is Julie with beadaholique.com I want to show you how to make one of our exclusive kits and it is a memory wire bracelet with a charm it comes in a couple different color ways. We've got this one which is a turquoise and red, perfect for summer with a little anchor charm. It makes it very nautical and then we have another one which is black and white with a star charm and these are memory wire bracelets so they're really fun and easy to make and I just thought it was kind of a striking combination here to do the two contrasting colors and then put a charm on it. So when you purchase this particular kit you're going to get all the beads you need which is gonna be two strands of each color you'll get a coil of memory wire but you're not going to need to cut the memory wire. It's really hard to cut, you'll need a special tool we've gone ahead and we've pre-cut it for you and then you'll get the little charm and a little jump ring. In terms of tools you'll need just a pair round nose pliers. That's it and then you'll need just some tape from around the house I want to show you how to make this. I wanna start by taping one end of our memory wire and peel off a little bit of tape and about a quarter of an inch from the end I'm just gonna place the tape over and fold it on itself so it creates a bead stopper and I'm doing that because I don't actually finish my memory wire end until I've got all my beads strung on and I'm positive I like how the beads look so to start I'm gonna cut my strand here of my red beads and each strand consists of 50 beads each and I wanna put ninety of each color on. I'm just going to start putting them on the memory wire and then once you've got a few of them on you'll see you can just hold the memory wire like so. Get them to go down there they go down to the end there where they stop at the piece of tape I gonna continue doing that until I have strung ninety of the red beads on and then I'm gonna go ahead and do the same thing with my turquoise I've got my ninety red beads on and I'm ready to start my turquoise a quick tip so you don't actually have to count your beads, if you know there's fifty beads on each strand and you just make sure you put one full strand and then all but 10 beads of your second strand you'll know you have the right number and I did just realize you're also going to need a pair of chain nose pliers for this project too when it comes time to add your charm with your jump ring. I should of said that in the beginning, my apologies but I'm just gonna now continue along stringing my turquoise beads and I'm just gonna put them right on after the red beads. I'll do that for in ninety turquoise beads so I've done ninety red and ninety turquoise and you can see I have this much of the memory wire left. This is why you'll tape your end so it's really hard to measure out memory wire because it's a coil so you might get a strand of memory wire that can fit 180 beads exactly, you might get one that it's 190 beads, you're gonna definitely have enough beads to finish the project but it's a little hard to say if its gonna be 180, 184 beads, 186 something like that. So this is why I had you tape the one end to start. You have plenty of beads, you could just put more turquoise beads and then your bracelet won't quite be half and half or you can do what I'm gonna do. I'm gonna put on a couple more turquoise like maybe four probably and I'm gonna tape this end about a quarter of an inch and I'm gonna go to the other end. Get myself some red beads pull off the tape, scoot these all down and now add some red beads I'll probably add five turquoise but it doesn't matter, you can go back and forth to make it exactly even or you can just call it good and put on however many feels right We've got all of our beads. We've got the two ends and now we need to finish the end so that the beads don't fall off to do that. Take your round nose pliers gonna grab the end of the memory wire between the two noses and you're just going to twist. I find it easiest to twist away from me. I feel like I get a little bit of a stronger grip doing that and I'll just keep twisting to complete a little loop and now those beads will not fall off I'll go to the other side, remove the tape and do the exact same thing grab it between the tips. Rotate making a loop so now the bracelet is actually done and you can see how you put this on your wrist. Just coil it that fun stacked bracelet design and what I wanna do now is add my little charm give a little bit more personality. So to do that I'm going to take my jump ring and open it up Add the little charm, add it to the little loop close the jump ring your bracelet is now all done and you could do it here. Put it next to the turquoise beads. You could do it next to the red beads. It's really up to you, whatever you like and that is how you make these memory wire bracelet that feature a little charm. You can find them and other kits on beadaholique.com under exclusive kits. Go to www.beadaholique.com to purchase beading supplies and to get design ideas!
Related Videos


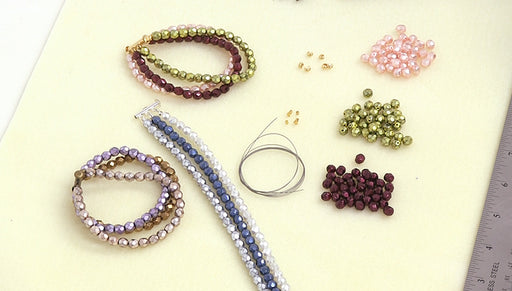
Instructions for Making the Ashley Multi-Strand Bracelet Kit
In this video you will learn how to make the Ashley Multi-Strand Bracelet Kit which is available at Beadaholique.com. In this exclusive Beadaholiqu...
View full details

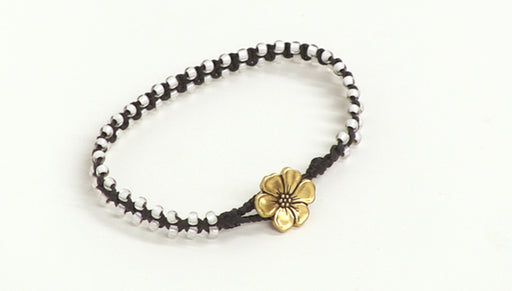
Instructions for Making the Beaded Macrame Wrap Bracelet Kit (Beads Outside)
In this video, you will learn how to make a beaded macrame wrap bracelet with the beads on the outside. These pretty bracelets feature seed bead ac...
View full details

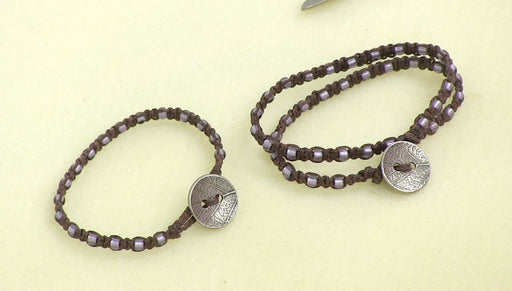
Instructions for Making the Beaded Macrame Wrap Bracelet Kit (Beads Inside)
In this video, you will learn how to make a beaded macrame wrap bracelet with the beads on the inside. These pretty bracelets feature seed bead acc...
View full detailsCustomer Reviews
You recently viewed
Clear recently viewedThis kit looks really fun to use .. two of my favourite colours..will definitely get some of these beads
