|
Beadalon Jewel Loom Kit - Weave Necklaces Bracelets And More! SKU: XTL-6119 $19.99 |

|
Miyuki Delica Seed Beads, 10/0 Size, Opaque White Pearl DBM0201 (8 Grams) SKU: DBM-0201 $4.30 |

|
Miyuki Delica Seed Beads, 10/0 Size, Copper Lined Crystal DBM0037 (8 Grams) SKU: DBM-0037 $6.99 |

|
NYMO Nylon Beading Thread Size D for Delica Beads "Black" 64YD (58 Meters) SKU: XCR-8902 $2.79 |

|
Fiskars 5 Precision Tip Scissors - Super Sharp SKU: XTL-5700 $7.45 |

|
Beadalon Large Beading Mats - Prevent Bead Rolling 13 X 18 Inch (Set of 2) SKU: XTL-9935 $6.75 |
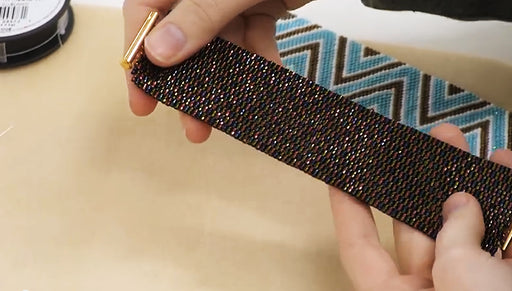
Hi This is Megan with Beadaholique.com and today I'm going to show you how to use the Jewel Loom Beading Loom and it comes in a box like this and you'll notice it's flat. So I wanted to go ahead and show you how to use this one because it does require very basic bit of assembly. What's great about it coming flat and in this nice little pouch is that it's really easy for travel if you're one of those crafters like myself who can't bear to not bring a project with you when you go somewhere so it comes flat like that and then it has a little metal rod You'll also get an instruction booklet and a needle threader and a needle and this needle is nice because it's extra-long. So when you have a wider piece on your loom you're going to be able to go through all the beads. So I'm going to put that aside for one second and I'll show you how to put this together. So what you do you'll notice that one side has the title on it and it's just raised. I'm not sure if you can see it but if you have the loom in front of you, you'll be able to tell it says Jewel Loom and the other side has these little knobs those knobs are what you're going to use to secure your thread on the loom. So you wanna make sure that's at back. Take the little metal rod and insert one end through one of the little holes and then its flexible the plastic and you wanna gently bend it until you can slip the other side of the rod into the other hole It'll give you a curved loom to work with and that's all the assembly. It's not a lot of assembly to get ready to go. To thread this kind of loom it is very similar to any other standard beading loom you're going to use this little knobs here. So go ahead and tie your thread onto one of them and you wanna go ahead and knot it tight enough around there. It's not gonna slip of but don't knot it so tight, you want to be able to cut it off later. Give yourself a little bit of wiggle room there If you've ever worked with a beading loom before you're going to put your warp threads across the loom and you want one more warp thread than bead. So if you wanna do a piece that's six beads wide you do seven threads across and you can kind of center it. So if you're going to do something narrow you can work in here. If you're doing something wider you wanna go ahead and start further over give yourself enough room. I'm just gonna do it a narrower piece just a few rows to show you how it works and just wrap your thread in the little groove across and then you're going to go around the notch and back. Go right to the next groove continue if you're going to use a very wide bead such as a till bead or a tile bead, you can skip some of the grooves in general for seed beads you want to use every grooves but you can kind of hold your bead up and see if you held it up to see how many different warp threads it covers. You can kind of learn how far you need to space them if you are using a wider bead so I have got seven threads. I going to do 6 beads wide just to show you so that's enough for me. Go ahead and cut your thread off the spool leave yourself a little bit of a tail. Now you just wanna secure it it just needs to be secure enough to hold while you work. So go ahead and make sure it's not gonna just pull right out and then you're fine. Now the beading needle that comes with your loom as I said it's a little different than standard beading needle because it is longer that will make it really easy for a wider piece it's not super tiny, so if you're going to use a smaller bead like an 11/0 delica especially if you're using anything smaller than that you want to make sure that this is gonna fit through the bead before you get going. I'm just using a 10/0 delica. I know that's going to be fine. So you've got a nice dull point and really nice long length on these needles here. You can always use a different needle. You don't have to use the one that it came with so go ahead and cut yourself a length of thread to work with. I'm using nymo I find for a loom piece that I prefer using a basic nylon thread like nymo it leaves a little bit more fluid because there's a lot of thread going through it now you will usually need to tie off an add a new thread as you work and you would do that the same way that you would do it with an off loom piece and we do have a video on How to Tie Off and Add New Thread in Bead Weaving So to start I'm going to do a few rows to show you go ahead and pick up six beads on the needle now you can decide how long your piece needs to be. If you want it longer you're going to go ahead and start all the way at the ends to give yourself more room to work. You can slide a little bit if you end up needing to move that over later so take your needle with the beads and position it underneath the warp threads and then I'm going to push the needle with the beads up under the threads and get that threads to go in the spaces between the beads so have you'll have a warp thread to either side of the thread and then one between each pair of beads Now pullover. You wanna leave a tail on the end and I like to myself a nice long like eight inch tail when I'm doing loom weaving because you don't want it to pull out Once you have your beads all set up you're going to take the needle and you're going to go back through the other way. Now the most important thing here is that when you go the first time across underneath you want your working thread which is called your weft thread, the one that's gonna go back and forth, you wanna go underneath the weft thread and now when you're going back across you're going to go over so you need to make sure that you're needle is over all seven of your warp threads as you go back across and if you miss one you will have beads fall out. It's easy enough to pull it out and fix it. Pull across don't pull so hard that you lose your tail at the end. You just wanna pull snug but not too tight that's your first row so all you do is continue rows and you can use a pattern, you can make up a pattern, you can do solid colors, you can just use a mix of seed beads it's entirely up to you. I'm just alternating colors here to show you from row to row. Don't get your tail stuck in there underneath and then you're going to go back across over the top and pull that tight you're going to continue that for as long as you want on the piece and one thing to mention If you have a nice sturdy needle like the one that comes with this loom I prefer to push my beads into place on the needle and then pull the thread through, you can also it's perfectly okay to do this this way if you find it hard to hold them in place while you pull the thread through you can just pull the thread all the way through and then just put your finger position on the beads I just find that the needle hold them in place while I'm getting them where they need to go. It's actually really easy to get them in place after the first few rows. It's a lot easier. If you having trouble with the first few rows, don't despair That's all there is. It operates just like any other beading loom and we do have a whole other video on how to Finish and Back Bead Loom Weaving. So if you need tips or pointers on what to do with your weave when you're done you can watch that video and get a few suggestions on how to do that but that is how you set up and use the Jewel Loom. Go to www.beadaholique.com to purchase beading supplies and to get design ideas!
Related Videos


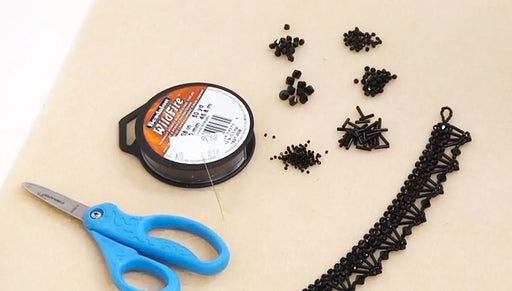
How to Bead Weave the Isabella Collar Necklace
In this video tutorial, see how to bead weave the main body of the Isabella Bracelet. This video will show you how to right angle weave, add the bu...
View full details

How To Do 2 Drop Flat Even Count Peyote Stitch Bead Weaving
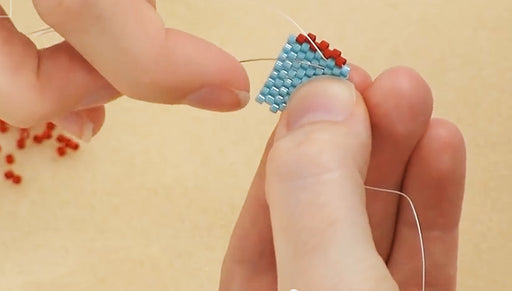
In this video, you will learn how to do flat even count peyote stitch bead weaving with 2 beads per stitch instead of 1, which is called two drop p...
View full details

How to do Decreases in Flat Peyote Stitch
In this video, you will learn the basic technique for making outside decreases in odd or even count flat peyote bead weaving.
