SKU VID-1474
Designer:
Kat Silvia
In this video you will see how you can use seed beads in a coral fashion to create a beautiful beaded tassel.
FEATURED IN THIS VIDEO
Audio Transcript
Note: This audio transcript is auto-generated and may not be completely accurate.
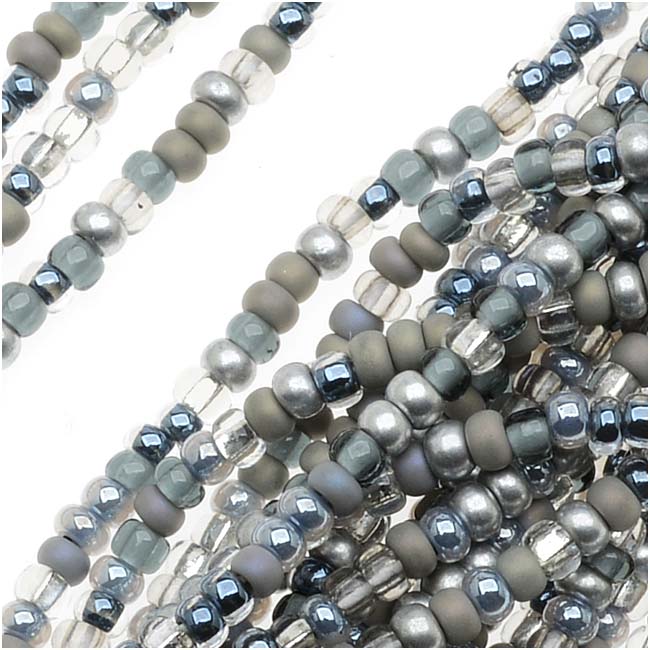
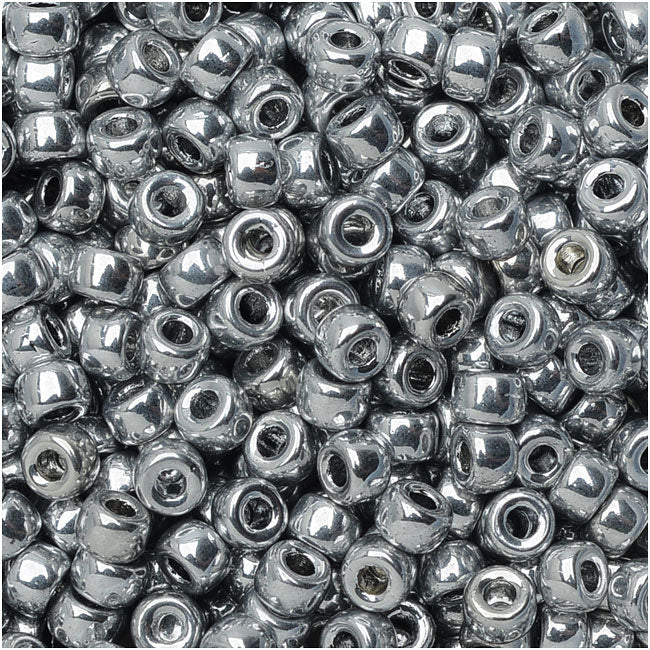
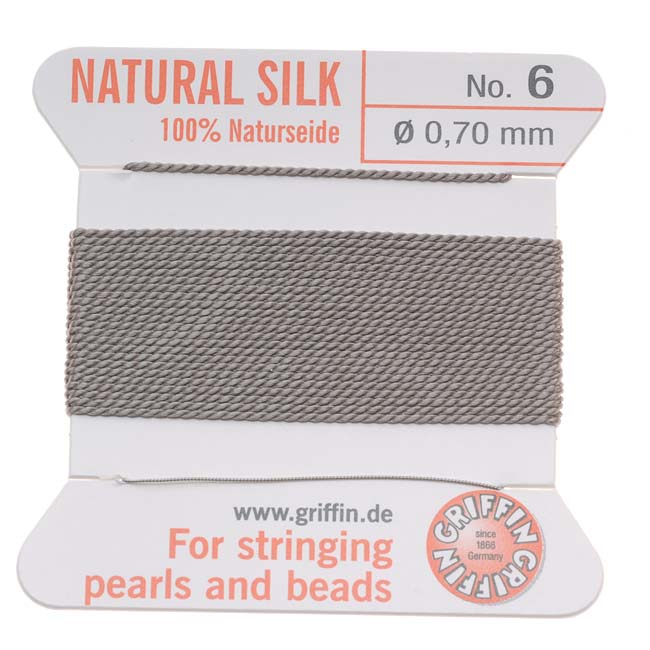
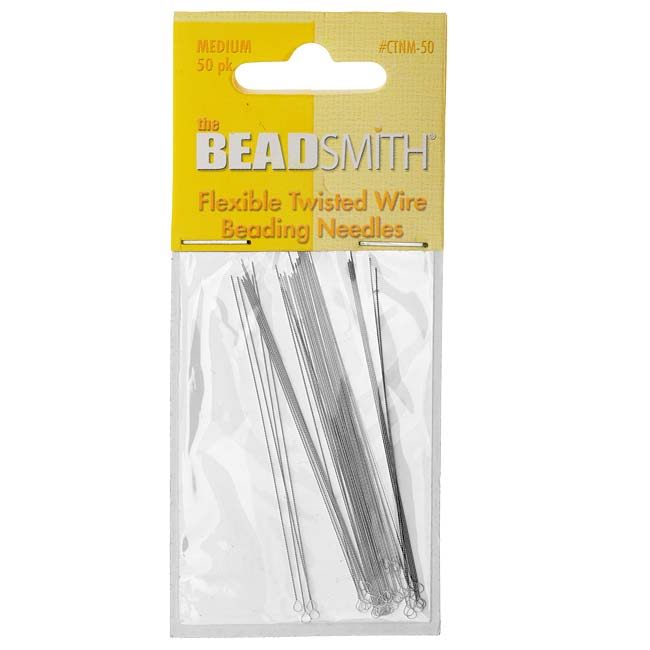
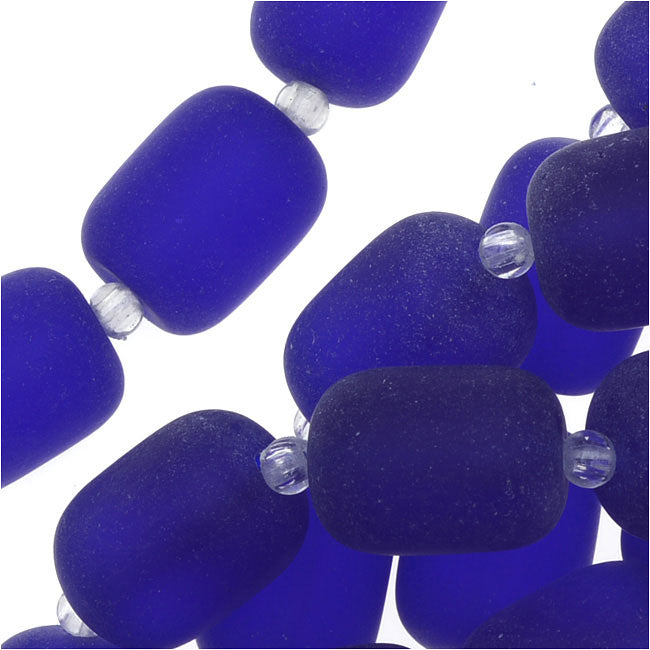
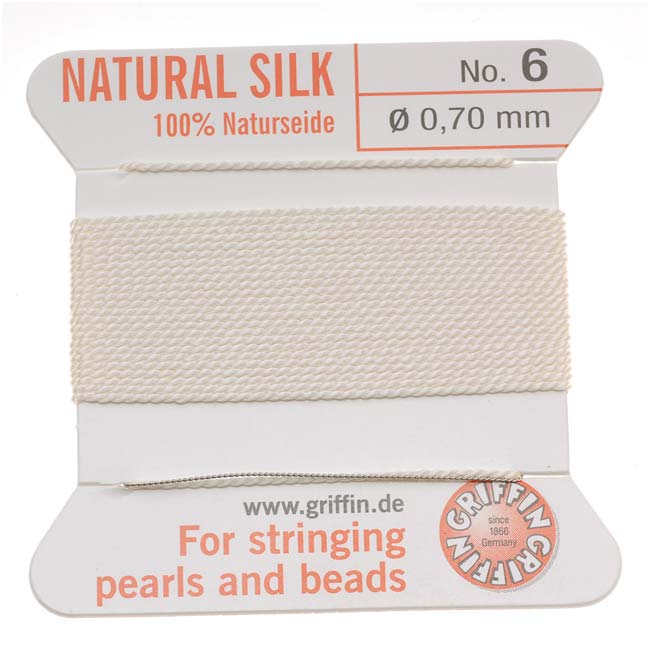
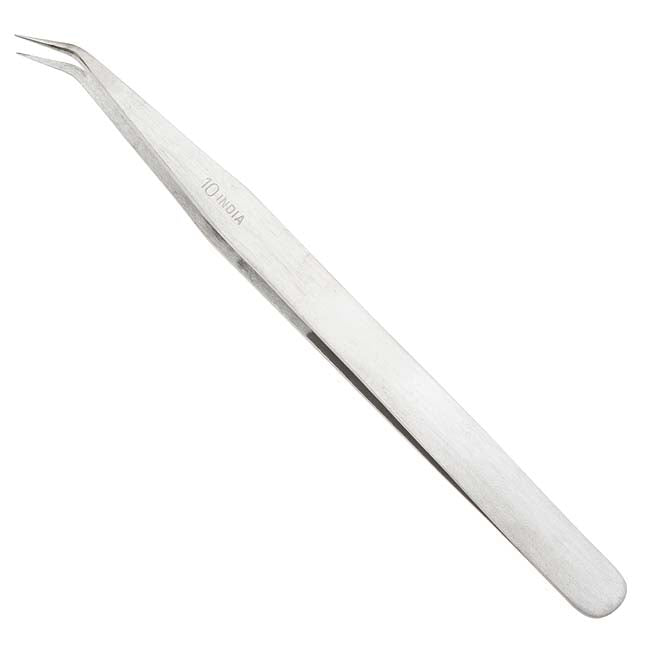
Hi, this is Kat with beadaholique.com and style tassel here and this is a lovely technique and I work and today we're going to be using the czech glass eleven OC beads and what I love about them is that they are a little irregular but it makes it perfect for this type of technique so I wanted to create a design using a bead cap to create a nice fringy tassel but I was having trouble trying to figure out exactly how to get all those threads and cords up inside of that bead cap without it sort of being too clunky so I think I came up with a really good fun solution so that is what we're gonna be doing here in this video today so what we're gonna do is we're gonna take our little jump rings here now these are closed jump rings you can't use open jump rings and you'll see why here in a moment but today I'm gonna be using a 5 21 gauge or rather 5 millimeter 21 gauge I'm sorry for my shorthand there I'm gonna be using some crystal fireline the 4 pound again I do have some of those 11 o Czech glass beads I have some 800 which are gonna will use a little bit later and then I have my beading needle and I already have my thread on there and the only tool that I'm gonna be using today is gonna be my nice little thread snips alright so I have about 6 feet of cord of my fireline onto my needle here so what I'm gonna do first is I'm gonna pick up one of those little of jump rings and I'm gonna slide it almost all the way down here to the end until it loops until it falls out the other side and let's just put it on this side there we go ok so I have about 3 4 inches on this side so all I'm gonna do is just tie a little overhand knot and pull it through so it's now suspended on to my jump ring there and now I'm just gonna tie another overhand knot and this whole piece is gonna fit underneath the bead cap so it doesn't need to be pretty so you can go ahead and tie as many notes as you need to make it feel secure I'd say 3 is probably good give it a nice little and make sure so you can see that my little thread is at the bottom of my clothes jump ring there so now what we're gonna do is we're gonna do that sort of quarreling technique I've heard it called a couple different things but basically what's gonna happen is we're gonna pick up a long line of seed beads and this is a lovely little mix this is called the silverwares mix and what I'm doing is I'm just kind of visually alternating no specific pattern just trying to get a nice little mix of all my seed beads there and you can this is the other great thing you can actually make this tassel as long or as short as you want to it'll just kind of depend on how many you start with alright so we're just gonna slide that down let's pick up another round here and these Czech glass mixes are really great we have them in a ton of different colors as you can see for my example that I have there it's a beautiful sort of matte and it looks like sea glass which is why I wanted to add that little touch of sea glass to the top alright so I'm going to slide this all the way down here alright I'm gonna actually add a few more not too many there we go and one more alright so there I have my beads and that's how long I want my tassel to be so from this point to this point is what is gonna sort of sit and you can just kind of see inside where that's gonna be so this tassel that I'm making is going to be a little bit shorter than the one that I already have so if you can kind of see how you're going to judge that distance that's exactly what you're looking at alright so now I have this strand here what I'm gonna do is I'm gonna take my needle and I'm gonna skip over that first bead but I'm gonna go back through a few of the adjacent beads so let's go through about five or six they're eight I believe alright I'm gonna pull that cord all the way through so what happens is now I'm sort of jutting out to the side here and they just kind of flip that around so yeah so I went back through and I'm now kind of coming out to the side so what I'm going to do now is a pickup only a few maybe three or four six and the nice thing about this is that you want it to be sort of alternating all the time so and then you're gonna do the same thing so you're gonna skip over that first bead and you're gonna go into the next few beads there and I'm gonna actually turn my needle up and go up through following that thread path back towards the top so this is how you create that coral look so you can kind of say that it looks like the little pieces of coral there at the bottom so you can work your way up and you can actually do smaller pieces here I'm just gonna do like five beads bring that all the way down and turn it around and the key is to just skip over the last bead that you added and then you just kind of keep going right back up towards the top there alright so and this is the basic technique for this and I did do a separate quarreling video for how to add it to circular brick stitch so this is sort of another way you can utilize this idea alright so one more kind of quick example here I'm going to show you is let's say I wanted to add a whole extra branch so for this I'm going to be picking up several more seed beads here you can see this one's gonna be a little bit longer again just sort of slide that down to the end and now I'm gonna sort of repeat that process and I'm gonna go up through about five beads pull that through and now I'm gonna do another section I'm gonna add on another few beads there again just start sliding that all the way down and then going back through and going all the way back towards the center pulling that through and now I'm ready to continue to go up the main length back towards that jump ring there all right now again you can add as many branches as you want however you want your coral to be however full so there's no wrong way to do it and each branch each big length will be very different and that's what you want to get that kind of organic look so I'm gonna go up a few more here and once you get towards the top you don't want to add too many more coral pieces at the top because then you're gonna crowd what's gonna be underneath your little cap here so you want to be careful of that so you don't want to add anything that's too close to the top so I think for this one I'm good to kind of keep it really full at the bottom so here's how you get to the next one so I'm gonna come all the way up back to my starting point there so now you can see that I'm coming out that top bead again so all I'm gonna do is I'm just gonna go through my jump ring here and I'm just gonna make a little loop and put my needle through and just sort of pull this is just kind of the same technique it's like tying off your thread and adding new thread all we're doing is just kind of using that jump ring to create a loop now I'm gonna do this twice and again all of this will be underneath that bead cap so if yours looks a little messy don't worry it you won't see it okay so this is what we have now so you can see that I have my little tiny loop from my beginning and my second one and now my thread is sort of coming out here and it's all ready to repeat that entire process so let me just show you really quickly one more time I'm gonna pick up my beads here okay and let me just test my length that's actually pretty good I'm actually just gonna add a couple more here just to kind of even it out okay there we go alright now the same thing you just kind of go back you skip over the last speed you added and you can just go up this time I'm gonna go up a little bit higher because if that piece of coral is gonna sit next to the other one I don't want it to look identical so now I'm just gonna add a few beads here slide that all the way down going back through and trying to get back towards the top there all right I'm gonna do a couple of quick corals here and this is a great little technique and what's going to end up happening here is that we're gonna make one of these little guys onto our closed jump ring and what is underneath that bead cap I'm going to show you here in just a moment but it's actually several of this piece now depending on the size of your bead cap will depend on how much quarreling you're going to want to do and how much how many jump rings with each piece of coral so let me just kind of explain that to you and I'll show you here in just a second so if you're wondering that just stay tuned just a moment here alright so again just some nice coral lengthy PSA's and just turn your thread and head back towards the top so there we go so now I'm just going through and making another little loop tying my little knot and again not worrying too much if it's pretty it'll all be hidden all right so let's say this was the end here and let's say I've added several pieces of coral when you go to your final little piece here what you can do is you can take your two little ends and just tie them together again you don't need to worry about it being too pretty it'll just kind of come together and you just tie it over and you get a couple little knots they're nice and secure and then what you can do is you can just take your little thread snips and snip off that thread and again don't worry about snipping too close because it'll all be underneath the bead cap okay so this is my little example and I'm just gonna set that aside here but what I want to show you what you want to achieve is I have three pieces here and they actually all have five little corals on them so this is the size and the style that I want from my particular tassel here this time but again you can add as many as your bead cap will allow you can also add more corals to each it's just entirely your preference all right so what we're gonna do is we're gonna take our Griffin silk here and this is a size six that I'm going to be working with here today so you can see that it has a little twisted wire needle on one end so what we're gonna have to do to the other end here is add one on so what we're gonna do is just sort of slip on our little twisted wire needle and slide that down a little bit okay so now we're just going to slip all three onto our Griffin silk and now put it together and you're going to find the center point of your Griffin silk here and keeping those two needles together this is the part where we're going to sort of test it out and we're going to go through our little bead cap up there all right and I'm just getting my needles through there and again just sort of sliding that all the way down and you're gonna see how it sort of sits on top of my little choral pieces there all right so I'm gonna sort of arrange them in there and make sure that they're all nice and snug and I'm actually really happy with the way that looks on the bottom there's not any big gaps or opening and now you can't even tell that there are three jump rings in there because it just looks like a nice column of that sort of beautiful coral so now the next step is to we're gonna take our little tweezers here and we're just gonna do a little knot and this is the same as you would do for like a pearl knotting and we're just gonna stick our tweezers in there let me get my fingers out of the way here in just a moment and you're gonna stick your tweezers through and you're gonna try to grab the bottom most point because you want to make sure this is nice and snug and then we're just gonna gently just sort of pull that knot together and once it gets nice and close just take that tweezer out and then you can just kind of squish it down with your tweezer so just kind of pressing that down so that it covers up that little hole there and we are ready to go so now to instead of adding a piece of sea glass to the top what I'm gonna do is I'm gonna actually add a little drusy I thought it would be a sort of a nice addition to kind of keep my silver going so again we're just gonna go to the ends of our Griffin silk here take both needles and go through the whole of our bead now you can use a gemstone a pearl anything you want as long as it fits your cord you are good to go so really this is a great opportunity for you to add a beautiful focal bead alright so you can see how it just sits right there so again we're gonna do the same thing I'm gonna go a little faster this time so we're just gonna make that little knot kind of get my tweezers in there and go ahead and pull down and again because you're working with two cords make sure you have nice even tension and we're just gonna squish that little knot down there we go so now we're ready to do our nodding on either side of our cord so what you can do is you can say I'm going to be using them a to bo8 o beads so let me just show you really quickly one or two again it's that same technique of doing a little knotting so I'm not going to do the whole thing on camera here but I just kind of want to show you a little bit of how this can work alright so I'm just gonna pick up one little bead there and I'm gonna go ahead and slide that down and I'm gonna do a little knot I like to use two fingers it just keeps it nice and easy for myself go ahead and pull that through bring my tweezer in there and give it a nice little pinch and then pull my little knot squish it down and then I'm ready to add another one so that's it that's how easy this is it's a really really fun technique and then you can just continue to add and what you'll do is if you wanted to you could add a clasp or you could do what I've done here and it just kind of finished it off in a different technique and if you head over to beadaholique.com and check out the write-up I will link to that video so that you guys can find it nice and easily for how to do the pearl knotting if you are unfamiliar with that but I just wanted in this video to show you how to do that beautiful beaded coral technique so I hope you enjoyed this video you can get all of these supplies and even more videos by going to beadaholique.com you
Hi, this is Kat with beadaholique.com and style tassel here and this is a lovely technique and I work and today we're going to be using the czech glass eleven OC beads and what I love about them is that they are a little irregular but it makes it perfect for this type of technique so I wanted to create a design using a bead cap to create a nice fringy tassel but I was having trouble trying to figure out exactly how to get all those threads and cords up inside of that bead cap without it sort of being too clunky so I think I came up with a really good fun solution so that is what we're gonna be doing here in this video today so what we're gonna do is we're gonna take our little jump rings here now these are closed jump rings you can't use open jump rings and you'll see why here in a moment but today I'm gonna be using a 5 21 gauge or rather 5 millimeter 21 gauge I'm sorry for my shorthand there I'm gonna be using some crystal fireline the 4 pound again I do have some of those 11 o Czech glass beads I have some 800 which are gonna will use a little bit later and then I have my beading needle and I already have my thread on there and the only tool that I'm gonna be using today is gonna be my nice little thread snips alright so I have about 6 feet of cord of my fireline onto my needle here so what I'm gonna do first is I'm gonna pick up one of those little of jump rings and I'm gonna slide it almost all the way down here to the end until it loops until it falls out the other side and let's just put it on this side there we go ok so I have about 3 4 inches on this side so all I'm gonna do is just tie a little overhand knot and pull it through so it's now suspended on to my jump ring there and now I'm just gonna tie another overhand knot and this whole piece is gonna fit underneath the bead cap so it doesn't need to be pretty so you can go ahead and tie as many notes as you need to make it feel secure I'd say 3 is probably good give it a nice little and make sure so you can see that my little thread is at the bottom of my clothes jump ring there so now what we're gonna do is we're gonna do that sort of quarreling technique I've heard it called a couple different things but basically what's gonna happen is we're gonna pick up a long line of seed beads and this is a lovely little mix this is called the silverwares mix and what I'm doing is I'm just kind of visually alternating no specific pattern just trying to get a nice little mix of all my seed beads there and you can this is the other great thing you can actually make this tassel as long or as short as you want to it'll just kind of depend on how many you start with alright so we're just gonna slide that down let's pick up another round here and these Czech glass mixes are really great we have them in a ton of different colors as you can see for my example that I have there it's a beautiful sort of matte and it looks like sea glass which is why I wanted to add that little touch of sea glass to the top alright so I'm going to slide this all the way down here alright I'm gonna actually add a few more not too many there we go and one more alright so there I have my beads and that's how long I want my tassel to be so from this point to this point is what is gonna sort of sit and you can just kind of see inside where that's gonna be so this tassel that I'm making is going to be a little bit shorter than the one that I already have so if you can kind of see how you're going to judge that distance that's exactly what you're looking at alright so now I have this strand here what I'm gonna do is I'm gonna take my needle and I'm gonna skip over that first bead but I'm gonna go back through a few of the adjacent beads so let's go through about five or six they're eight I believe alright I'm gonna pull that cord all the way through so what happens is now I'm sort of jutting out to the side here and they just kind of flip that around so yeah so I went back through and I'm now kind of coming out to the side so what I'm going to do now is a pickup only a few maybe three or four six and the nice thing about this is that you want it to be sort of alternating all the time so and then you're gonna do the same thing so you're gonna skip over that first bead and you're gonna go into the next few beads there and I'm gonna actually turn my needle up and go up through following that thread path back towards the top so this is how you create that coral look so you can kind of say that it looks like the little pieces of coral there at the bottom so you can work your way up and you can actually do smaller pieces here I'm just gonna do like five beads bring that all the way down and turn it around and the key is to just skip over the last bead that you added and then you just kind of keep going right back up towards the top there alright so and this is the basic technique for this and I did do a separate quarreling video for how to add it to circular brick stitch so this is sort of another way you can utilize this idea alright so one more kind of quick example here I'm going to show you is let's say I wanted to add a whole extra branch so for this I'm going to be picking up several more seed beads here you can see this one's gonna be a little bit longer again just sort of slide that down to the end and now I'm gonna sort of repeat that process and I'm gonna go up through about five beads pull that through and now I'm gonna do another section I'm gonna add on another few beads there again just start sliding that all the way down and then going back through and going all the way back towards the center pulling that through and now I'm ready to continue to go up the main length back towards that jump ring there all right now again you can add as many branches as you want however you want your coral to be however full so there's no wrong way to do it and each branch each big length will be very different and that's what you want to get that kind of organic look so I'm gonna go up a few more here and once you get towards the top you don't want to add too many more coral pieces at the top because then you're gonna crowd what's gonna be underneath your little cap here so you want to be careful of that so you don't want to add anything that's too close to the top so I think for this one I'm good to kind of keep it really full at the bottom so here's how you get to the next one so I'm gonna come all the way up back to my starting point there so now you can see that I'm coming out that top bead again so all I'm gonna do is I'm just gonna go through my jump ring here and I'm just gonna make a little loop and put my needle through and just sort of pull this is just kind of the same technique it's like tying off your thread and adding new thread all we're doing is just kind of using that jump ring to create a loop now I'm gonna do this twice and again all of this will be underneath that bead cap so if yours looks a little messy don't worry it you won't see it okay so this is what we have now so you can see that I have my little tiny loop from my beginning and my second one and now my thread is sort of coming out here and it's all ready to repeat that entire process so let me just show you really quickly one more time I'm gonna pick up my beads here okay and let me just test my length that's actually pretty good I'm actually just gonna add a couple more here just to kind of even it out okay there we go alright now the same thing you just kind of go back you skip over the last speed you added and you can just go up this time I'm gonna go up a little bit higher because if that piece of coral is gonna sit next to the other one I don't want it to look identical so now I'm just gonna add a few beads here slide that all the way down going back through and trying to get back towards the top there all right I'm gonna do a couple of quick corals here and this is a great little technique and what's going to end up happening here is that we're gonna make one of these little guys onto our closed jump ring and what is underneath that bead cap I'm going to show you here in just a moment but it's actually several of this piece now depending on the size of your bead cap will depend on how much quarreling you're going to want to do and how much how many jump rings with each piece of coral so let me just kind of explain that to you and I'll show you here in just a second so if you're wondering that just stay tuned just a moment here alright so again just some nice coral lengthy PSA's and just turn your thread and head back towards the top so there we go so now I'm just going through and making another little loop tying my little knot and again not worrying too much if it's pretty it'll all be hidden all right so let's say this was the end here and let's say I've added several pieces of coral when you go to your final little piece here what you can do is you can take your two little ends and just tie them together again you don't need to worry about it being too pretty it'll just kind of come together and you just tie it over and you get a couple little knots they're nice and secure and then what you can do is you can just take your little thread snips and snip off that thread and again don't worry about snipping too close because it'll all be underneath the bead cap okay so this is my little example and I'm just gonna set that aside here but what I want to show you what you want to achieve is I have three pieces here and they actually all have five little corals on them so this is the size and the style that I want from my particular tassel here this time but again you can add as many as your bead cap will allow you can also add more corals to each it's just entirely your preference all right so what we're gonna do is we're gonna take our Griffin silk here and this is a size six that I'm going to be working with here today so you can see that it has a little twisted wire needle on one end so what we're gonna have to do to the other end here is add one on so what we're gonna do is just sort of slip on our little twisted wire needle and slide that down a little bit okay so now we're just going to slip all three onto our Griffin silk and now put it together and you're going to find the center point of your Griffin silk here and keeping those two needles together this is the part where we're going to sort of test it out and we're going to go through our little bead cap up there all right and I'm just getting my needles through there and again just sort of sliding that all the way down and you're gonna see how it sort of sits on top of my little choral pieces there all right so I'm gonna sort of arrange them in there and make sure that they're all nice and snug and I'm actually really happy with the way that looks on the bottom there's not any big gaps or opening and now you can't even tell that there are three jump rings in there because it just looks like a nice column of that sort of beautiful coral so now the next step is to we're gonna take our little tweezers here and we're just gonna do a little knot and this is the same as you would do for like a pearl knotting and we're just gonna stick our tweezers in there let me get my fingers out of the way here in just a moment and you're gonna stick your tweezers through and you're gonna try to grab the bottom most point because you want to make sure this is nice and snug and then we're just gonna gently just sort of pull that knot together and once it gets nice and close just take that tweezer out and then you can just kind of squish it down with your tweezer so just kind of pressing that down so that it covers up that little hole there and we are ready to go so now to instead of adding a piece of sea glass to the top what I'm gonna do is I'm gonna actually add a little drusy I thought it would be a sort of a nice addition to kind of keep my silver going so again we're just gonna go to the ends of our Griffin silk here take both needles and go through the whole of our bead now you can use a gemstone a pearl anything you want as long as it fits your cord you are good to go so really this is a great opportunity for you to add a beautiful focal bead alright so you can see how it just sits right there so again we're gonna do the same thing I'm gonna go a little faster this time so we're just gonna make that little knot kind of get my tweezers in there and go ahead and pull down and again because you're working with two cords make sure you have nice even tension and we're just gonna squish that little knot down there we go so now we're ready to do our nodding on either side of our cord so what you can do is you can say I'm going to be using them a to bo8 o beads so let me just show you really quickly one or two again it's that same technique of doing a little knotting so I'm not going to do the whole thing on camera here but I just kind of want to show you a little bit of how this can work alright so I'm just gonna pick up one little bead there and I'm gonna go ahead and slide that down and I'm gonna do a little knot I like to use two fingers it just keeps it nice and easy for myself go ahead and pull that through bring my tweezer in there and give it a nice little pinch and then pull my little knot squish it down and then I'm ready to add another one so that's it that's how easy this is it's a really really fun technique and then you can just continue to add and what you'll do is if you wanted to you could add a clasp or you could do what I've done here and it just kind of finished it off in a different technique and if you head over to beadaholique.com and check out the write-up I will link to that video so that you guys can find it nice and easily for how to do the pearl knotting if you are unfamiliar with that but I just wanted in this video to show you how to do that beautiful beaded coral technique so I hope you enjoyed this video you can get all of these supplies and even more videos by going to beadaholique.com you
Related Videos

How to Make the Lacy Floral Swirl Earrings featuring Czech Glass ZoliDuo 2-Hole Curved Drop Beads
In this video you will see how to make a simple bead woven earring with a swirling pattern of Czech glass ZoliDuo 2-hole curved drop beads. Choose...
View full details
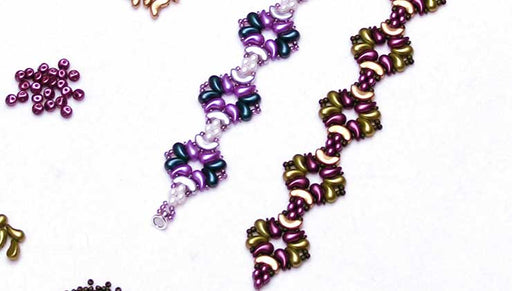
How to Make the Orleans Bracelet featuring the Czech Glass ZoliDuo 2-Hole Curved Drop Beads
Store Closing, Limited Stock
In this video you'll see how to construct this bracelet from start to finish. This design features ZoliDuo Beads, Arcos Par Puca Beads and Es-O Be...
View full details
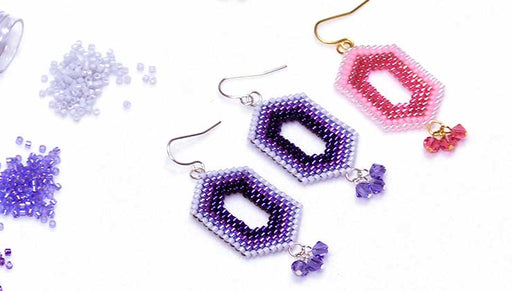
How to Bead Weave Ombre Window Earrings
Store Closing, Limited Stock
In this video you'll learn how to use brick stitch to create a bead woven geometric earring with an interior window. This design is set off by grad...
View full details


