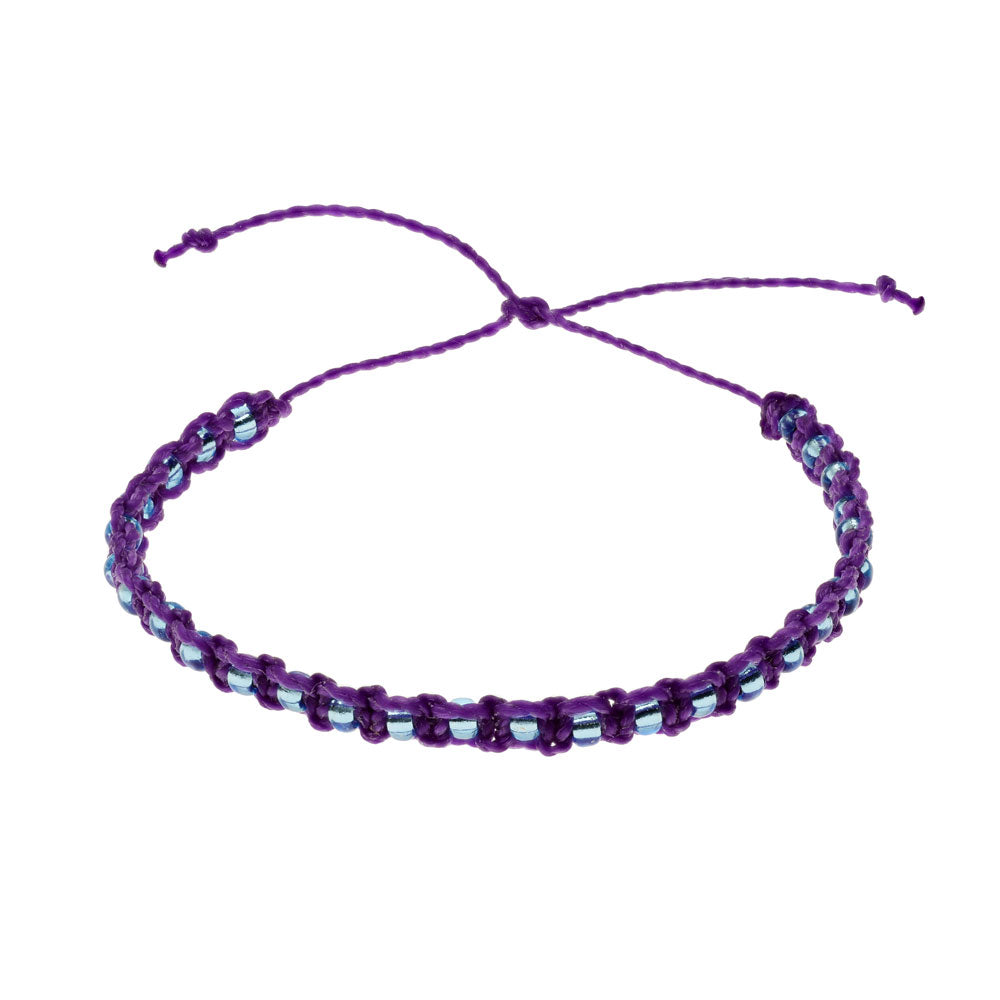
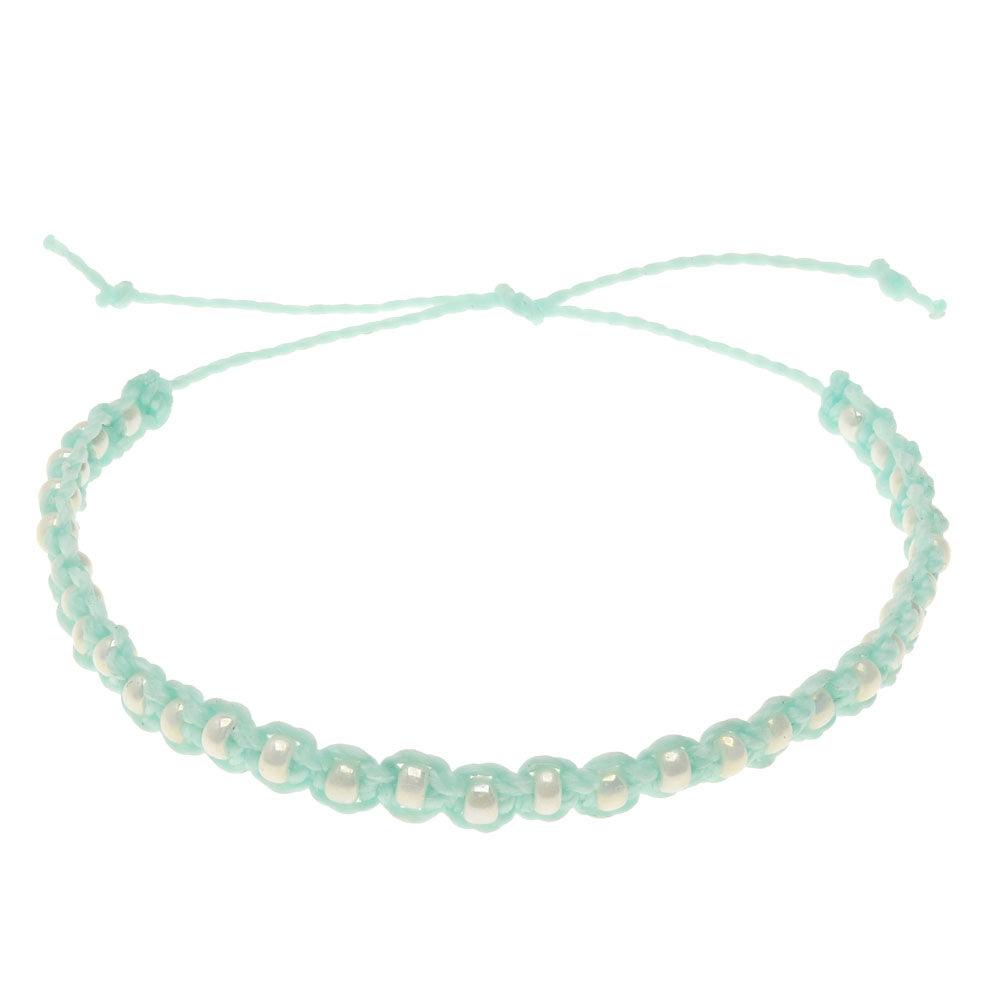
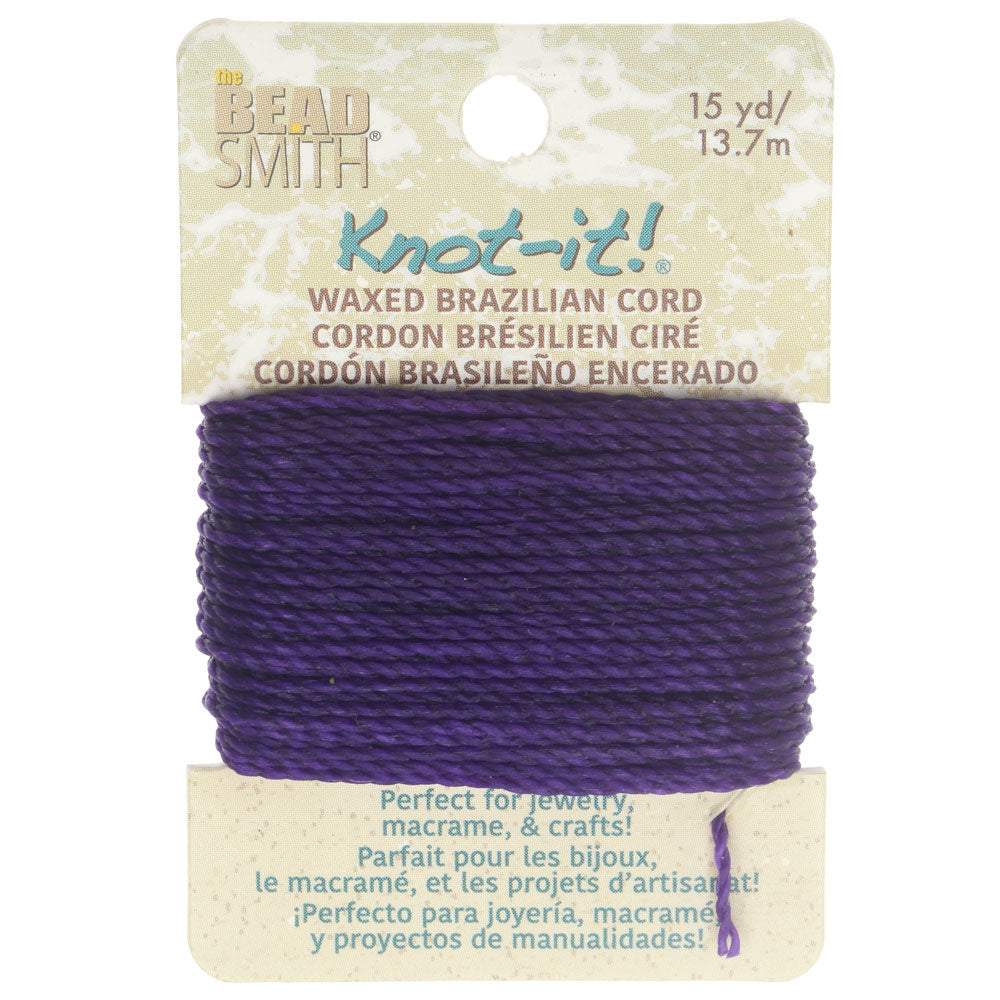
How to Make Macrame Square Knots with Waxed Brazilian Cord

SKU VID-1862
Designer: Kat Silvia
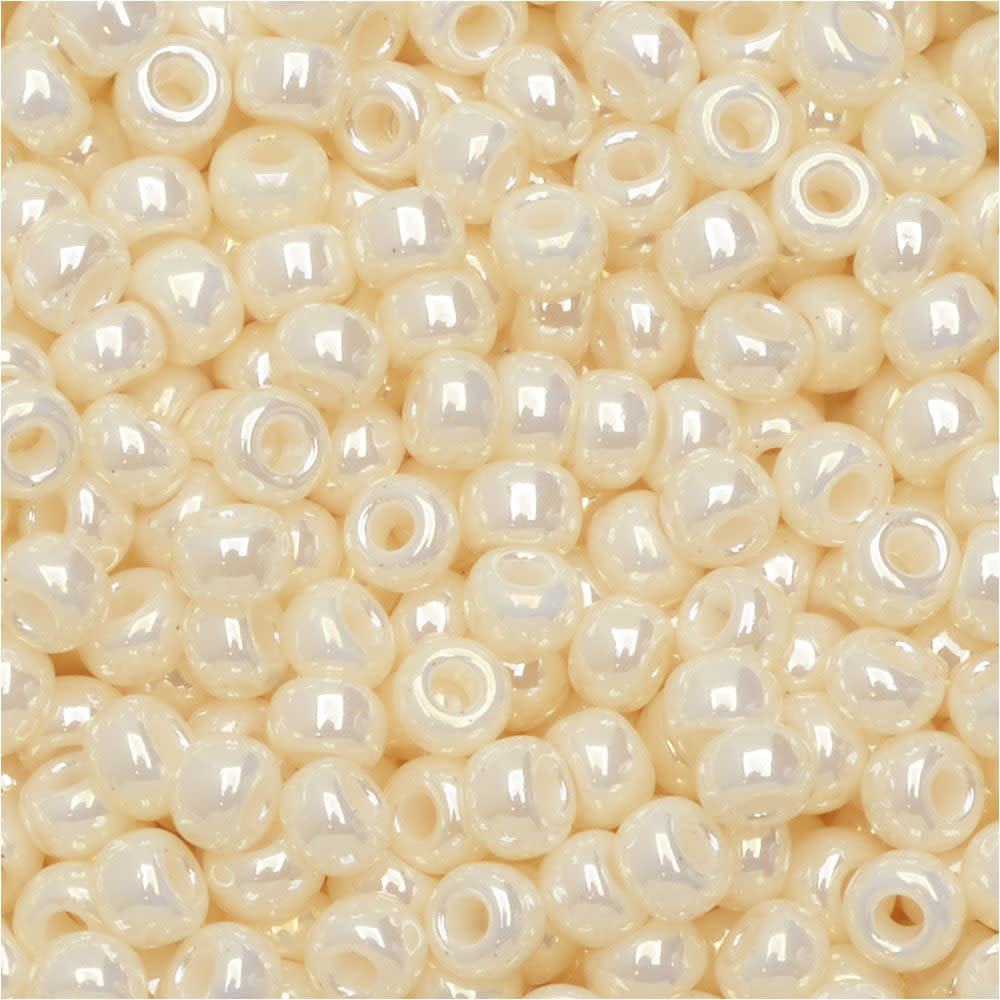
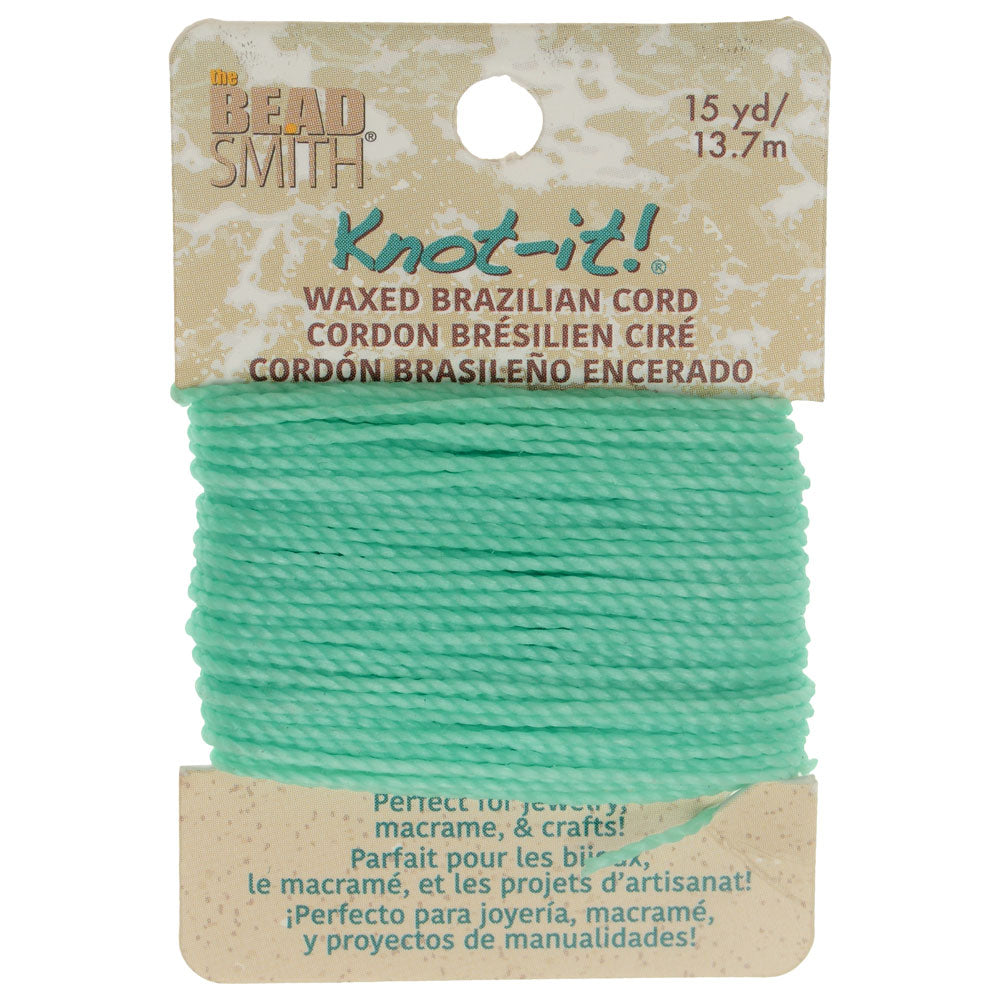
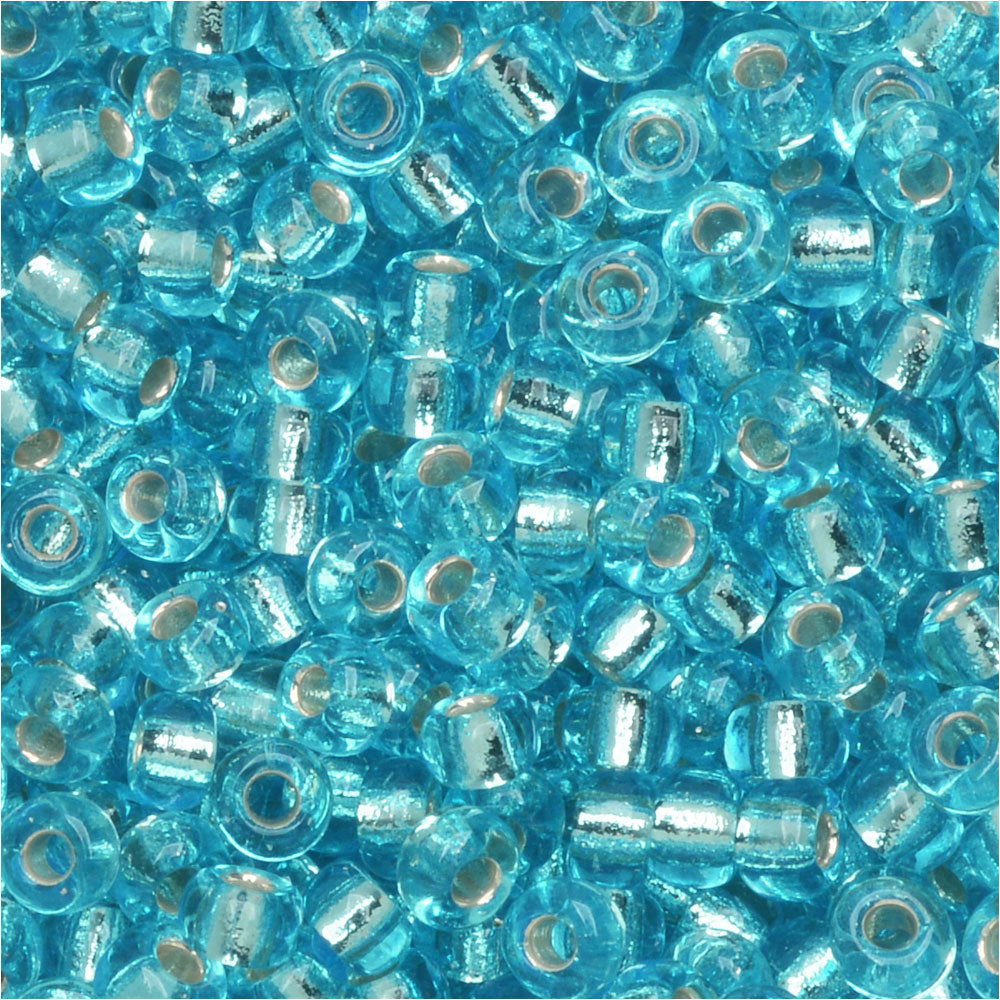
In this video you will learn how to make a macrame bracelet using waxed Brazilian cord and Miyuki 8/0 round seed beads. This thin and delicate bracelet is a great summer style to stack up on your arm with lots of bright colors to choose from.
Audio Transcript
Note: This audio transcript is auto-generated and may not be completely accurate.
hi this is kat with beadaholique.com and in this video i'm going to show you how to make macrame square knots with waxed brazilian cord so this is the cord here and this is a beautiful vibrant purple color we have the single color cards and then we also do have cards that have four different colors so you can really mix and match and make some awesome stackable bracelets all right speaking of stackable bracelets this is what we're going to be making and you can see how delicate it is we're going to be doing some macrame square knots there with some seed beads and for this one i have some miyuki 8-0 rounds and that's going to fit really nicely on our waxed cord now we have a couple unconventional tools here i have a lighter because we're going to be just burning this just a little bit so if you are a younger kiddo be sure to use some parental supervision if you are going to be using the lighter i also have some flush cutters i find using flush cutters works really nicely instead of using scissors also because if you ever needed to you can clean this really easily if it does get a little bit of that waxy build up on it i also have some tape and a ruler so let's go ahead and dive in and we're going to work on this bracelet here so let me kind of create a little bit of space and the first thing we're going to do is we're going to need two lengths of cord here the first length is going to be 18 inches so just along your ruler just measure out 18 inches there we go and just come in with your flush cutters and just cut that off there we go so we can set that first one aside and then our second length is going to be 48 inches all right two and three and four perfect all right and again you can just come in and just cut that with your flush cutters you might need to give it a couple little little snips there all right now we can just wrap that up and set that aside perfect so now what we want to do is we want to take our length that is 18 inches here and we're going to set it down on our work surface now you can see i'm using a harder surface here because i'm going to take some tape and you can use a macrame board as well if you'd prefer i like to use the tape it just kind of keeps it on my surface here and i'm going to tape about six inches down or so so just like that just like so okay so now i am on my work surface and ready to work now go ahead and take your longer length there your 48 inches go ahead and fold it in half so bring those two ends together fold it in half find that midpoint there and we're going to sneak it behind and put our long length underneath so you can see this is fitting over top there all right and now we're going to kind of use this as a little buffer so now we're going to start to make our macrame square knots so here's how that works so go ahead and leave this guy down if you want you can kind of put a little weight down there but go ahead and leave it up because we're going to be kind of putting our hand underneath so we're going to take the strand that's in our left hand bring it across over top take the strand in our right hand bring it over top of that and then what we're going to do is take that strand in our right hand and we're going to push that through this loop right here and we're going to bring it out to the side and go ahead and pull that all the way through and now we want to pull together and create one half of our square knot so it's a half square knot all right so now we're going to repeat and we're going to go the other side so we're going to bring our right hand over or right cord over left over and then kind of sneak it through that big loop there and go ahead and pull that all the way through and pull pull pull pull and give it a nice little tug we want this first one to be nice and secure now the reason i say you don't want to tape this down is because this is where we're going to start to add our beads go ahead and kind of just play with the end there to kind of get a nice little sort of needle like effect go ahead and pick up one of your seed beads and slide it onto your cord and we're going to slide that all the way up towards the top there and now we're just going to repeat those square knots so i'm going to go a little faster so you can see i kind of work with my hands with my fingers in a little faster manner so we go out to the left and it'll just form right around that little bead there give it a nice little tug and then go out to the right and you can see that like in these two fingers there i'm just kind of pulling that cord down i want to keep that nice and taut and then we simply repeat so we're going to go ahead and add another seed bead and your seed beads should fit nicely over there you can see there's a little bit of a twist to the cord what i recommend is if you're having trouble try to twist your bead in the direction of that and that could actually help you slide that bead on there but we want it to you know this is why we're not using two cords um in the center as sometimes you'll see we're just using that one all right so then i have my half square knot and then the other half square knot so a full square knot in between each bead and you're going to continue and this is going to be the main length of your piece so this is going to be the piece that's going to fit right over your wrist there so make it as long as you'd like and then i'm going to show you how to finish this off so if you want to skip ahead to see that before you decide on your length go ahead and do so but i'm going to add all of my little beads here and i will be right back to show you what it looks like all right so we are coming to part two here i just want to do one more here at the very end now i have my ruler next to me to help me uh you know kind of size as i go but i do want to point out that you have a little bit of extra length on your cords here and the reason i kind of tell you to start with 48 is so that you'll have enough to do so you have a good like six to eight inches on either side here which is really nice okay so what i'm going to do now is show you so i have about five inches or so of length here and you know you can just kind of take it and just kind of see like how that's going to wrap around the wrist see how much length you want in the back but again for this one we're going to do it a little friendship bracelet style we're just going to tie those together and i'm going to show you how to finish off those little pieces there but before we get to that stage we need to do something about our two little tails here so you can see i have the one coming down here and actually let me just sort of move this up into frame there we go so what you're going to do now is you have a couple of options you can either tie off each end if you want it that way but what i recommend is tying them just in an overhand knot and bringing that together right to the bottom there and giving it a nice little tug so we want to make sure that's nice and tight and then i'm just going to do that one more time so we kind of have this little double knot here on this end and you can actually tell that it doesn't even look like a little double knot there which is which is what we want okay and here's another reason why i like to work with the flush cutters here actually i can untape this from my surface there we go so come in with your flush cutters and snip off each side and you want to get fairly close you can see that i've left just a little little tiny bit there and then come in on this side and do the same thing now because this cord is waxed we can come in with our lighter now and again try to keep your fingers away come in with your lighter and we're just going to barely touch the tip and you'll see it start to melt there use the end of the lighter to kind of smooth that down and come in on this side and just repeat so this is very similar to almost working with like a paracord so you can see now that we have that nice sealed knot at the end now this can be on your outside or inside you can see it does have a little little bit there sorry a little extra fibers hanging out there we go so now we have our bracelet like this so go ahead and create that curve that you want you can do it just kind of around your wrist so you can see how nice and delicate that wears and you can also see that you can just stack up a whole bunch to create a really fun look so now coming to the back here the first thing i like to do is i like to snip off my ends so that they're even so that i'm always working with even cords i think that just is always going to give you the best result somebody needs to sharpen her flush cutters all right so now coming together at the back here we're just going to tie a little overhand knot now this is something that you would do when you have it on your wrist for a permanent closure so we're just going to tie that knot once and then tie it twice so here's a little loose knot so the reason i'm leaving it loose is because i don't want you to do this step while it is on your wrist so now i like to have these little kind of tails happening there so what you can do is just take one of your cords and just create a little loop and just kind of pull that down and create a little knot there and you can go ahead and pull that tight and on this side we're just going to do the same thing and i'm going to try to get mine as even as possible here so now i'm just going to kind of take that up and sort of make sure that it's generally in the same position that's not too bad all right so now again we're going to come in and just about a quarter inch above we're just going to snip off that end and snip off that end and come in with your lighter one more time and just kind of burn that you see it kind of burns into a little little nub you can just sort of press that down if you like and then come to this side and just repeat it burns really quickly and really easily so you don't need a lot but you can see i've left that knot a little open there so now i can undo it and now i know it's going to fit on my wrist but when you're ready you can just pull that tight now that is one way to finish off this bracelet if you'd like to see a version where it's not permanent we have a sliding square knot and you can see this done in another video so i want to make sure that you know how to do that it is entirely up to you so this one you can actually slide it so that you can slip it over the wrist and then tighten it so that's enough this is another version this also uses that waxed cotton cord but i wanted to show you a version like this so you can just make a whole bunch of summer stackable friendship bracelets and this also works really great as an anklet if you are wanting to do that as well so i hope you enjoyed this video you can get all of these supplies and see even more tutorial videos by heading over to beadaholique.com

You recently viewed

Clear recently viewed