


Related Videos

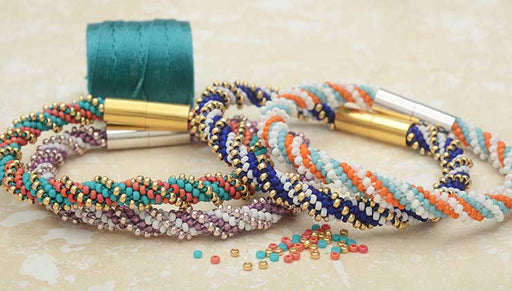
How to Make the Spiral 12 Warp Kumihimo Bracelet Kits by Beadaholique
In this video you will learn how to make the Spiral 12 Warp Kumihimo Bracelet Kits by Beadaholique from start to finish. You will see how to wind ...
View full details

How To Make a 24 Warp Kumihimo Round Braid
A 24 warp Kumihimo round braid can be achieved by using the Double Density 64 Slot Kumihimo Disc. If you like Kumihimo and want to take it to the ...
View full details
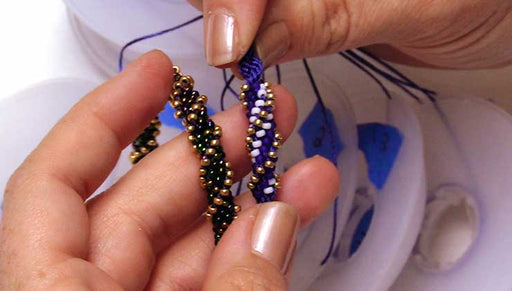
How to Add Beads to a 12 Warp Kumihimo Round Braid
In this video you will learn how to add beads to a 12 warp Kumihimo braid. You will also see how to remove a stuck bead with bent nose tweezers an...
View full detailsCustomer Reviews
Be one of the first to leave a review!
Write a review