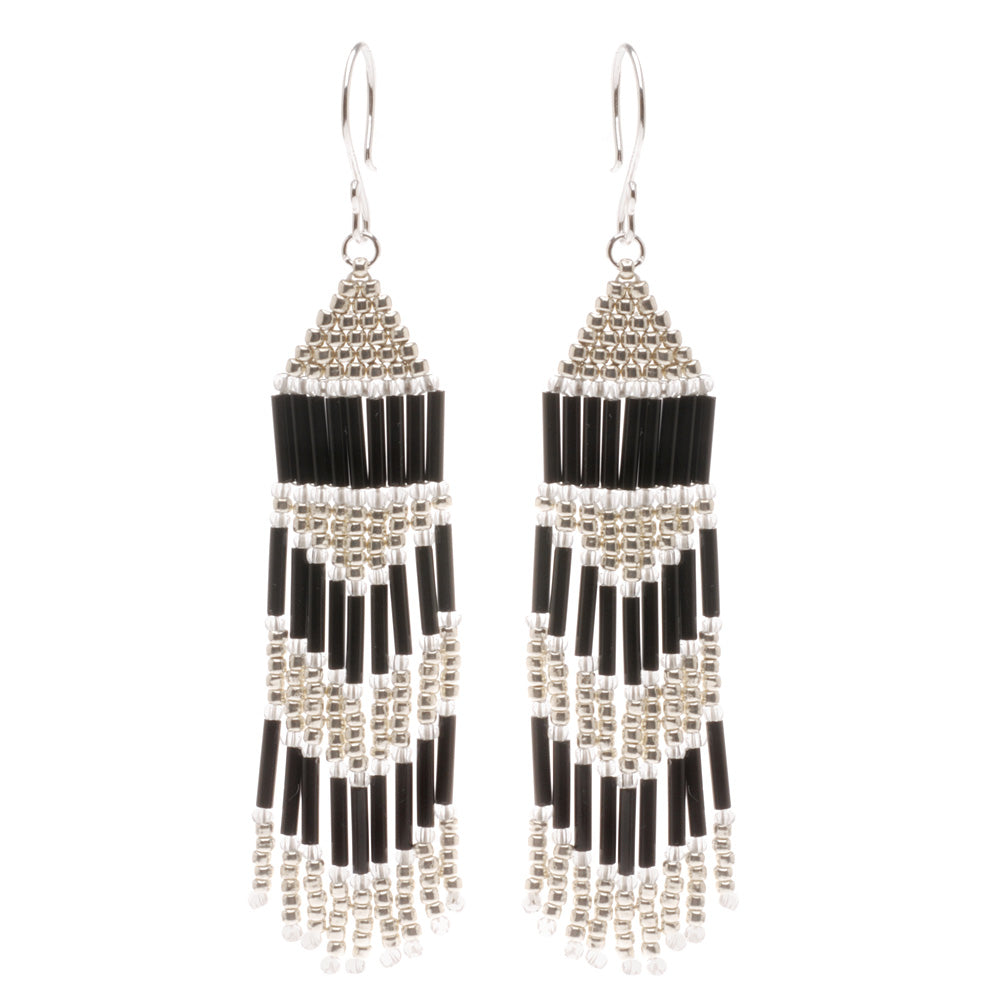
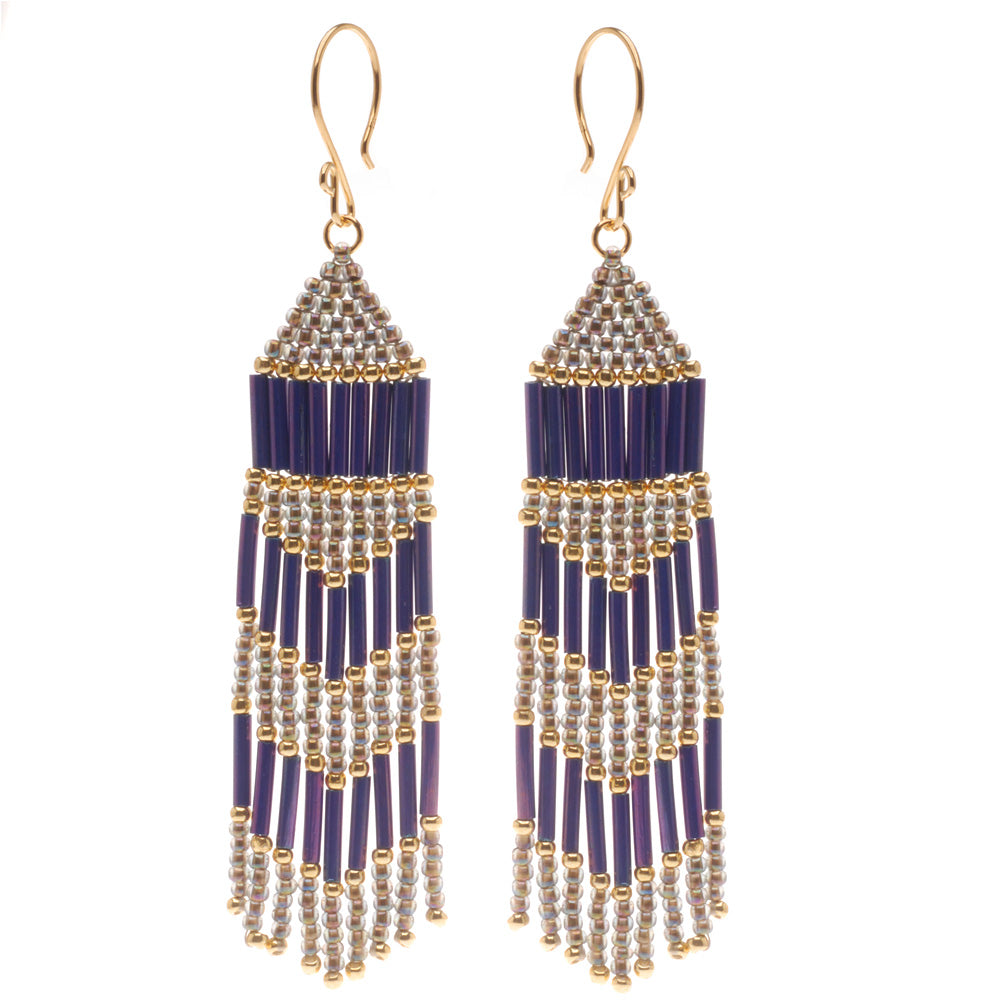
How to Make Brick Stitch and Fringe Beaded Earrings
SKU VID-0397
Designer:
Megan Milliken
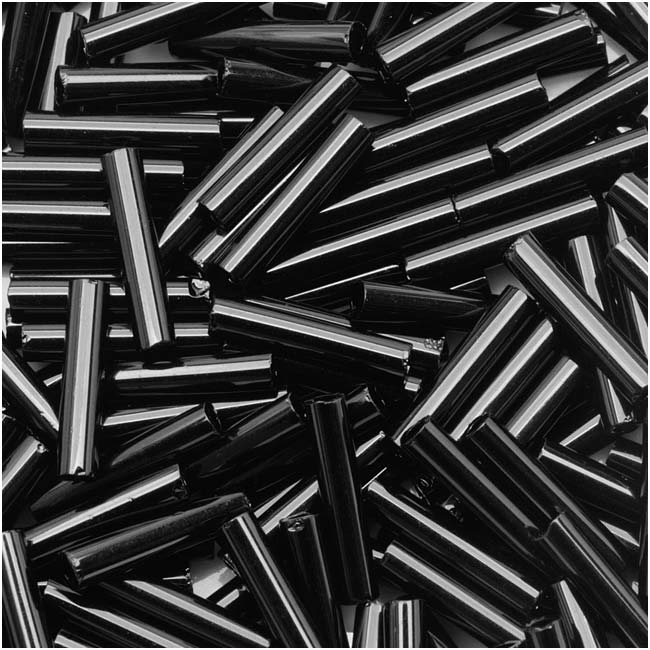
In this video, learn how to bead weave classic Native American style earrings in brick stitch with fringe using bugle beads and seed beads.