
|
FireLine Braided Beading Thread, 4lb Test and 0.005 Thick, Smoke Gray (50 Yards) SKU: XCR-1265 $13.99 |

|
The Beadsmith 5 Inch Big Eye Beading Needles (Set of 4) - Easy Needle To Thread SKU: XTL-3164 $3.99 |

|
Beadalon Beading Mats - Prevent Bead Rolling 12 x 9 Inch (Set of 3) SKU: XTL-9930 $3.99 |

|
The Beadsmith Cordless Thread Zap II Thread Burner Tool SKU: XTL-0106 $16.49 |
Related Videos

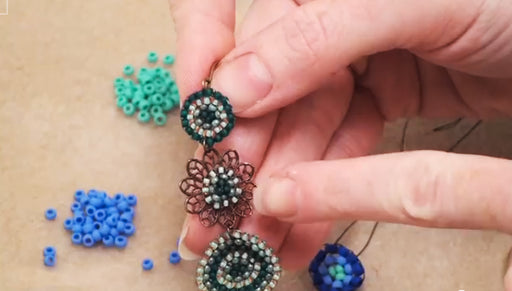
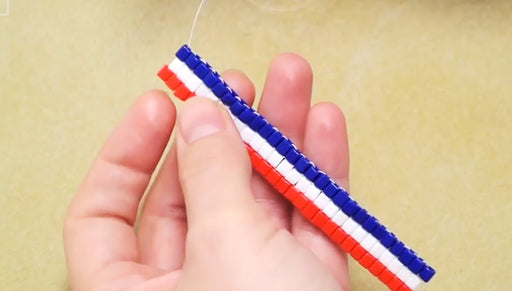
How To Do Circular Brick Stitch Bead Weaving
In this tutorial, learn how to do the Circular Brick stitch in bead weaving. Start with a Ladder stitch and then create rows of brick stitches, for...
View full details
How to Tie Off and Add New Thread in Bead Weaving
An essential skill in bead weaving, this video will show you how to tie off and add new thread.

How to Crochet for Jewelry (without hooks)
Learn how to crochet stringing material and add beads into your stitch, all without the use of hooks or other tools.
Customer Reviews
Based on 1 review
Write a review