|
SKU: E2358 Project Tutorial |

|
Earring Findings, Interchangeable Leverbacks 17x9mm, Silver Plated (5 Pairs) SKU: FEA-6018 $0.26 |

|
SKU: BCP-3077 $7.99 |

|
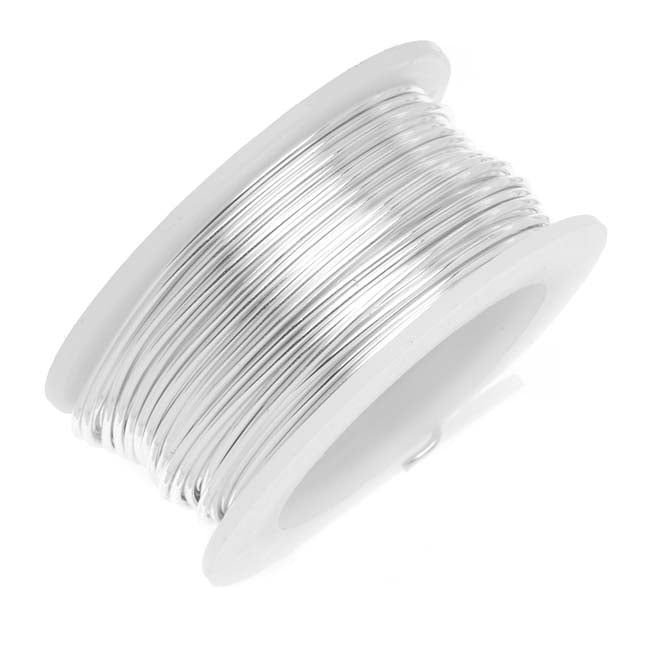
Artistic Wire, Silver Plated Craft Wire 26 Gauge Thick, Tarnish Resistant Silver (15 Yard Spool) SKU: WCR-2630 $7.49 |
hi this is kat with beadaholique.com and in this video i'm going to show you how to wire wrap a coin bead now you can see that i have a little earring here and this is what we're going to be doing so we're going to create a little wire frame that goes around the edge here and just attaches to a lever back earring hook so to do this i'm going to be using some artistic wire in the 26 gauge i have some beautiful coin beads here from raven's journey and these are czech glass beads and then as far as tools go i always recommend anytime you're doing wire work to have on hand your nylon jaw pliers your flush cutters your chain nose pliers and your round nose pliers all right so if you have everything ready to go let's go ahead and get started so i've taken a piece of artistic wire and i've simply cut off about eight to nine inches or so and then you can take your nylon jaw pliers and just sort of run it over the wire just to make sure that it's a little bit work hardened but also that it's nice and straight for you we're going to be bending it anyway so don't worry too much about getting all those kinks out all right so what we're going to do first is we're going to take our round nose pliers here and find about the center of your wire now go ahead and we want a nice big loop so you're going to want it to sit a little further back in your round nose pliers than you might normally would for another simple wire loop or wrapped wire loop so go ahead and bend both pieces up and over and sort of criss-cross them at the top and we want to get a nice strong loop so we're going to go and bend all the way around so you're kind of using these a little bit like bail making pliers so we get that nice sort of bunny shape right there you see that okay now what we're going to do is we're just going to remove that loop so you can see that we keep our little loop intact and then we're going to come and just kind of hold it with our fingers and i'm going to take my chain nose pliers and bend both sides up now this is going to look similar to if we're wire wrapping like a briolette so we just want to bring both of those together and again bringing them right straight up where we have our little loop there now this loop is not wrapped or closed or anything so it's just wrapped around and crisscrossed over so now i can come to this end here and what i'm going to do is just slide on my bead and bring that all the way down until it sits right there now what i can do is separate those two and kind of bend them around and this is where we want to keep a nice firm grip here so i'm kind of going to press down right there and bring one side around and bring the other side around and i'm just sort of being guided by and using the bead almost like a dowel so now i've flipped it around so i'm just bringing it over so now we're going to bring one to the front side of that loop just like so and the other is going to come on the other side of the front so now we have them crisscrossing in the front of that loop just like so so now i can take one of them and wrap it around that little loop there and this is where if you need to use your chain nose pliers you can come in and kind of they can help help you grip there we go and just bring that around and then bringing this one around and you can see that it tightens up a little bit as i move it around don't want to make we want to make sure that it doesn't tighten too much see mine slipped over so i'm going to do is just kind of bend that back give it a little a little extra space there there we go all right there we go it's able to bend that back all right now i'm going to really try to hold that firmly and wrap it around and this is where you can do a nice fun kind of a messy wrap which i always think is really neat especially when you're working with some of these like nicely organic beads so you can get a nice nice full wrap there at the top all right now i'm going to come to the back here and i'm going to trim off both of those little ends of the wire with my flush cutters tuck them if you need to just give it a nice little tuck tuck and then we have our wire wrapped coin bead so again you can see that you can do a little bit bigger of a wrap you can also start that loop a little higher you can add beads to this there's a lot of fun options i'm just going to take my leverback earring hook here and just slide that on and it's going to sit in that little crook right there and now i've made a nice little pair of earrings using the wire wrapping technique now you can do this for a lot of different shapes of beads it doesn't just work for a flat round you can also do something where it's a little bit more of a flat oval or a rounded oval the reason i like doing this for the pieces that are a little bit flatter around the side is that you have a little space for that to lie now if your does start to slip like you saw mine did a little bit just go back a little bit it doesn't take a lot of wire so if you kind of mess it up the first couple of times don't worry it's artistic wire it's it's a great tool to use for beginners if you're interested in learning more about wire wrapping thank you so much for watching this video you can get all of these supplies and see even more tutorial videos by heading over to beadaholique.com
Related Videos


How to Make a Stretch Bracelet Featuring Raven's Journey Czech Glass Beads
In this video you will learn how to make a basic stretch bracelet that combines three different styles of Czech glass beads from Raven's Journey. ...
View full details

How to Make a SuperDuo Bracelet with Cymbal Bead Endings
In this video you will see how to start and finish a bead woven bracelet using the Cymbal Bead Endings for SuperDuo 2-hole beads.


How to Make Earrings Using the Cymbal Earring Posts
In this video you will see how you can use the Cymbal Bead Endings, Substitutes, and Earring Posts to make a variety of styles. The Cymbals are me...
View full details