
|
Honeycomb Silver Spring Adjustable Bracelet (Reboot) SKU: B2452 Project Tutorial |
|
Metal Charm, Honey Bee 12mm, Antiqued Silver Plated, By TierraCast (1 Piece) SKU: PND-5008 $1.39 |

|
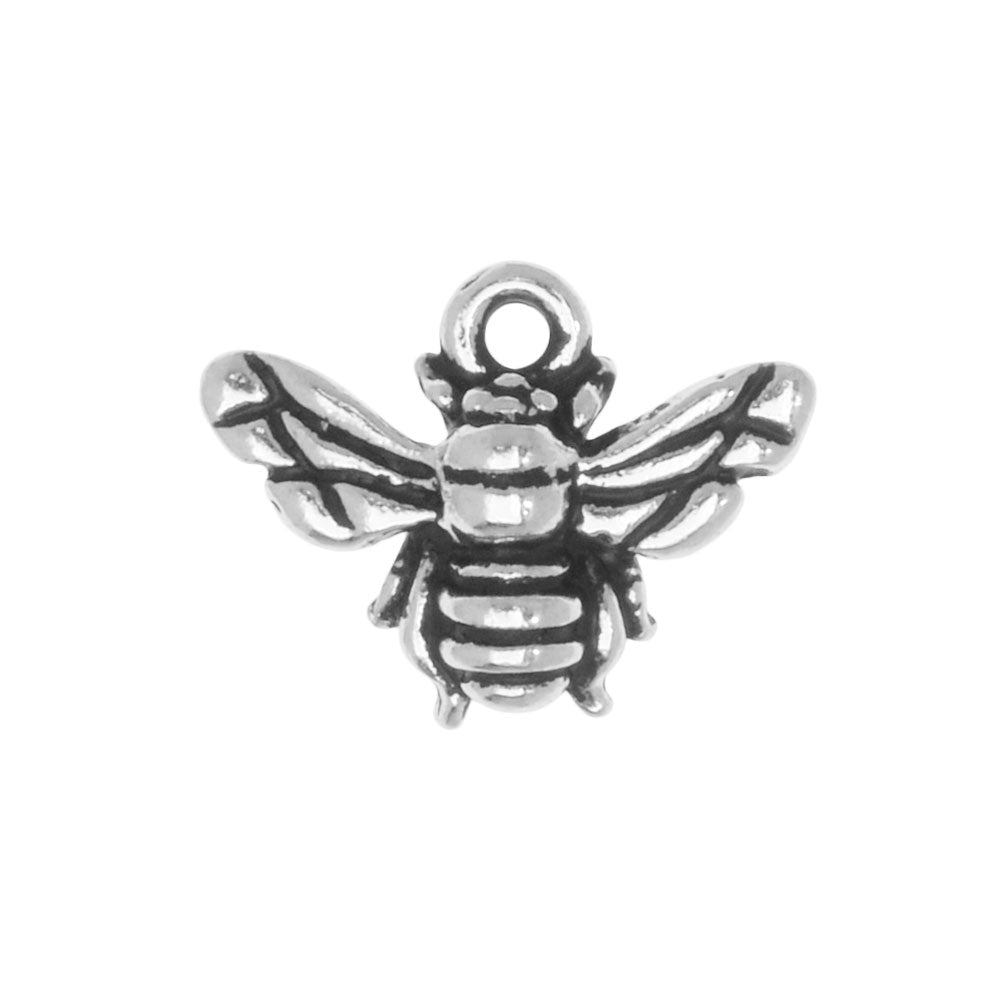
Metal Charm, Honey Bee 11mm, Antiqued Silver Plated, By TierraCast (2 Pieces) SKU: PND-5049 $2.29 |

|
Open Eye Pins, 2 Inches Long and 21 Gauge Thick, Silver Plated (50 Pieces) SKU: FHP-6261 $4.47 |

|
Bright Silver Plated Bicone Beads 4mm (100 pcs) SKU: BMB-1334 $7.39 |

|
Partially Finished Chain Bracelet End, 6.5 Inches, Silver Plated (1 Piece) SKU: JB-0013 $2.99 |

|
Connector Link, Honeycomb Design 11x20.5mm, 2 Links, Antiqued Silver, By TierraCast (2 Pieces) SKU: FCO-150 $2.25 |
Related Videos


How to Make the Bright Renewal Necklace
In this video you will learn how to cut your gemstone chain to make a necklace using the TierraCast Luna Moth Connector Pendant and how to use some...
View full details

How to Make the Golden Honeycomb Adjustable Bracelet
In this video you will learn how to use a partially finished adjustable bracelet and add a honeycomb focal from the Renewal collection by TierraCast.

How to Make the Silver Succulent Earrings
In this video you will learn how to make simple wire loops, how to open the loops and finish this pair of earrings featuring succulent earring post...
View full details