SKU VID-1666
Designer:
Alexandra Smith
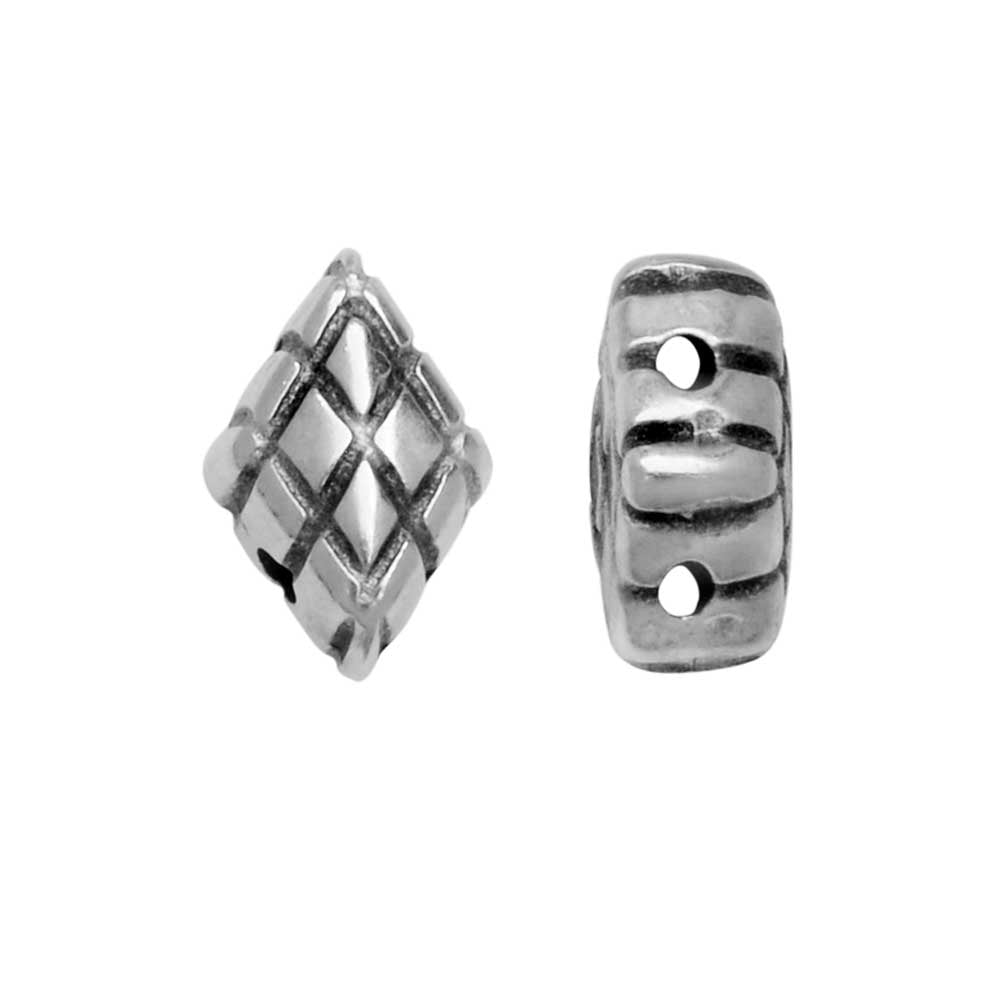
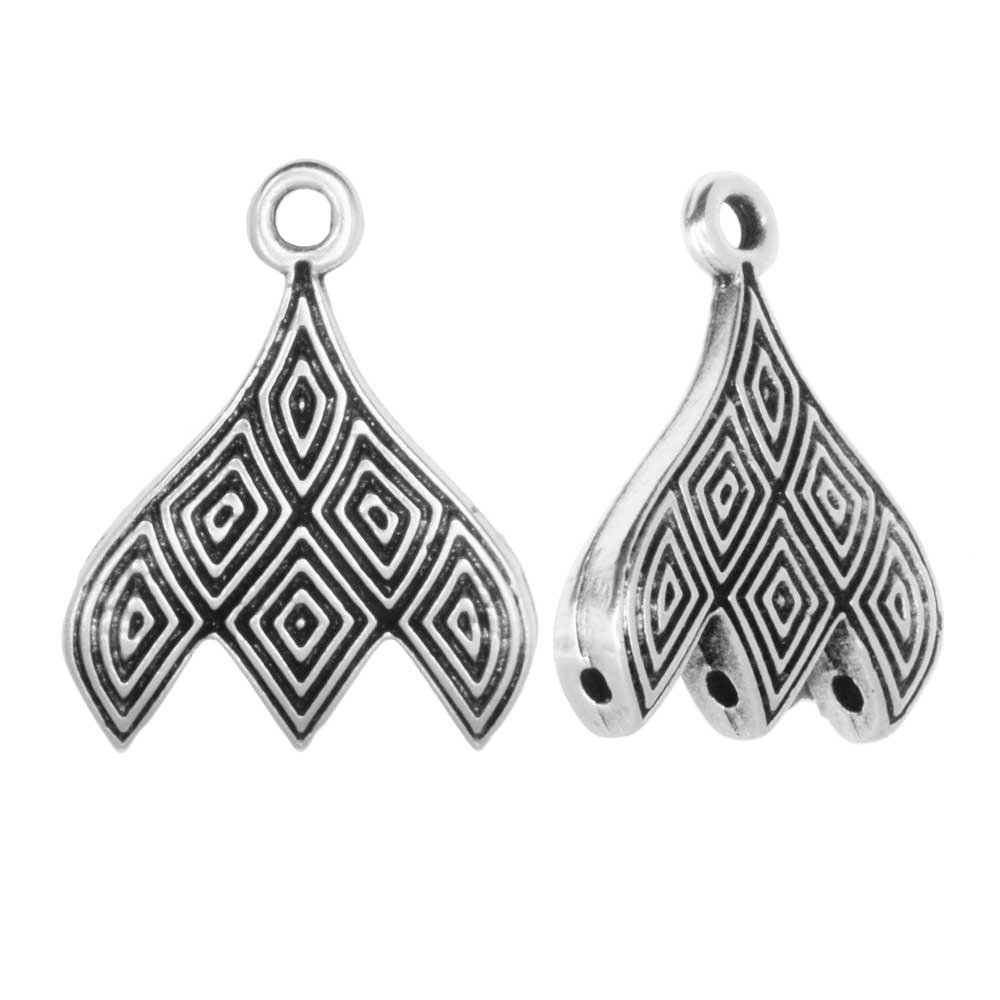
In this video, you will see from start to finish how to create these earrings using a Cymbal GemDuo Bead End Connector and Bead Substitute. These components are tailor-made to fit with Czech glass 2-Hole GemDuo beads. You will also see how to add chain and seed bead accents using wire and jump rings, as well as how to attach the earring hook.
FEATURED IN THIS VIDEO
Audio Transcript
Note: This audio transcript is auto-generated and may not be completely accurate.
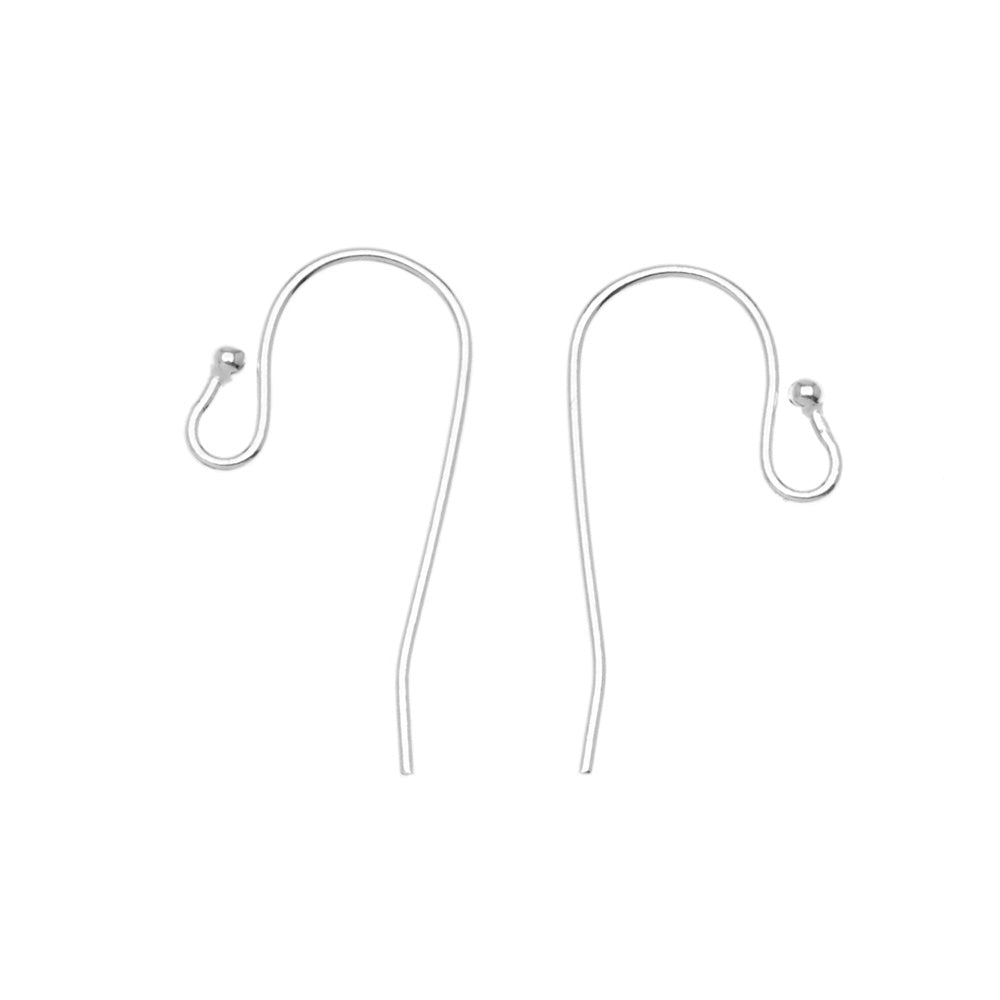
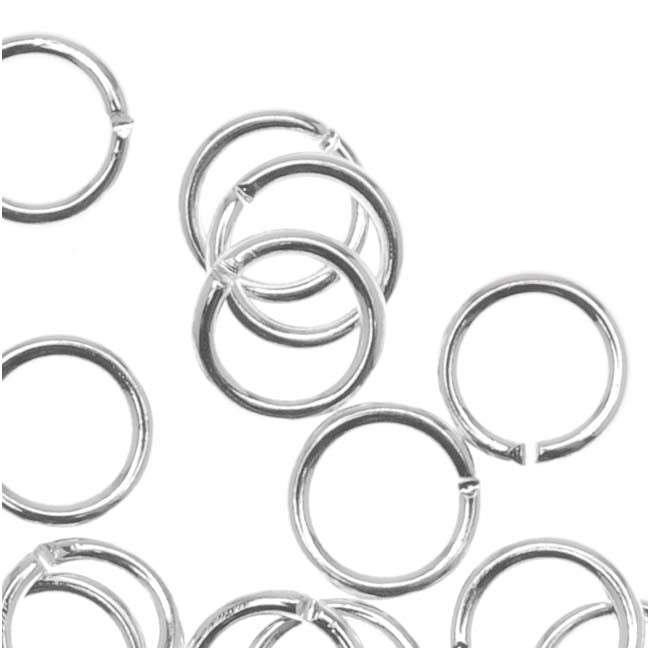
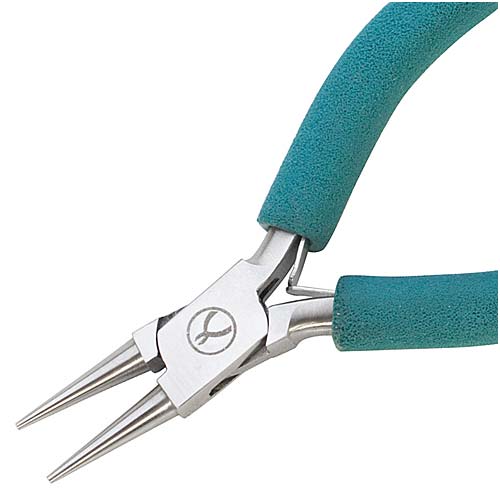
hi this is Alexandra at beadaholique to make the geometric grape cluster earring so this project uses a couple of components from this symbols collection up top here I've got the gem duo bead ending with this pretty prismatic edging and then down at the bottom is a gem duo bead substitute and these are metal components that are made to tailor fit the glass beads which is really neat so for this project I'll be using the gem duo beads here these are a chalk purple Vega and then just a cover just for fun a couple of little seed bead accents in this pretty galvanized mint green up here I've got some 2 millimeter flat cable chain a 5 millimeter jump ring your earring hook I'll be also using some smoke fire line 24 gauge wire and for tools I've got some scissors flush cutters chain nose pliers and round nose pliers so let's begin I'm gonna go ahead and bring this forward and start to set up my beads the way they want them the way I want them on the table so just like a little puzzle I'm gonna fit these in like so and as I was working with these I discovered a couple of neat little workarounds and troubleshooting techniques I wanted to give us tips so as we work I'll do that I'm gonna cut two inches of my 24 gauge wire and with my round plier I'm gonna make a simple wire loop on one end just by angling off at 90 degrees turning the wire up and over the tip of the plier now use the very tip of my flower because I wanted a nice small small circle there so I've got the 1 and what I'm gonna do is take that length of wire and just gently slide it through the B vending and the beads sorry my hands are covering this up but I'm just getting a grip there to get the wire through and now I'm gonna pull that all the way through and create another simple wire loop on the other side I'm going to check the orientation of my loop to make sure the wire is going in the same direction just angle that off of the side of the metal and with the tip of my plier loop over and around create a matching loop I'll clip that excess wire so that's step one next what I'm going to do is pull in my third bead tuck that in where I want it and here I have my size 12 needle with one foot of this 4 pound smoke fire line and what I'm going to do is just starting off at this side in the second hole of the bead I'm going to come through that hole and then the top hole of my little Center bead here to let me line these up one more time there we go and what I discovered was the needles not going to go all the way through all three beads at once so what I need to do is just get my needle through the first two beads bring some thread through and then I'll be able to get through the second hole of that third bead so there I've threaded the three beads and I'm just going to tie an overhand knot actually before I do that I'm going to want to go through the second hole of this bead to make a loop between the holes of the beads that'll that'll complete my very simple weaving for this project I'm going to take my needle off bring the two sides of my thread together and just tie a double overhand knot once and twice get that nice and tight go ahead and clip my tails this won't be getting any wear and tear so I'm not too concerned about that not in terms of threading and tying off the thread so okay what I have you'll notice is a thread bridge on either side of the beads which I didn't really want to see and so that's where I came out this with this idea of sending the wire through the top because now what we'll do is bring in a couple lengths of this flat cable chain and I pre counted nine lengths of each and so to put this together I'm gonna bring in my five millimeter jump ring here and also the bead substitute and I'm gonna string on the peeps bead substitute onto my jump ring I may need to open this up just a little more this is a 5 millimeter 21 gauge jump ring so I'm going to send that through one hole of the bead this is a double drilled metal bead just like the gem two O's and what I'm also going to put on to either side is one little mint green bead just to kind of give a nice accent that goes with the idea of the grape cluster give it a little feel of a vine tuck that on there we go alright so once I have those items on I'm also gonna bring on the end link of one chain on one side and one chain on the other side and close that jump ring up nice and tight and now I'm ready to link it all together so I will take my simple wire loop on one side and I'm going to angle that open same way I would a jump ring and at this point I want to make sure that the top sort of curved dome of my bead substitute is facing the same direction as the top of my glass beads you can see how they have that sort of slight faceted angle to them so let me make sure that matches up and then I will take the proper chain on that side of the bead slide it on to my simple wire loop and close that up again nice and tight I'm going to do the same thing on the other end I'll need to open up that loop a little more off to the side and then bring in other little end link of chain so I'm gonna hang that up for myself in an angle bracket latch that on and then close the ring close the loop there we go and so you'll see what that does is adding the chain sort of hides that little thread bridge on either side of the earring so that's what I discovered now I just ready to put on my earring hook so I'm gonna slide that up and over give the top a little bit of a squeeze and that completes it so I hope you enjoyed this video those are the geometric grape cluster earrings made with a couple of components from the symbols collection and you can find all of these tools beads and supplies at beadaholique.com and please subscribe to our YouTube channel for all the latest updates thanks for watching
hi this is Alexandra at beadaholique to make the geometric grape cluster earring so this project uses a couple of components from this symbols collection up top here I've got the gem duo bead ending with this pretty prismatic edging and then down at the bottom is a gem duo bead substitute and these are metal components that are made to tailor fit the glass beads which is really neat so for this project I'll be using the gem duo beads here these are a chalk purple Vega and then just a cover just for fun a couple of little seed bead accents in this pretty galvanized mint green up here I've got some 2 millimeter flat cable chain a 5 millimeter jump ring your earring hook I'll be also using some smoke fire line 24 gauge wire and for tools I've got some scissors flush cutters chain nose pliers and round nose pliers so let's begin I'm gonna go ahead and bring this forward and start to set up my beads the way they want them the way I want them on the table so just like a little puzzle I'm gonna fit these in like so and as I was working with these I discovered a couple of neat little workarounds and troubleshooting techniques I wanted to give us tips so as we work I'll do that I'm gonna cut two inches of my 24 gauge wire and with my round plier I'm gonna make a simple wire loop on one end just by angling off at 90 degrees turning the wire up and over the tip of the plier now use the very tip of my flower because I wanted a nice small small circle there so I've got the 1 and what I'm gonna do is take that length of wire and just gently slide it through the B vending and the beads sorry my hands are covering this up but I'm just getting a grip there to get the wire through and now I'm gonna pull that all the way through and create another simple wire loop on the other side I'm going to check the orientation of my loop to make sure the wire is going in the same direction just angle that off of the side of the metal and with the tip of my plier loop over and around create a matching loop I'll clip that excess wire so that's step one next what I'm going to do is pull in my third bead tuck that in where I want it and here I have my size 12 needle with one foot of this 4 pound smoke fire line and what I'm going to do is just starting off at this side in the second hole of the bead I'm going to come through that hole and then the top hole of my little Center bead here to let me line these up one more time there we go and what I discovered was the needles not going to go all the way through all three beads at once so what I need to do is just get my needle through the first two beads bring some thread through and then I'll be able to get through the second hole of that third bead so there I've threaded the three beads and I'm just going to tie an overhand knot actually before I do that I'm going to want to go through the second hole of this bead to make a loop between the holes of the beads that'll that'll complete my very simple weaving for this project I'm going to take my needle off bring the two sides of my thread together and just tie a double overhand knot once and twice get that nice and tight go ahead and clip my tails this won't be getting any wear and tear so I'm not too concerned about that not in terms of threading and tying off the thread so okay what I have you'll notice is a thread bridge on either side of the beads which I didn't really want to see and so that's where I came out this with this idea of sending the wire through the top because now what we'll do is bring in a couple lengths of this flat cable chain and I pre counted nine lengths of each and so to put this together I'm gonna bring in my five millimeter jump ring here and also the bead substitute and I'm gonna string on the peeps bead substitute onto my jump ring I may need to open this up just a little more this is a 5 millimeter 21 gauge jump ring so I'm going to send that through one hole of the bead this is a double drilled metal bead just like the gem two O's and what I'm also going to put on to either side is one little mint green bead just to kind of give a nice accent that goes with the idea of the grape cluster give it a little feel of a vine tuck that on there we go alright so once I have those items on I'm also gonna bring on the end link of one chain on one side and one chain on the other side and close that jump ring up nice and tight and now I'm ready to link it all together so I will take my simple wire loop on one side and I'm going to angle that open same way I would a jump ring and at this point I want to make sure that the top sort of curved dome of my bead substitute is facing the same direction as the top of my glass beads you can see how they have that sort of slight faceted angle to them so let me make sure that matches up and then I will take the proper chain on that side of the bead slide it on to my simple wire loop and close that up again nice and tight I'm going to do the same thing on the other end I'll need to open up that loop a little more off to the side and then bring in other little end link of chain so I'm gonna hang that up for myself in an angle bracket latch that on and then close the ring close the loop there we go and so you'll see what that does is adding the chain sort of hides that little thread bridge on either side of the earring so that's what I discovered now I just ready to put on my earring hook so I'm gonna slide that up and over give the top a little bit of a squeeze and that completes it so I hope you enjoyed this video those are the geometric grape cluster earrings made with a couple of components from the symbols collection and you can find all of these tools beads and supplies at beadaholique.com and please subscribe to our YouTube channel for all the latest updates thanks for watching
Related Videos


Quick Tip: Plan Your Memory Wire Bracelet on Beading Wire
Store Closing, Limited Stock
In this video, you will see how to quickly and easily transfer multiple beads at once from beading wire onto memory wire. This technique will help ...
View full details

Quick & Easy DIY Jewelry: Mykonos Fanned Tassel Earrings
Store Closing, Limited Stock
In this video, you will see from start to finish how to easily create these earrings using Zola Elements fanned tassel rings, 8mm cherry red candy ...
View full details


