Related Videos


How to Make the Kheops Par Puca Wrapped Tassel Bracelet Kit
In this video learn how to make the Kheops Par Puca Wrapped Tassel Bracelet, an exclusive kit from Beadaholique. You will learn how to attach a mag...
View full details

How to Make Wire Wrapped Bangles
In this video you will learn how to make the Beadaholique Wire Wrapped Bangles Jewelry Kit. These exclusive kits come in several varieties using a...
View full details
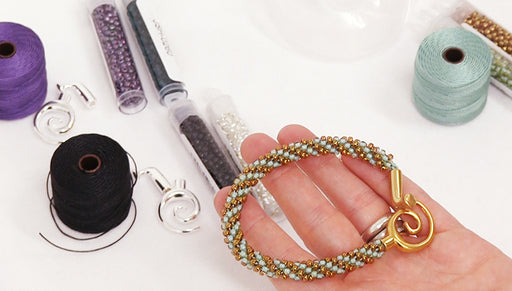
Show & Tell: Beadaholique Exclusive Kumihimo Bracelet Refill Kits
Beadaholique exclusive kumihimo bracelet refill kits are available in a wide range of color palettes and designs. Use the disk, bobbins, and glue t...
View full details