FEATURED IN THIS VIDEO

|
Lovely Knots Dressmaker Pins For Cork Boards (40 pcs) SKU: XTL-3020 $2.39 |
Audio Transcript
Note: This audio transcript is auto-generated and may not be completely accurate.
Hi, this is Kat with beadaholique.com Ord and I'm also using the lovely nuts dressmaker pins to help me out you'll also need a pair of tweezers and a pair of scissors to cut your cord now I have about 15 or so inches of the two millimeter satin rattail cord and this is what I found to be the easiest for this particular or not but you can actually use other cord as well so feel free to experiment so I'm just going to show you what the nut looks like this is actually the back side and this is the front side so as you can see it that's just how it kind of looks and it's actually a very strong knot and I know it looks like a loop that might pull but it actually doesn't so that's why I think this is just a really cool knot and I'm going to show you that in this video so let's get started so to begin I have my pins set up and ready to use and I have my satin rattail so what I'm going to do is I'm just going to fold it in half and it's in the middle point I'm going to add the loop up top and just add a pin just like that now I'm going to take the right side and place it over the left side just like so I'm going to grab another pin and pin it here and now I'm going to take this side and put it underneath coming back around just like so and now I'm going to take this side and make another loop and go under my main my main sort of cord right there and hold that for a moment and take another pin and just pin that into place so that's what it looks like so it kind of goes up and around and under and under now you're going to take your tweezers and you're going to take this cord end the long one here go ahead and put it in your tweezers and you're going to go underneath this one underneath the second one just kind of feed it through and underneath that third loop so now I'm just going to come through and grab it and pull it up and now I'm going to turn it around and come down through this last loop right here and just kind of feed it through there we go and just pull it down keeping everything nice and spaced so just feed it through just like that so you can go ahead and set your tweezers aside and now we're just going to start to tighten everything up just a little bit so just kind of feed everything through and you'll notice that you'll need to let go of this pin here and just go ahead and pin that over there and let go of this pin here now keeping everything placed you're just going to start to wiggle it all into place keeping everything where it's supposed to be which can be a little difficult but you just kind of maneuver it around and scrunch it up and you see how it's starting to form there and just keep scrunching sometimes you might need to just pull it out and readjust and I'm actually going to take this last pin out so I can pick it up to make it just a little easier on myself so now as you can see it is starting to form pull on each strand and there is your knot so again this is the back side this is actually the front side but really can you can do whatever you want with it now as you can see here in the examples that I've made before my loop is a lot smaller and the way to do that is when you're tying it tighter you just make your loop smaller but let's say I got to this point and I still wanted that small loop so I'll show you how to do that real quick a little tip so you're just going to want to kind of pull and loosen them out a little bit just a little bit at a time and then you'll just start to pull it around and you'll see that it'll start to get that smaller loop yeah then you just pull it back together and there's your not see very easy so now I've made my loop nice and small the way I want it and you can do whatever you want with the other two tails you can do various other nodding with that but just to show you kind of that basic cross knot I think it's really a fun and I hope you guys enjoy this video and you can find all of these supplies including the dazzling and the entire lovely not system as well as a beautiful book showing you how to do this at beadaholique.com you
Hi, this is Kat with beadaholique.com Ord and I'm also using the lovely nuts dressmaker pins to help me out you'll also need a pair of tweezers and a pair of scissors to cut your cord now I have about 15 or so inches of the two millimeter satin rattail cord and this is what I found to be the easiest for this particular or not but you can actually use other cord as well so feel free to experiment so I'm just going to show you what the nut looks like this is actually the back side and this is the front side so as you can see it that's just how it kind of looks and it's actually a very strong knot and I know it looks like a loop that might pull but it actually doesn't so that's why I think this is just a really cool knot and I'm going to show you that in this video so let's get started so to begin I have my pins set up and ready to use and I have my satin rattail so what I'm going to do is I'm just going to fold it in half and it's in the middle point I'm going to add the loop up top and just add a pin just like that now I'm going to take the right side and place it over the left side just like so I'm going to grab another pin and pin it here and now I'm going to take this side and put it underneath coming back around just like so and now I'm going to take this side and make another loop and go under my main my main sort of cord right there and hold that for a moment and take another pin and just pin that into place so that's what it looks like so it kind of goes up and around and under and under now you're going to take your tweezers and you're going to take this cord end the long one here go ahead and put it in your tweezers and you're going to go underneath this one underneath the second one just kind of feed it through and underneath that third loop so now I'm just going to come through and grab it and pull it up and now I'm going to turn it around and come down through this last loop right here and just kind of feed it through there we go and just pull it down keeping everything nice and spaced so just feed it through just like that so you can go ahead and set your tweezers aside and now we're just going to start to tighten everything up just a little bit so just kind of feed everything through and you'll notice that you'll need to let go of this pin here and just go ahead and pin that over there and let go of this pin here now keeping everything placed you're just going to start to wiggle it all into place keeping everything where it's supposed to be which can be a little difficult but you just kind of maneuver it around and scrunch it up and you see how it's starting to form there and just keep scrunching sometimes you might need to just pull it out and readjust and I'm actually going to take this last pin out so I can pick it up to make it just a little easier on myself so now as you can see it is starting to form pull on each strand and there is your knot so again this is the back side this is actually the front side but really can you can do whatever you want with it now as you can see here in the examples that I've made before my loop is a lot smaller and the way to do that is when you're tying it tighter you just make your loop smaller but let's say I got to this point and I still wanted that small loop so I'll show you how to do that real quick a little tip so you're just going to want to kind of pull and loosen them out a little bit just a little bit at a time and then you'll just start to pull it around and you'll see that it'll start to get that smaller loop yeah then you just pull it back together and there's your not see very easy so now I've made my loop nice and small the way I want it and you can do whatever you want with the other two tails you can do various other nodding with that but just to show you kind of that basic cross knot I think it's really a fun and I hope you guys enjoy this video and you can find all of these supplies including the dazzling and the entire lovely not system as well as a beautiful book showing you how to do this at beadaholique.com you
Related Videos


How to Finish Kumihimo Braid Ends with Glue
Store Closing, Limited Stock
In this video you will learn how to finish off your kumihimo braid end in a way that will not add any bulk to the braid, thus allowing you to fit t...
View full details

How to Make a Ladder Paracord Bracelet
Store Closing, Limited Stock
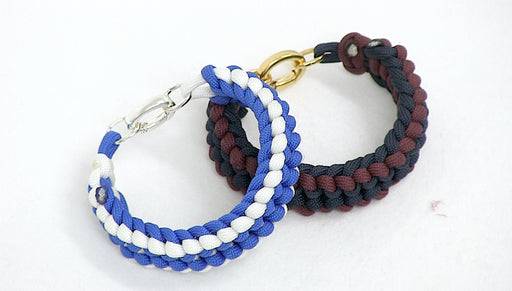
n this video, see how to create a Paracord Bracelet using a Ladder knotting technique. This technique looks best when two colors are combined to br...
View full details

How to Use Closed Jump Rings in Macrame Square Knots
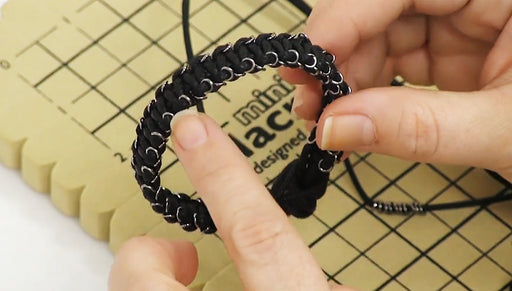
In this video see how to use closed jump rings to embellish a macrame square knotted bracelet. The closed jump rings adorn the sides of this bracel...
View full details