Store Closing, Limited Stock
SKU VID-1787
Designer:
Kat Silvia
In this video you will see how to attach peyote bead weaving to a slide clasp with bar loops. This style of clasp provides a sleek professional way to finish your bead woven designs.
FEATURED IN THIS VIDEO
Audio Transcript
Note: This audio transcript is auto-generated and may not be completely accurate.
hi this is kat with beadaholique.com the side that come out now I have a finished example here because I wanted to be able to show you what the finished product looks like so the reason that you'd want to use a tech clasp like this is it has a nice sleek finish to it so you can see that you just slide the bars apart and then you have a nice finished bracelet now we're gonna be creating loops with our peyote stitch and I just want to take a moment to show you how to do that alright in my example here I have a even count peyote that is 14 beads wide and I've added little white beads on the end to help show you what it looks like so I've slid it through the bar there now this is a pretty snug fit a tight fit you can see it moves just a little bit but it gets a little caught so about 14 beads on the 11 o miyuki delicas is about as wide as you're gonna go for this particular size we do have these bars and other sizes so be sure to check that out at beadaholique.com okay so I have my cord coming out or my thread rather coming out the top now what I want to do is I want to figure out exactly how large I want to make my loop I suggest about eight to ten beads is a good size you can also make it wider if you want you can you know kind of make it a little shorter I just wouldn't make it too tight so about eight to ten if you're counting along the beads along the edge there that's about what I would do so you can pick any bead this will work so you just turn your thread around and go through one bead where you want to start your loop and just pull your thread down through now we're gonna do a little zip up technique where what we're gonna do is we're going to go into that last up bead in that first row there so we're gonna pull through so now if I pull that apart you can see that we've kind of made a little loop there with the black cord so now I'm just gonna follow along with this bead going down and now we're just gonna kind of zip it together so go down and catch one bead and pull that through there we go and now I can come back up here go through that white bead that I have on top and pull that down through and now we're just doing this sort of zigzag zip up motion now be careful you can see that I'm kind of bending my needle back because this is a really tight weave so just be gentle we don't want to crush any beads or you know break any B it's because don't forget these are glass beads so just take your time doing this step you just sort of go back and forth and it'll be easy to follow along with your pattern now if you wanted to you could actually create a different color loop in your pattern so let's say you were creating something where you wanted to make the loop purple you know and you could do that and then just know exactly where your loop is gonna be so in case you're having trouble following exactly which row you're on but mostly you can see that it's zipping up there really really nicely going through one more and you just do this all the way down to the end picking up that bead in the in the middle there and you can see that it's kind of hidden there for me but I'm just going underneath to grab that bead make sure not to catch our tail there now another little tip here is if you're unsure of the size that you you want for your bracelet what I recommend is starting your weave and then doing this first loop so that you know exactly how you want that to fit and then it'll be easier to sort of size out the rest of it alright so there's my last little zip so I'm coming out that last thread and you guessed it we're just gonna go right down through that next bead there and make sure it's the right one there we go and I'm just gonna go through a couple beads and now you're ready to tie off your thread just by tying a couple quick little knots there so that is how you attach the clasp and you can see that it gives a nice little sleek finish and all we did is just went back and forth and zipped up those beads so that is how you add peyote stitch to a slide clasp with bar loops I hope you enjoyed this video you can see even more videos and get all of these supplies by heading over to beadaholique.com you
hi this is kat with beadaholique.com the side that come out now I have a finished example here because I wanted to be able to show you what the finished product looks like so the reason that you'd want to use a tech clasp like this is it has a nice sleek finish to it so you can see that you just slide the bars apart and then you have a nice finished bracelet now we're gonna be creating loops with our peyote stitch and I just want to take a moment to show you how to do that alright in my example here I have a even count peyote that is 14 beads wide and I've added little white beads on the end to help show you what it looks like so I've slid it through the bar there now this is a pretty snug fit a tight fit you can see it moves just a little bit but it gets a little caught so about 14 beads on the 11 o miyuki delicas is about as wide as you're gonna go for this particular size we do have these bars and other sizes so be sure to check that out at beadaholique.com okay so I have my cord coming out or my thread rather coming out the top now what I want to do is I want to figure out exactly how large I want to make my loop I suggest about eight to ten beads is a good size you can also make it wider if you want you can you know kind of make it a little shorter I just wouldn't make it too tight so about eight to ten if you're counting along the beads along the edge there that's about what I would do so you can pick any bead this will work so you just turn your thread around and go through one bead where you want to start your loop and just pull your thread down through now we're gonna do a little zip up technique where what we're gonna do is we're going to go into that last up bead in that first row there so we're gonna pull through so now if I pull that apart you can see that we've kind of made a little loop there with the black cord so now I'm just gonna follow along with this bead going down and now we're just gonna kind of zip it together so go down and catch one bead and pull that through there we go and now I can come back up here go through that white bead that I have on top and pull that down through and now we're just doing this sort of zigzag zip up motion now be careful you can see that I'm kind of bending my needle back because this is a really tight weave so just be gentle we don't want to crush any beads or you know break any B it's because don't forget these are glass beads so just take your time doing this step you just sort of go back and forth and it'll be easy to follow along with your pattern now if you wanted to you could actually create a different color loop in your pattern so let's say you were creating something where you wanted to make the loop purple you know and you could do that and then just know exactly where your loop is gonna be so in case you're having trouble following exactly which row you're on but mostly you can see that it's zipping up there really really nicely going through one more and you just do this all the way down to the end picking up that bead in the in the middle there and you can see that it's kind of hidden there for me but I'm just going underneath to grab that bead make sure not to catch our tail there now another little tip here is if you're unsure of the size that you you want for your bracelet what I recommend is starting your weave and then doing this first loop so that you know exactly how you want that to fit and then it'll be easier to sort of size out the rest of it alright so there's my last little zip so I'm coming out that last thread and you guessed it we're just gonna go right down through that next bead there and make sure it's the right one there we go and I'm just gonna go through a couple beads and now you're ready to tie off your thread just by tying a couple quick little knots there so that is how you attach the clasp and you can see that it gives a nice little sleek finish and all we did is just went back and forth and zipped up those beads so that is how you add peyote stitch to a slide clasp with bar loops I hope you enjoyed this video you can see even more videos and get all of these supplies by heading over to beadaholique.com you
Related Videos


How to Make a SuperDuo Bracelet with Cymbal Bead Endings
Store Closing, Limited Stock
1 review
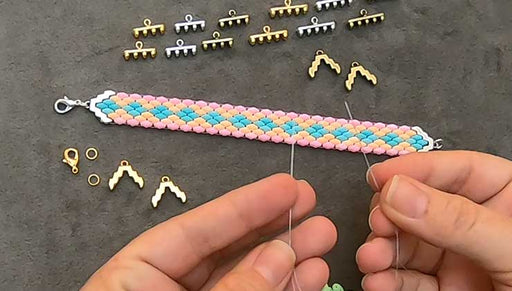
In this video you will see how to start and finish a bead woven bracelet using the Cymbal Bead Endings for SuperDuo 2-hole beads.


How to Use a Cymbal Magnetic Clasp to Finish Bead Weaving
Store Closing, Limited Stock
118 reviews
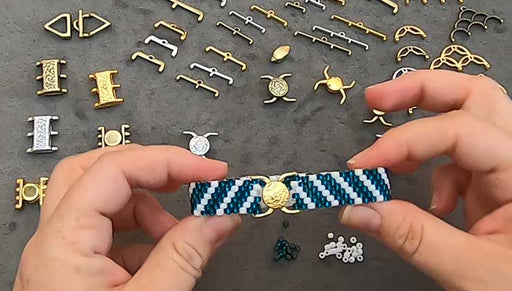
In this video you will learn how to finish your peyote stitch bracelet with a cymbal magnetic clasp. This technique translates easily to other sty...
View full details

How to Make Earrings Using the Cymbal Earring Posts
Store Closing, Limited Stock
2 reviews
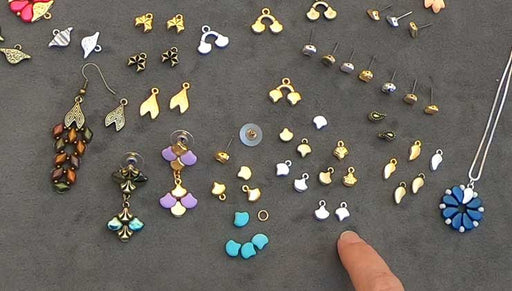
In this video you will see how you can use the Cymbal Bead Endings, Substitutes, and Earring Posts to make a variety of styles. The Cymbals are me...
View full detailsCustomer Reviews
You recently viewed
Clear recently viewed B
Beachcombers Designs It's always easier to learn a new technique by watching another demonstrate it on video and Kat teaches so well. Thanks again!


