|
Czech Fire Polished Glass Beads 8mm Round Crystal Silver Half-Coat (25 pcs) SKU: BCP-3804 $3.99 |

|
Silver Plated Flat Cable Chain, 6mm, by the Foot SKU: CHA-9931 $4.75 |

|
TierraCast Clasps, Lobster 15mm Silver Plated (4 Pieces) SKU: FCL-1144 $5.30 |

|
Silver Plated Closed Jump Rings 6mm 20 Gauge (20 pcs) SKU: FJR-5418 $3.29 |

|
Soft Flex, Soft Touch 21 Strand Fine Beading Wire .014 Inch Thick, Satin Silver (100 Feet) SKU: XCR-5441 $43.29 |

|
Crimp Bead Covers, 3mm, Silver Tone (144 Pieces) SKU: FCR-1053 $5.59 |

|
Xuron 4 In 1 Crimping Pliers - Works On 1, 2 And 3mm Crimps! SKU: XTL-5608 $29.99 |
Hi, this is Kat with beadaholique.com and so i'm going to show you how to do that in this video now to complete this project I have all my supplies here ready to go so just to point out I have a twenty one strand point zero one four inch thick beading wire and this is fine I have three feet of a silver cable chain which is six millimeters I have my lobster clasp here which is fifteen by nine and this is from tierracast I have two sets of jump rings they are both six millimeter 20 gauge and I have closed and open I have my 1.5 crimp tubes and I have three millimeter crimp covers now I have my wood beads here and these are 12 millimeters and this is in the fuchsia pink color that I'm going to use today but I do want to point out that we have other really lovely colors that you can use with this technique and then last I have my check fire polish beads and these are eight millimeters so for tools you're going to need a pair of flush cutters a pair of chain nose pliers and then I have my foreign ones Iran crimping pliers which also work as chain nose pliers as well and then you'll just need a ruler so let's go ahead and get started so to begin I'm going to take my beading wire and this necklace that I have here the limeade version is about 17 inches so I'm going to need about twenty three inches of beading wire just to have enough on each side for my crimping so 15 18 19 20 21 23 there we go clip that off using my flush cutters there we go and now you can set your beading wire aside okay now you'll notice on my necklace that I have here let me just go ahead and open this up for you like I said it's about 17 inches and I started the chain in the middle here so I did a few on each side I'm going to show you how to add it from the edges if you wanted to add more chain and this here is two feet of chain but in this example here I'm going to use three feet of chain and you'll see how that sort of works up again just let me set that aside so we're going to begin by stringing on one crimp tube taking one closed jump ring making a loop and going back through that crimp tube and pulling that up to the two my jump ring there and now I'm just going to take my Zeron crimping pliers set it in that notch right there with the big tooth going down go ahead and crimp that and now I'm just going to turn that little V over to the side just like so so that I can just close that just get it set in there to show you so just like that and then crimp it closed so now I'm just going to take my crimp cover and I do this kind of an interesting way but it's just a little technique so that I can get it to sit right so I just sort of place it in there and then you can usually pick it up with your fingers and now I kind of go over the top making sure it's centered and just close that cranny so there is my crimp cover on my closed jump ring so now I'm all set to start stringing my beads and now I don't need a bead stopper so I've eliminated that step as well so I'm going to go ahead and string on one of my fire polish beads and just make sure that that goes right over that tail there so I can hide that now I'm going to start with my chain so I haven't cut any of it and you won't until you get to the end and for this one I'm using the flat piece first you'll notice there are flat and then there are more rounded links so I'm using a flat piece and just string that all the way down and again just make sure it goes over that little lip right there and now I'm going to start with my wood beads so I'm going to add a would be and now I'm going to sort of take my wire here and I'm going to thread down through this next chain link right there so you'll see how that kind of comes together so now I have a nice little loop and then you just keep stringing on your beads so I'm going to add one more fire polish string that down and you're going to move if you're trying to count links you're going to have that flat link a circular link a flat link a circular link and you're going to go through that flat link right there and that should give you the look that we're going for here of those nice little sort of loops okay make sure your tail stays in there if it gets to be bothersome you can always just add trim it and cut it off which I'm actually going to do just a little bit it's getting in my way there we go okay so string that all the way down and now I'm just going to continue stringing and continue adding that chain and I will show you what it looks like as I get a little bit further along here alright so I'm just finishing up on my last few beads here and you can start to see all that chains sort of coming together and again this is three feet of chain that I've used and this is about 17 inches worth of stringing so if you do want to make it longer make sure that you purchase extra chain I always like to have extra chain anyway it just sort of helps in various other projects so I'm coming to the end oh and again if you did want to purchase extra chain you could change up your design a little bit if you wanted it to be slightly more like like swags or if you wanted to add a little bit more chain or less chain of course you can do that you see mine's really filled in I kind of I like the way this looks but it's entirely up to you and your design choice okay so I'm going to finish with my check fire polished bead here and you'll notice that I do have just a little bit of extra chain there so I'm just going to take my flush cutters and I'm just going to clip off that chain now again this is very thick chain so make sure you have a really good pair of flush cutters get that better there and as you can see I only have about an inch or so of chain left okay so now all I'm going to do is I'm going to string on stick into my fingers string on that crimp tube and I'm going to try to slide all the way down I'm going to pick up that closed jump ring and again you'll see that I have a lot of wire here again I started with 23 inches so I just always like to use just a little bit extra just in case so I've got my jump ring and my crimp tube all the way down here and now I'm just going to set that into little note if you're using these flush pardon me little note if you're using these crimping pliers is that you always want to have that main arrow in the in the back they're pointing down just gives you a little bit more leverage and you get to put that nice little tube right in there so go ahead and crimp that and again you just turn it the same as we did on the other side and just pinch it together there we go alright now I'm going to take my tail and I'm going to string back through just a couple of beads all right string that back through take my flush cutters trim that and now I'm going to go back and add that crimp tube and again I just kind of get mine in there and settle it in sorry my hands are in the way I'll move them in just a second there we go but it's the same as we did on the other side and get that nice and straight and close that up nice and tight just like so so now the only thing left to do is to add my clasp so again I said these can be used as chain nose pliers so I'm just going to grip my open jump ring and twist it just to open it ever so slightly loop that on there and close that nice and flush and then take my other open jump ring and same thing just open that up and I'm going to loop it on to my other closed jump ring and to my lobster clasp and close that up nice and flush so there we go so that is how to make the limeade spritz and I think I'm going to call this one a berry spritz necklace and these are just strung and again I did two slightly different versions here one is using the chain for just a portion of it and this is two feet of chain and then to go all the way around for 17 inches this is three feet of chain if you have any questions leave them in the comments below and I hope you enjoyed this video and you can find more and all of these supplies at beadaholique.com you
Customers who looked at this also viewed
Related Videos


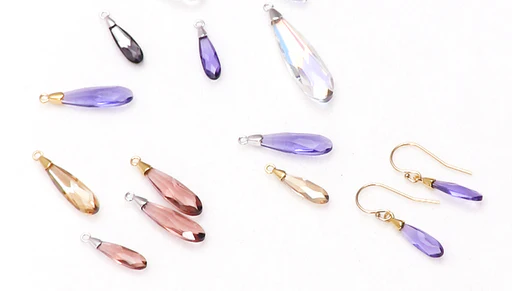
Show & Tell: Austrian Crystal Raindrop Pendants
In this video learn about Austrian crystal raindrop pendants and then at the end of the video learn how to make a quick and easy yet lovely pair of...
View full details

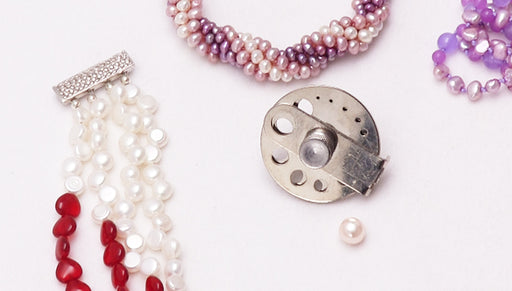
How to Use a Pearl Vise
In this video learn how to use a pearl vise to securely hold your pearls in place for drilling, inspection, or reaming. This easy to use tool fits ...
View full details

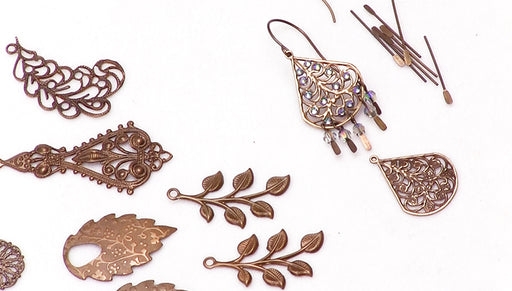
How to Make the Vintaj Cecilia Earrings
Featuring a lovely Vintaj filigree accented with Austrian crystal flat back rhinestones, these festive and flirty earrings are a fun choice for bot...
View full detailsYou recently viewed
Clear recently viewed

How to make the Limeade Spritz Necklace
In this video you will learn how to make the Limeade Spritz Necklace. This simple strung necklace has an added design element by stringing chain i...
View full details


